10 Best Pumpkin Art Ideas
Fall brings color, texture, and whimsy—perfect ingredients for unforgettable pumpkin art. Whether you’re crafting for a front porch, a school fair, or a cozy table centerpiece, these ideas balance style with doable techniques and budget-friendly materials. You’ll find options for real and faux pumpkins, carved and uncarved finishes, and both timeless and trend-forward looks. From delicate pressed flowers to starry constellations and tiny dioramas, each concept includes practical tips, tools, and creative twists so you can make it your own. Grab a pumpkin, lay out your supplies, and let’s turn a simple gourd into a miniature work of seasonal magic.
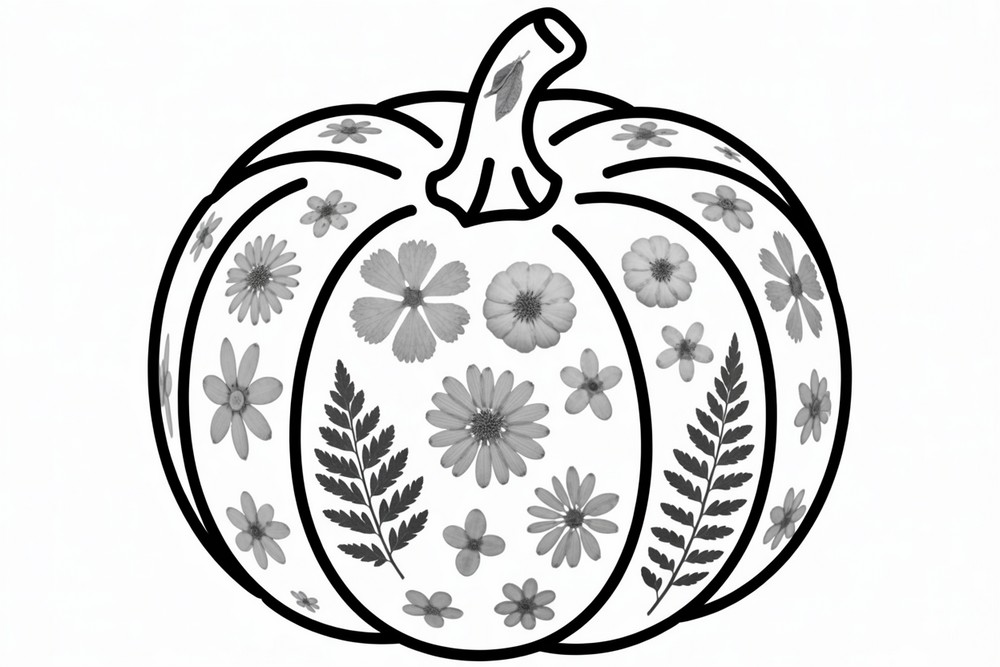
Pressed Flower Pumpkin Art
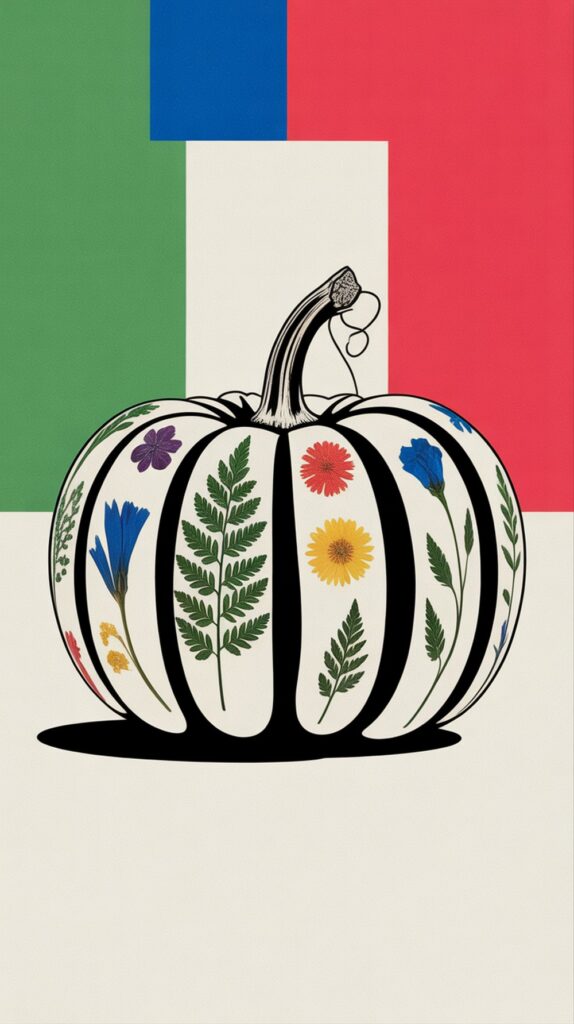
Pressed flower pumpkin art blends garden memories with autumn charm. Start with a smooth white or pale pumpkin (real or craft foam) to let petals shine. Wipe it dry, then brush on matte Mod Podge in small sections. Arrange pressed flowers—ferns, pansies, daisies—face up, smoothing gently with a silicone brush or your fingertip. Seal with two thin top coats, drying between layers to avoid cloudiness. For composition, cluster large blooms near the equator and trail tiny stems upward to elongate the silhouette. Add a satin ribbon around the stem for a soft finish. To protect real pumpkins, seal the base and avoid direct sun. For longevity, choose a faux pumpkin so your floral collage lasts for years, and consider labeling the bottom with the flowers and date for a keepsake touch.
Lace Filigree Carved Pumpkin Art

Create lace filigree pumpkin art with delicate, luminous carving that glows like cut crystal. Sketch a repeating motif—scallops, teardrops, and dots—around the pumpkin’s ribs. Instead of fully cutting through, use linoleum cutters or clay loop tools to “etch” the rind, thinning it without piercing. This lets light shine softly through the flesh. Work slowly, rotating the pumpkin and resting your wrist to keep pressure consistent. Add micro-perforations with a pin vise drill to mimic lace picots. Place an LED puck light inside for even illumination and safety. For beginners, carve just one band; advanced makers can layer several belts of filigree with varying densities. A final wipe of vegetable oil intensifies color and prevents drying. Display in a lantern-style holder to show off the pattern from all sides and heighten that heirloom-lace glow.
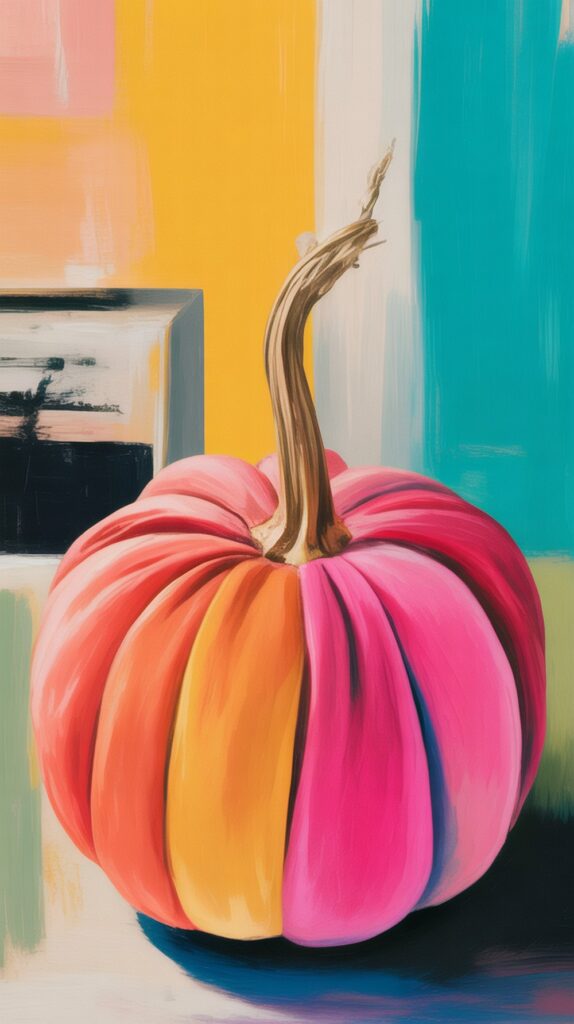
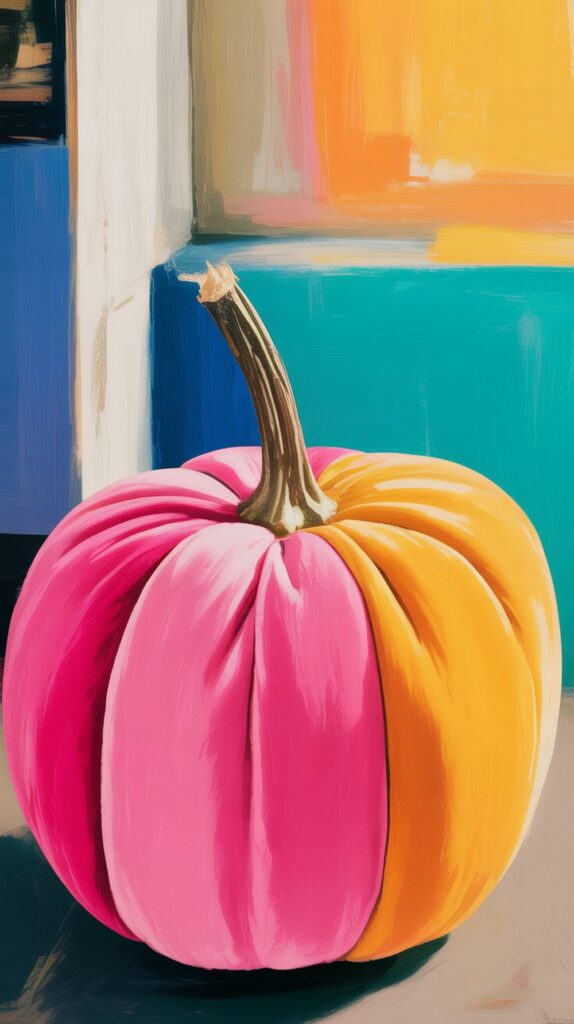
Ombré Painted Pumpkin Art

Ombré pumpkin art is a painter’s dream—smooth gradients that turn a simple form into sculpture. Prime a faux pumpkin with acrylic gesso for grip. Choose three shades within one color family, like blush to berry, or sand to charcoal. Starting at the stem, lay down the lightest tone; at the base, apply the darkest. While both are damp, blend a mid-tone between them with a soft, dry brush in horizontal strokes, feathering edges to erase seams. Rotate as you work to keep transitions even. For extra dimension, dry-brush a whisper of highlight on ridges and a deep shadow at the bottom. Seal with matte varnish for a velvety finish or gloss for lacquered drama. For a metallic ombré, substitute mid-tone pearl paint and finish with a subtle splatter for sparkle. Cluster three sizes together for instant designer impact on your mantel.
Mosaic Pumpkin Art with Tiles and Beads
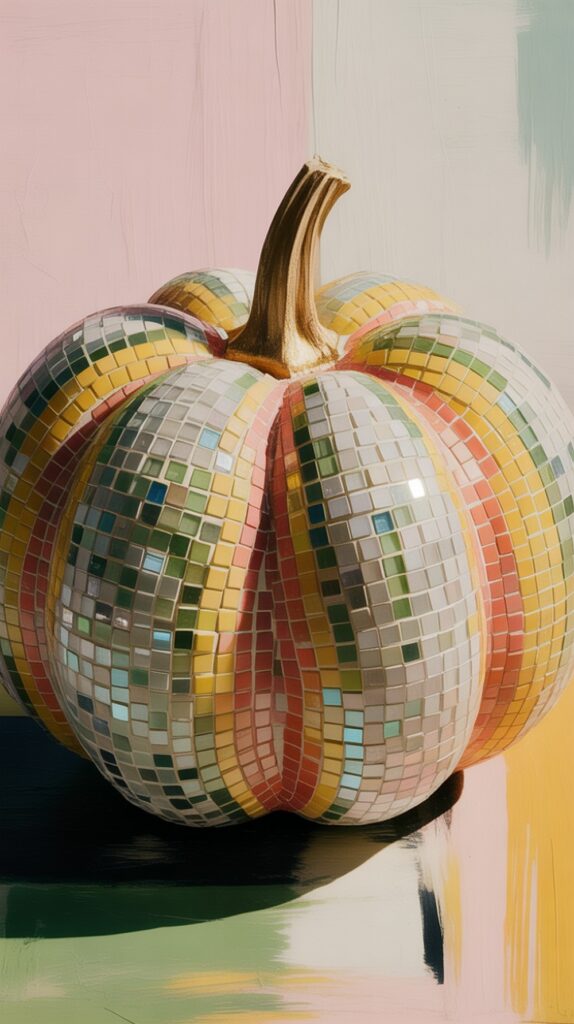
Mosaic pumpkin art adds texture and light-catching detail, stunning indoors or out. Use a sturdy faux pumpkin to support weight. Lightly sand the surface, then draw guidelines with a grease pencil—think sunbursts, chevrons, or spirals following the ribs. Adhere small glass tiles, flat-back gems, or seed beads using a clear, flexible adhesive (E6000 or silicone). Keep consistent grout lines; a popsicle stick helps nudge pieces into place. After curing, apply premixed grout with a gloved hand, wiping diagonally to avoid lifting pieces. Polish the tiles with a microfiber cloth once haze appears. For a grout-free look, pack beads tightly without gaps and skip grouting entirely. Accent the stem with metallic leaf to echo the sparkle. Display near candlelight (LED preferred) to make facets twinkle, or set on a cake stand to elevate your shimmery gourd centerpiece.
String Art Pumpkin Art with Pins and Thread
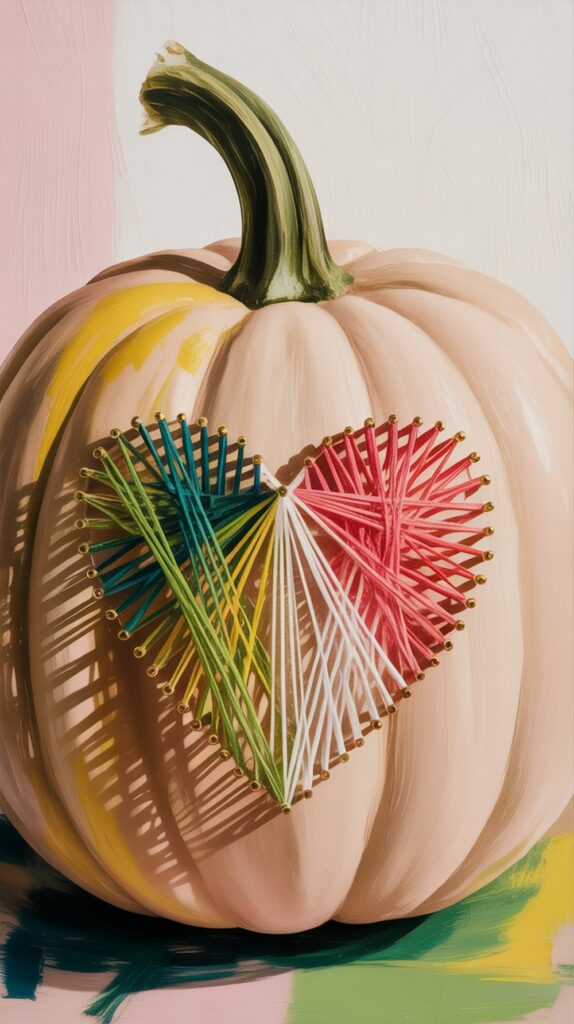
String art pumpkin art turns geometry into a cozy statement. Choose a craft pumpkin for easy pinning. Sketch a simple motif—heart, maple leaf, or monogram—then lightly hammer dressmaker pins or small brass tacks along the outline, spacing them evenly. Tie embroidery floss to one pin and begin crisscrossing, filling the interior with overlapping lines while keeping modest tension to avoid warping. Work in color blocks for gradient effects, or alternate two threads for a plaid vibe. Wrap the perimeter at the end to sharpen the silhouette. For a modern touch, tape off a vertical stripe first and paint it; mount the string art over the color bar for contrast. Seal knots with a dot of clear nail polish. Perch the pumpkin on a wood slice and finish with a linen bow for a warm, Scandinavian look that reads fresh, not fussy.
Typographic Pumpkin Art with Stencils or Vinyl
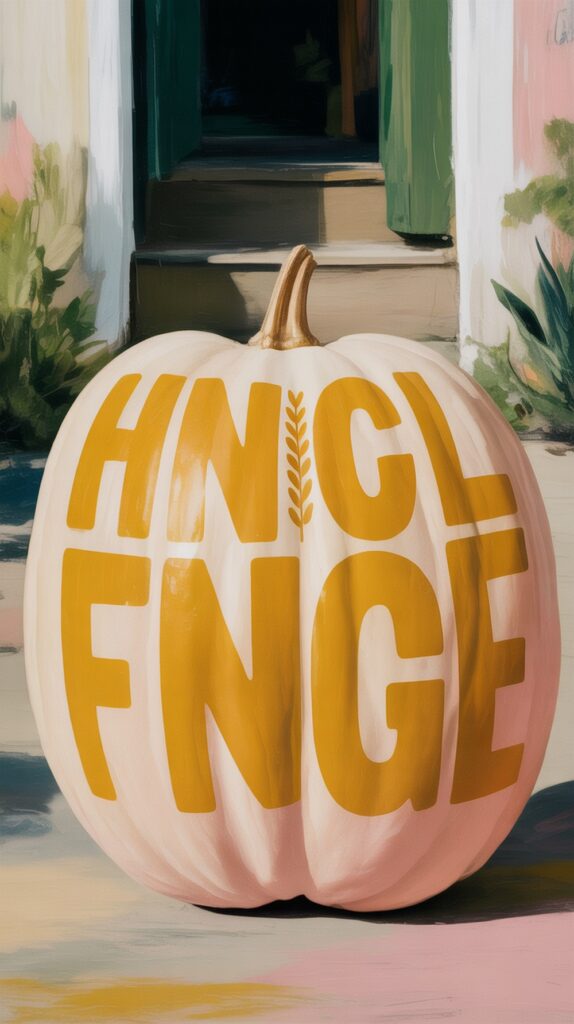
Typographic pumpkin art celebrates words—quotes, surnames, or house numbers—with crisp, high-contrast style. Start by cleaning and drying your pumpkin. For painted letters, apply low-tack stencil film and burnish edges to stop bleed. Pounce acrylic paint with a nearly dry sponge; peel while damp for sharp lines. For vinyl, cut matte or metallic adhesive letters and apply with transfer tape, smoothing over ribs with a felt squeegee. Balance scale: tall, narrow type flatters squat pumpkins; rounded type suits tall varieties. Pair a headline word with a small subline (“Gather” + “est. 2025”) for design polish. Add a simple border—dots or a laurel—to frame the message. Seal painted designs with a clear matte spray. Stage the piece at your entry with two plain flanking pumpkins so the lettering stands out, and tuck in eucalyptus sprigs for a clean, editorial finish.
Constellation Glow Pumpkin Art
Constellation glow pumpkin art makes your porch sparkle like a planetarium. Tape printable star charts to the pumpkin, orienting major constellations across the surface. Use a pin vise or fine drill bit to pierce star locations; widen “bright” stars slightly. Connect select stars with very light pencil lines, then trace them using thin glow-in-the-dark paint pens. Dab glow paint around drilled holes to halo each star. Place an LED light inside to backlight the punctures, and let the surface glow after the light is off. For a northern-hemisphere crowd-pleaser, include Ursa Major, Cassiopeia, and Orion; add a tiny comet tail for whimsy. Keep the rest of the pumpkin matte—black, navy, or deep green—for maximum contrast. Photograph at dusk to capture both drilled light and phosphorescent lines for a captivating, science-meets-season look.
Fabric Wrapped Pumpkin Art
Fabric-wrapped pumpkin art is plush, fast, and mess-free. Select lightweight woven fabrics—gingham, houndstooth, velvet, or linen—to match your décor. Cut a large circle, place the pumpkin center, and gather fabric up and into the stem area, smoothing folds as you go. Tuck edges into the stem gap with a butter knife; add a rubber band underneath for grip if needed. No-stem pumpkins? Hot-glue a twig or cinnamon stick bundle to finish. For patchwork charm, overlap torn fabric strips diagonally around the ribs. Add a leather tag or brass upholstery tacks for detail. If using velvet, brush fibers in one direction for an even sheen. This technique shines for damaged or oddly shaped pumpkins and stores flat after the season if you’re using foam bases. Cluster textures—velvet, flannel, burlap—for a cozy, layered centerpiece that feels refined and intentional.
Marbled Dip Pumpkin Art with Nail Polish
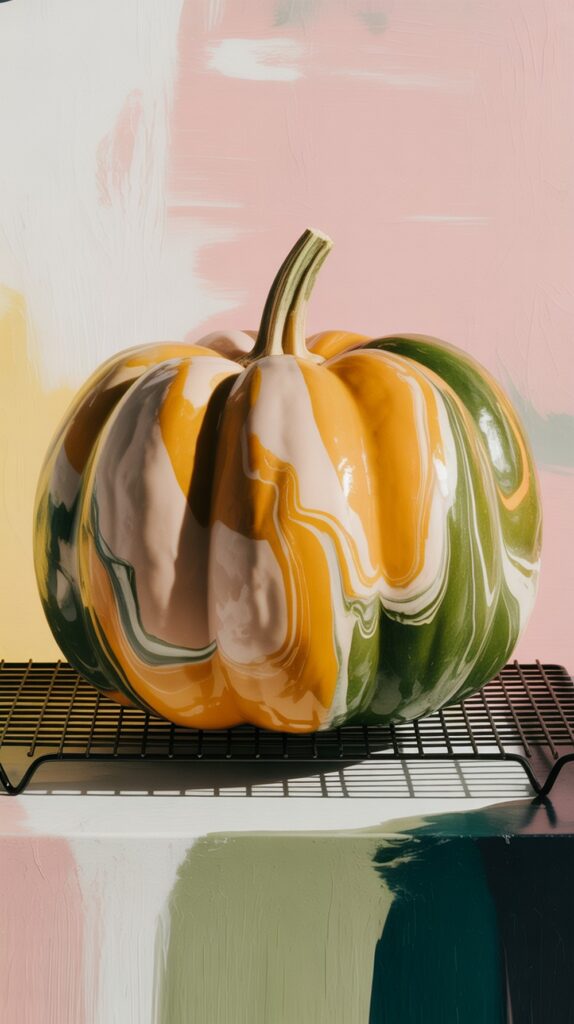
Marbled dip pumpkin art creates swirling patterns that look hand-poured and luxe. Fill a disposable container deep enough to submerge half the pumpkin. Drip several nail polish colors onto the water’s surface; they’ll spread into thin films. Use a toothpick to swirl gently, avoiding overmixing. Wearing gloves, tilt and dip the pumpkin, rolling slightly to capture the pattern. Lift slowly to prevent bubbles, then set on a cooling rack to dry. Repeat for the opposite side or leave a clean color break. Metallic or pearlescent shades add depth; a white base coat makes colors pop. Ventilate well and protect surfaces—this gets messy. For a similar low-odor approach, use acrylic paint marbling medium. Finish with a clear gloss spray for a ceramic look, and wrap the stem with metallic leaf or twine for a tidy, finished top.
Pumpkin Diorama Shadowbox Art
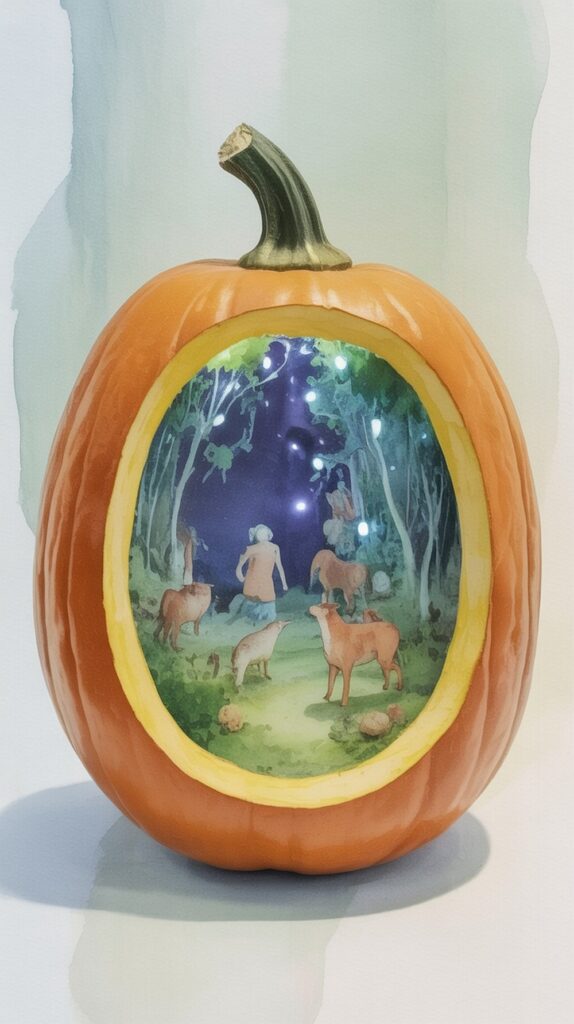
Pumpkin diorama shadowbox art turns a gourd into a tiny stage. Cut a wide oval opening on the front of a hollow craft pumpkin using a craft saw. Paint the interior a dark shade to create depth, then line the floor with moss, pebbles, or faux snow depending on your theme. Add miniatures—bottlebrush trees, a paper house, tiny animals—and back the scene with scrapbook paper or a printed sky. Install a battery micro-LED string along the interior rim to crown the stage with gentle light. Frame the opening with a beaded trim or braided cord to hide cut edges. For narrative charm, add a signpost or mailbox with your family name. These display beautifully on mantels, and you can swap scenes each year: woodland in fall, village in winter, or beach vignette in summer.
Conclusion
Pumpkin art can be simple or elaborate, but the best pieces tell a story and fit your space. Pick one idea, gather a few smart tools, and give yourself time to play. Use safe LED lighting, seal finishes for durability, and lean into repetition for impact—pairs and trios always look intentional. Mix textures—paint, fabric, glass, and natural elements—to build depth without clutter. Most importantly, honor the pumpkin’s form; work with the ribs, not against them. Your seasonal décor will feel fresh, personal, and delightfully you.


