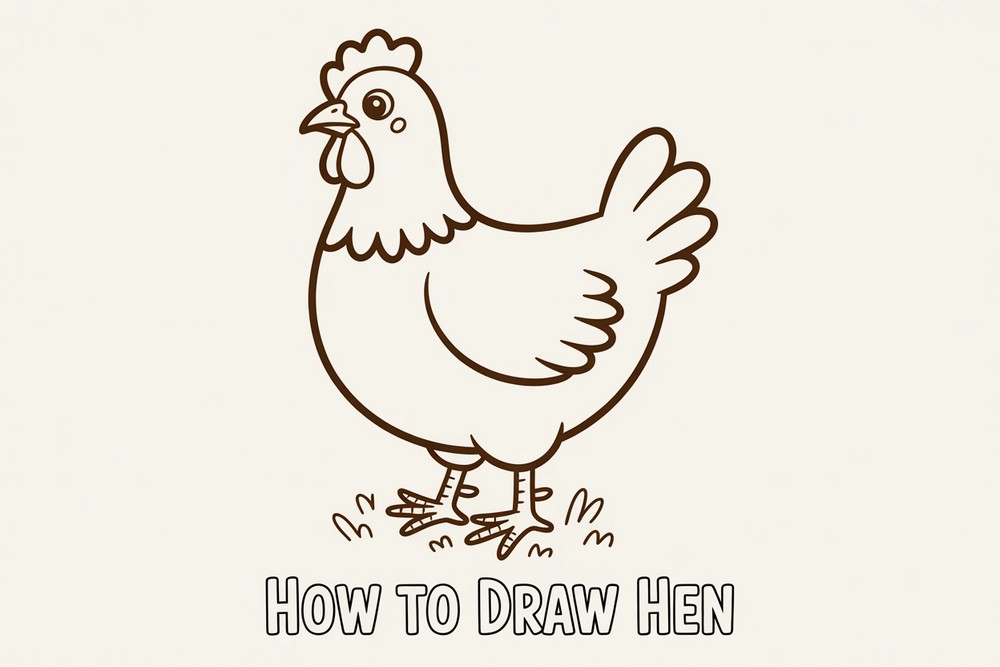
How to Draw Hen
A friendly barnyard hen is a perfect subject for beginners. You’ll practice smooth curves, simple feather shapes, and clean inking before adding warm color. First, we’ll start with one flowing neck line, build the head and beak, then shape the rounded body, tail, and toes. After that, we’ll place the inner wing, add details, and finish with tidy outlines. Finally, we’ll color using a bright yellow-to-orange blend for a cheerful, farm-fresh look. Keep your hand relaxed, sketch lightly, and let the lines stay confident. By the end, you’ll have a cute, cartoon-style hen that’s perfect for cards, classroom posters, or a farm-theme sketchbook page. We’ll work step by step from big shapes to little accents, so nothing feels tricky. Grab a pencil, eraser, fineliner, and colors, and let’s begin.
Supplies for This Drawing
- HB pencil (sketching), 2B pencil (soft details)
- Kneaded eraser + vinyl eraser
- A4 (8.3×11.7 in) 160–200 gsm drawing paper
- Black waterproof fineliner (0.3–0.5 mm)
- Alcohol markers or colored pencils: yellow, orange, red, brown, light grey
- Sharpener (handheld or crank)
- Ruler (for margins) and small compass (optional for curves)
Prepare the Materials
- Clear your workspace and set good side lighting.
- Tape paper edges for clean borders.
- Sharpen pencils; test strokes on scrap.
- Lay out colors in drawing order.
- Keep reference images visible and upright.
- Warm up with a few curved lines.
Special Features of This Drawing
- Built from friendly, rounded shapes.
- Clear overlaps: head–neck, body–wing.
- Simple scallops to suggest feathers.
- Bold outline for readable cartoon style.
- Warm yellow-orange palette with gentle gradient.
- Grounding shadows to anchor the feet.
Tutor’s Suggestions
- Sketch lightly; save pressure for final lines.
- Pull long curves from shoulder, not wrist.
- Erase in dabs to avoid paper shine.
- Build color in layers; stop before waxy burnish.
- Keep outlines continuous around major forms.
- Compare left and right margins to keep balance.
- Take short breaks to spot proportion issues.
Uses
- Classroom practice sheet or demo.
- Farm-themed greeting card or sticker.
- Sketchbook warm-up before detailed studies.
- Poster or bulletin board decoration.
- Coloring page for kids.
- Social post or printable for craft day.
Level of Difficulty
Beginner-friendly — simple curves, clean overlaps, and approachable coloring.
Neck Guideline
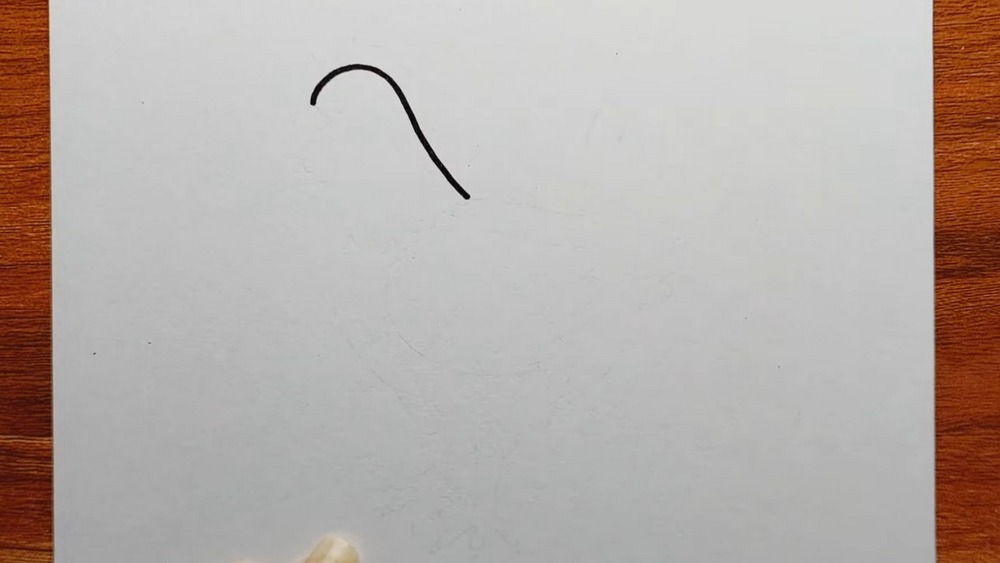
Begin with a smooth line that curves down like a soft hook. This marks the top of the head and the front of the neck. Keep the stroke confident and even, neither scratchy nor thick. Place it slightly left of center to leave room for the body and tail. Breathe, lift your hand between tries, and redraw lightly until it feels right.
Head, Comb, and Beak
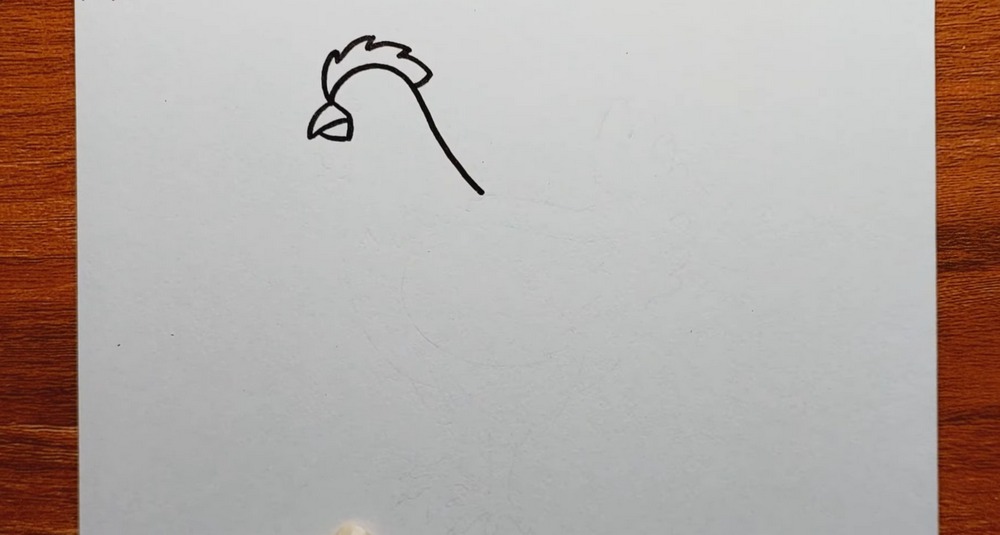
Add a rounded forehead and crown, then sketch the wavy comb like three bumpy petals. At the front, build a simple triangular beak with a dividing line for the upper and lower parts. Keep edges soft and friendly. Maintain the neck curve you started. Aim for cartoon proportions: large head, gentle angles, and an inviting silhouette that already looks like a hen.
Back, Belly, and Tail Shape
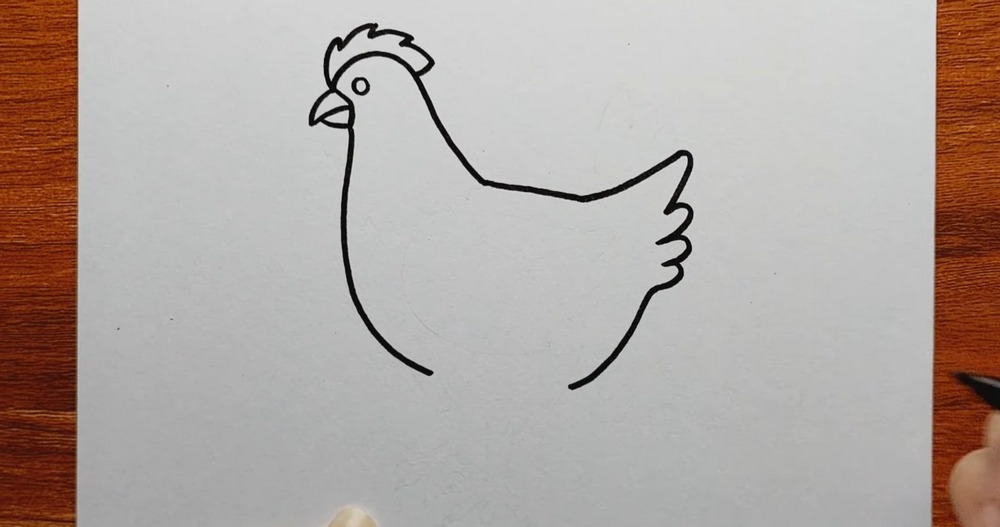
From the neck, sweep a line backward to form the back. Curve down into a round belly, leaving space for legs. At the rear, draw the tail with three feather steps, each slightly larger. Close the shape at the chest. Keep everything symmetrical by eye, but don’t fuss—soft variation adds life. Use one clean outline so later inking stays easy and friendly.
Lower Body and Leg Placeholders
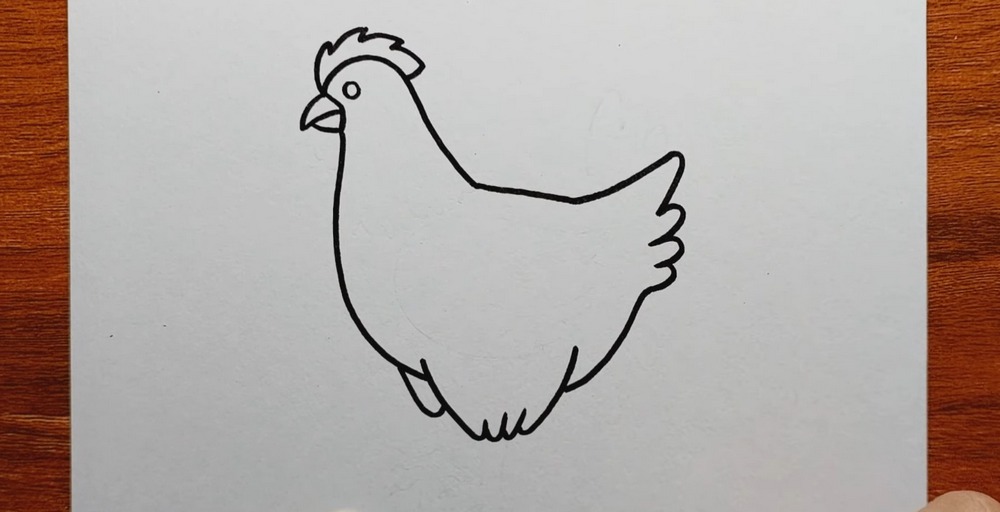
Lightly block the lower fluff with short rounded bumps. Add two simple leg ovals tucked beneath the belly, pointing slightly forward. These act as placeholders so the feet won’t crowd the page. Keep the body oval roomy and smooth and centered. If lines feel heavy, pause and rotate the paper for a better pulling angle. Clean stray marks with a kneaded eraser.
Wing and Neck Feathers
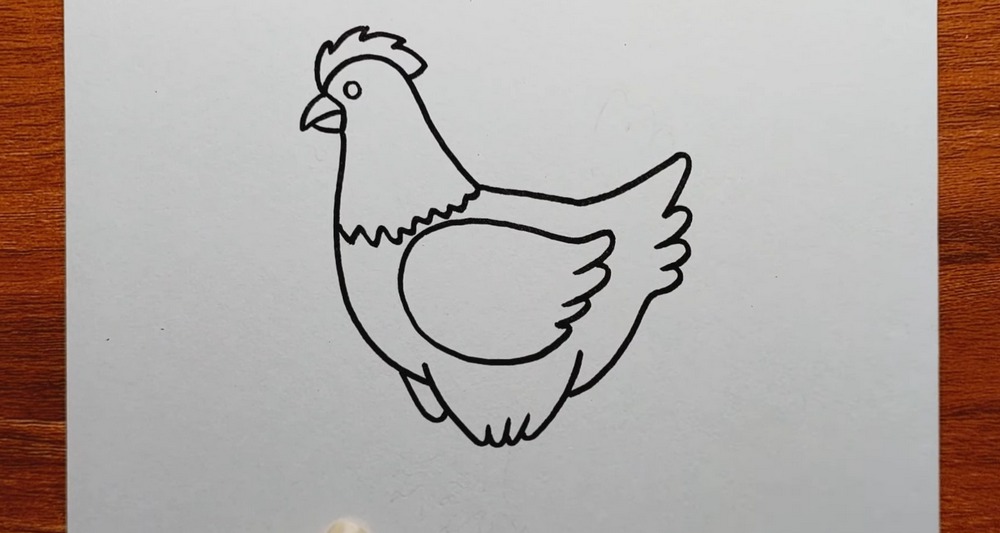
Draw a scalloped collar under the head for those soft neck feathers. Inside the body, place an oval wing, then add a small three-feather bump along its back edge. Keep overlaps clear so forms read easily. This inside shape adds depth and gives you a nice area to shade later. Maintain even spacing and let curves echo earlier contours for harmony, neatly.
Feet and Final Outline
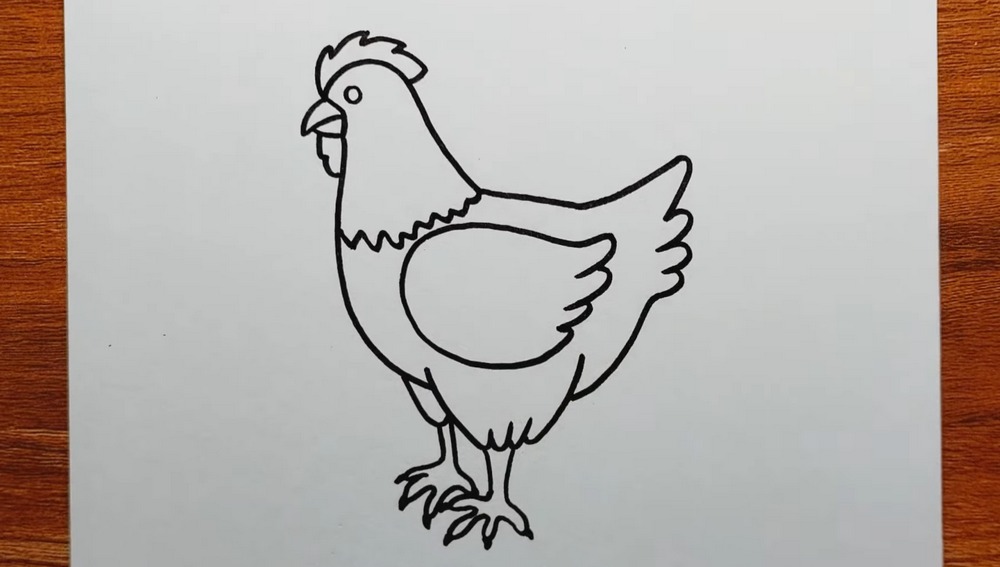
Turn the leg ovals into sturdy legs with straight sides. Add three forward toes and one small back toe on each foot, using tapered, curved triangles. Reinforce the entire outline with a slightly thicker line to unify shapes. Check balance: the hen should look steady, weight centered and natural. Erase construction lines gently afterward, keeping edges crisp so the character stays clean.
Base Colors: Head and Comb
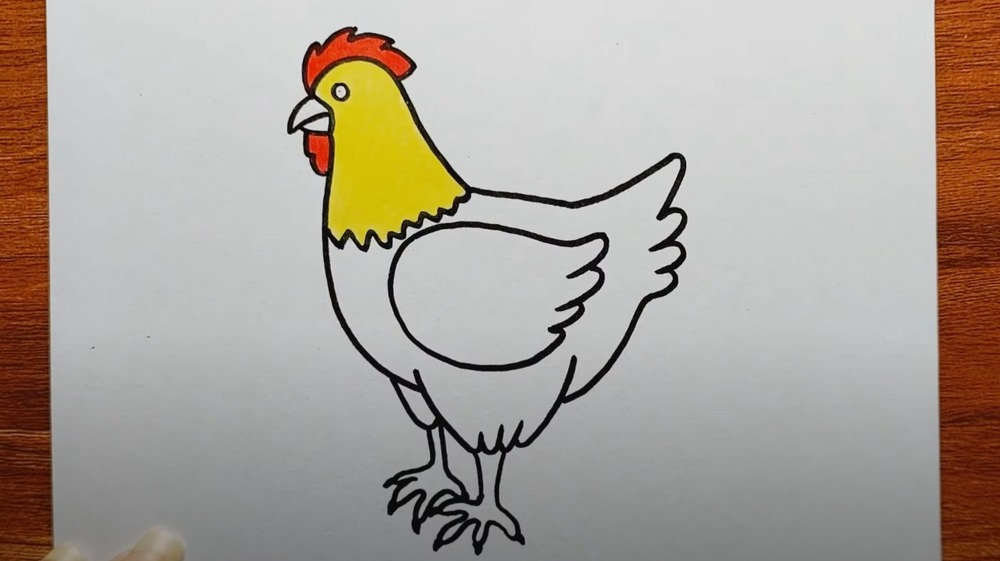
Lay flat color on the head and neck using a light yellow. Color the comb and wattle with a bright red, bold and neat. Leave the beak and eye highlight white for now. Work with smooth circular strokes if using pencils, or even passes if using markers. Avoid streaks by overlapping. Keep within the inked borders to protect that tidy cartoon look.
Body Color and Gradient
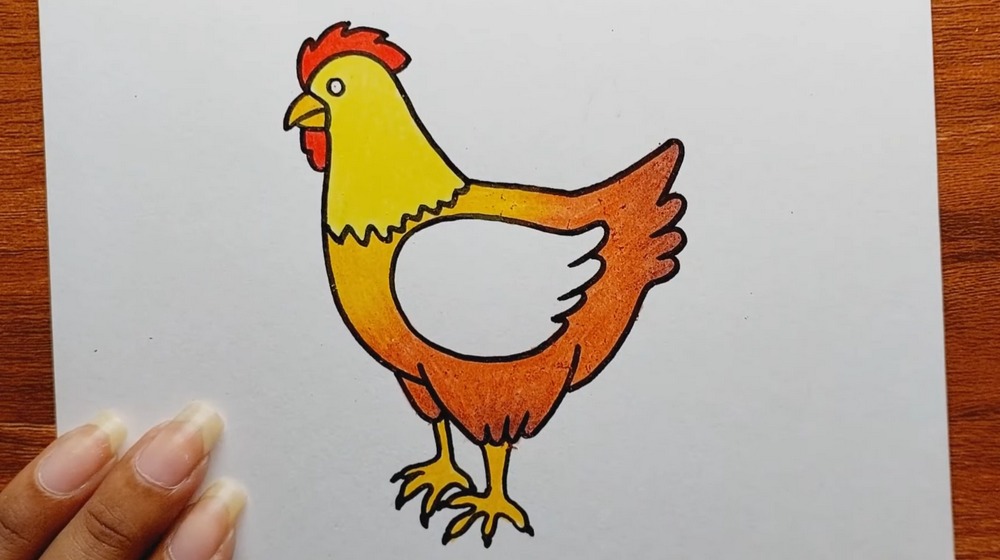
Fill the body with warm orange, deepening toward the tail and belly for a simple gradient. Blend from yellow at the neck into orange along the back for glow. Keep the inner wing lighter so it reads as a separate form. Strengthen the outline after coloring if it faded. Small, patient layers build richness without crushing the tooth of paper, gentle softly.
Finishing Touches and Shine
Darken the beak slightly, add a tiny cheek blush if you like, and dot the eye highlight. Reinforce shadow under the belly and between toes to ground the hen. Check edges; restate any lost feather tips. Step back and squint—your values should separate head, body, and wing clearly. Sign discreetly. Your cheerful farm hen is complete and ready to share proudly today!
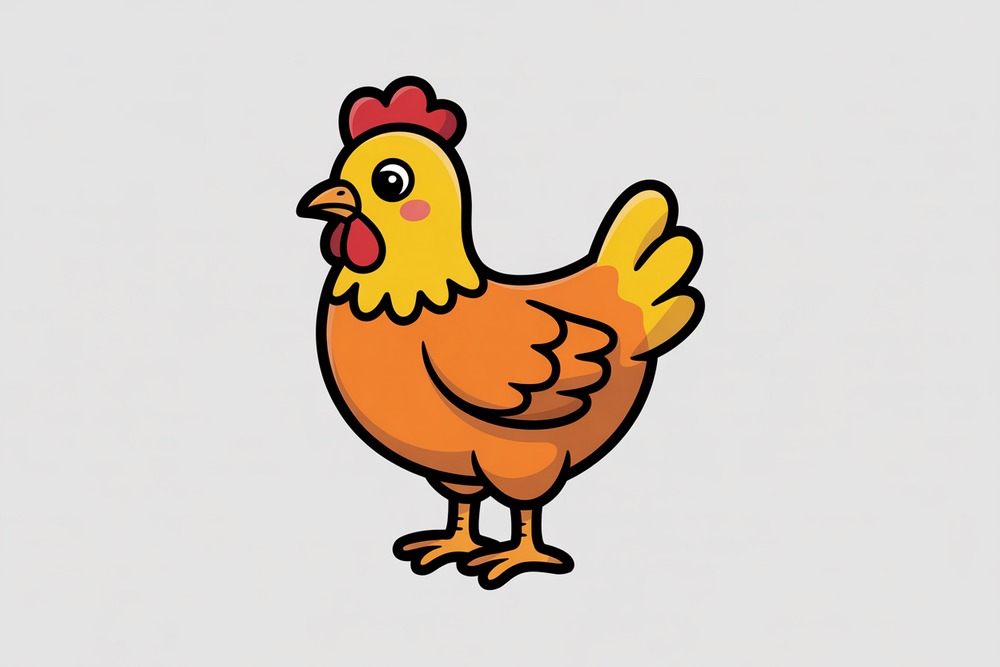
Conclusion
Great job! You built a hen from confident curves, added simple feather details, and finished with bright, warm color. Remember: big shapes first, then smaller accents, then tidy outlines. Soft layering makes color glow, and a strong outline keeps everything readable. Practice the same steps at different sizes or angles to create a whole flock for posters, notebooks, or cards.
A Bonus Tip
Place a faint oval shadow under the belly before coloring; it keeps the feet grounded and the body looking round.
FAQs
Q: How long will this take?
A: Most beginners finish in 35–50 minutes, depending on coloring layers.
Q: What paper size works best?
A: A4 or US Letter is ideal; heavier 160–200 gsm stock handles markers and erasing well.
Q: My proportions feel off. How can I fix them?
A: Compare three landmarks: head size to body oval, neck thickness, and tail length. Adjust lightly before inking.
Q: Should I shade before or after outlining?
A: Ink first, let it dry, erase pencil, then color. This keeps edges clean and prevents smudging.
Q: Markers or colored pencils?
A: Both work. Markers give flat, even fills; pencils offer gentle gradients. You can combine them—marker base, pencil shading.