22 Easy Art Project Ideas For Kids
Kids love simple projects that make big, colorful results. These 22 easy art projects for kids use basic supplies, playful steps, and open-ended prompts so every creation feels personal. You’ll find paint, paper, tape, crayons, recycled bits, and nature finds—all friendly for home or classroom. Each idea builds fundamental skills like shapes, patterns, cutting, gluing, and color mixing, while keeping the mood relaxed and fun. Set up a cozy art spot, keep wipes handy, and invite playful experimentation. Ready to spark creativity without stress? Pick a project, lay out materials, and let their imaginations run the show.
Add Quick List
- Painted Rock Friends
- Paper Plate Animal Masks
- Salt Painting Watercolor Magic
- Nature Treasure Collage
- Crayon-Resist Galaxy Skies
- Bubble Wrap Printmaking
- Yarn-Wrapped Letters
- Q-Tip Pointillism Tree
- Sticker Story Art Scenes
- Tissue Paper “Stained Glass”
- Shape Robot Collage
- Coffee Filter Butterflies
- Cardboard City Builds
- Foil-Embossed Drawings
- Marble Roll Painting
- Handprint Safari Animals
- Leaf and Texture Rubbings
- Tape-Resist Shape Art
- Sponge-Stamp Silly Monsters
- Paper Roll Explorer Binoculars
- Chalk Pastel Landscapes
- Recycled Sculpture Challenge
Painted Rock Friends

Hunt for smooth, palm-sized rocks, then wash and dry them. Sketch simple faces, pets, or patterns in pencil, and paint with acrylics or tempera. Add big eyes, rosy cheeks, stripes, or polka dots. When dry, outline with a black marker for crisp edges and add tiny highlights with white paint. Seal with a kid-safe varnish if desired. This project builds observation, line control, and color choices. Turn them into story characters, kindness rocks for the garden, or board game tokens kids design themselves.
Paper Plate Animal Masks

Use a paper plate as the face base. Cut out eye holes with safety scissors and glue on ears, beaks, muzzles, or horns from colored paper. Draw whiskers, freckles, or patterns with markers; add yarn hair or feathers for texture. Attach a craft stick as a handle or tie elastic to wear. Encourage kids to invent habitats and sounds for their animals, then act out a mini play. This builds cutting, gluing, symmetry, and character design while keeping materials simple and low mess.
Salt Painting Watercolor Magic

Draw thick lines or shapes with school glue on sturdy paper, then sprinkle table salt to cover. Shake off the extra and let it set for a minute. Using a brush or dropper, touch watercolor to the salty lines and watch color streak along like tiny rivers. Blend two hues and notice gradients. Keep the paper flat to avoid spills and let dry completely. This project teaches cause-and-effect, color flow, and gentle brush control, turning simple outlines into sparkling, textured designs.
Nature Treasure Collage
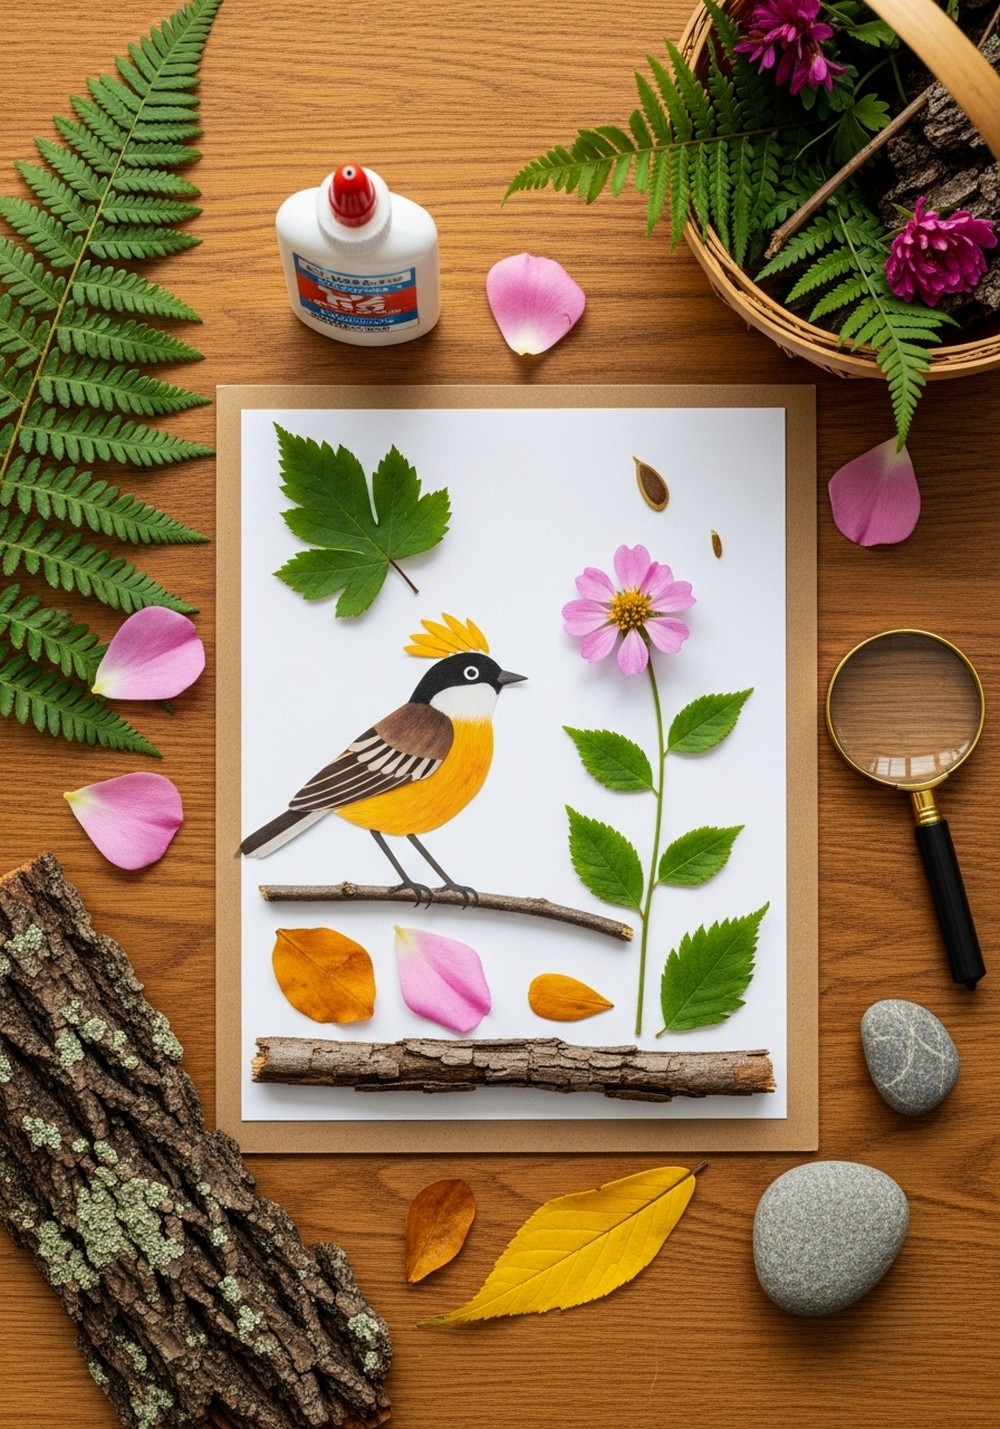
Take a short walk to gather leaves, petals, bark bits, seed pods, and tiny twigs. On cardstock, arrange the treasures into animals, faces, or patterns before gluing. Add drawn lines to connect parts—stems, frames, or speech bubbles. Try a themed layout like “forest feast” or “tiny home.” Encourage kids to look closely at textures and shapes, noticing veins, edges, and color variations. This project builds composition, balance, and appreciation for natural materials while using found objects and minimal purchased supplies.
Crayon-Resist Galaxy Skies
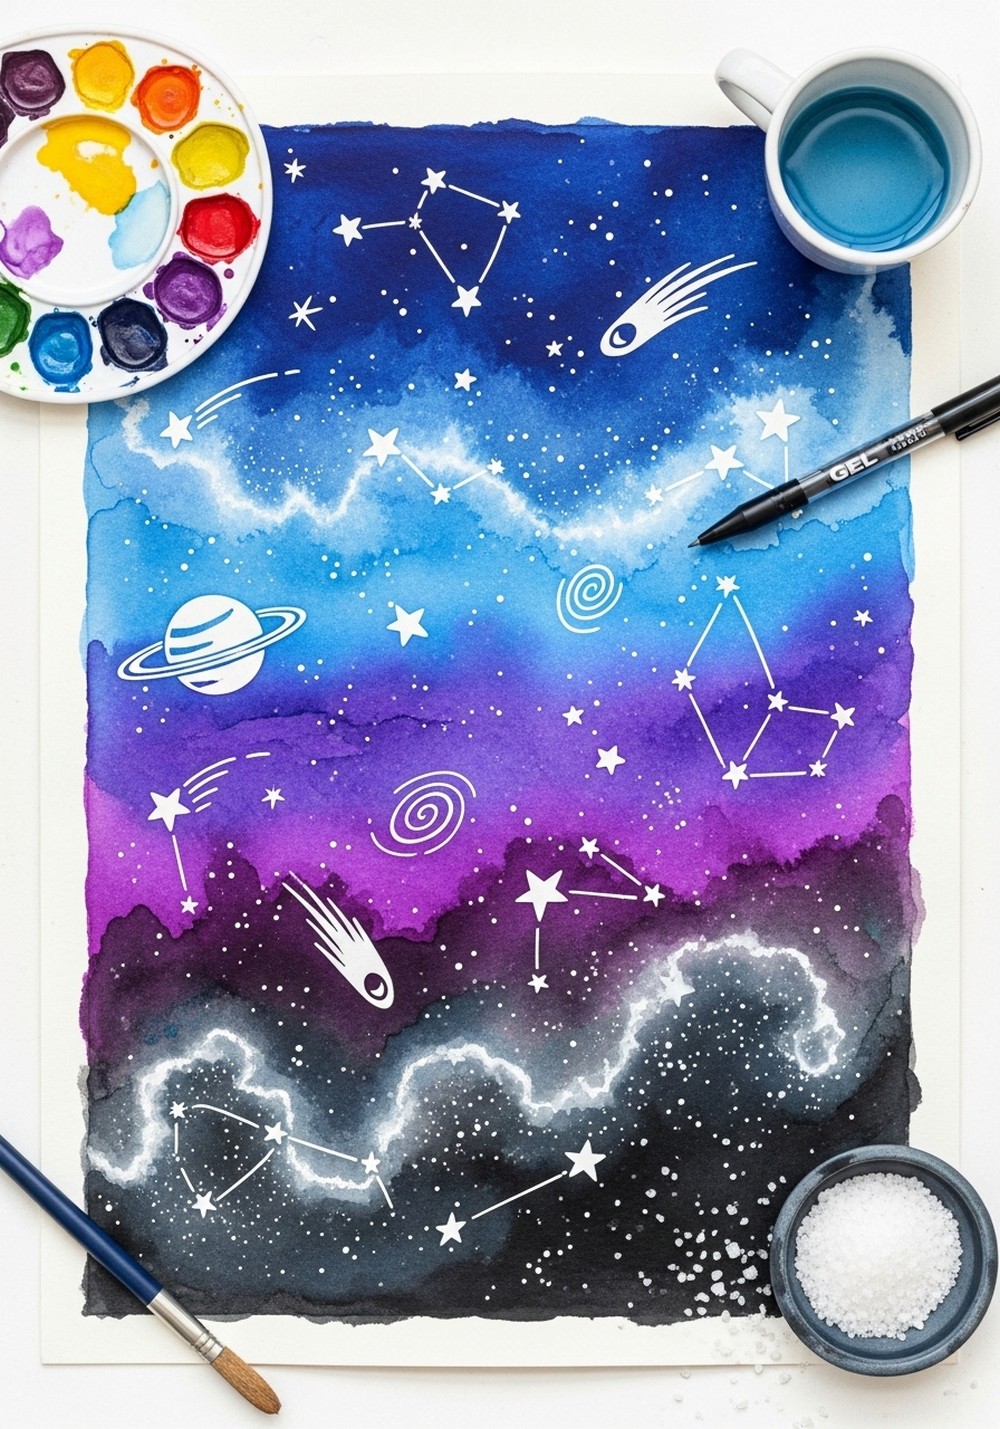
On watercolor paper, press hard with white crayon to draw stars, swirls, and constellations. Paint a wash of blues, purples, and blacks over the page, watching the crayon resist the paint. Sprinkle a few salt grains for soft “nebula” blooms, then brush them away when dry. Add planet circles with rings and tiny shooting stars in white gel pen. This project introduces layered media, contrast, and nighttime color mixing. Each galaxy turns out unique, encouraging exploration without perfection pressure.
Bubble Wrap Printmaking

Cut a piece of bubble wrap, paint it with a thin layer of tempera, and press paper on top to print bubbly textures. Repeat with different colors and shapes—circles, fish, or flowers—using stencils or freehand painting on the wrap. Experiment with overlapping prints and rotating angles for variety. Kids learn about relief printing, pressure, and negative space. Turn the prints into greeting cards, wrapping paper, or collage backgrounds. It’s satisfying, fast, and great for groups with limited setup time.
Yarn-Wrapped Letters
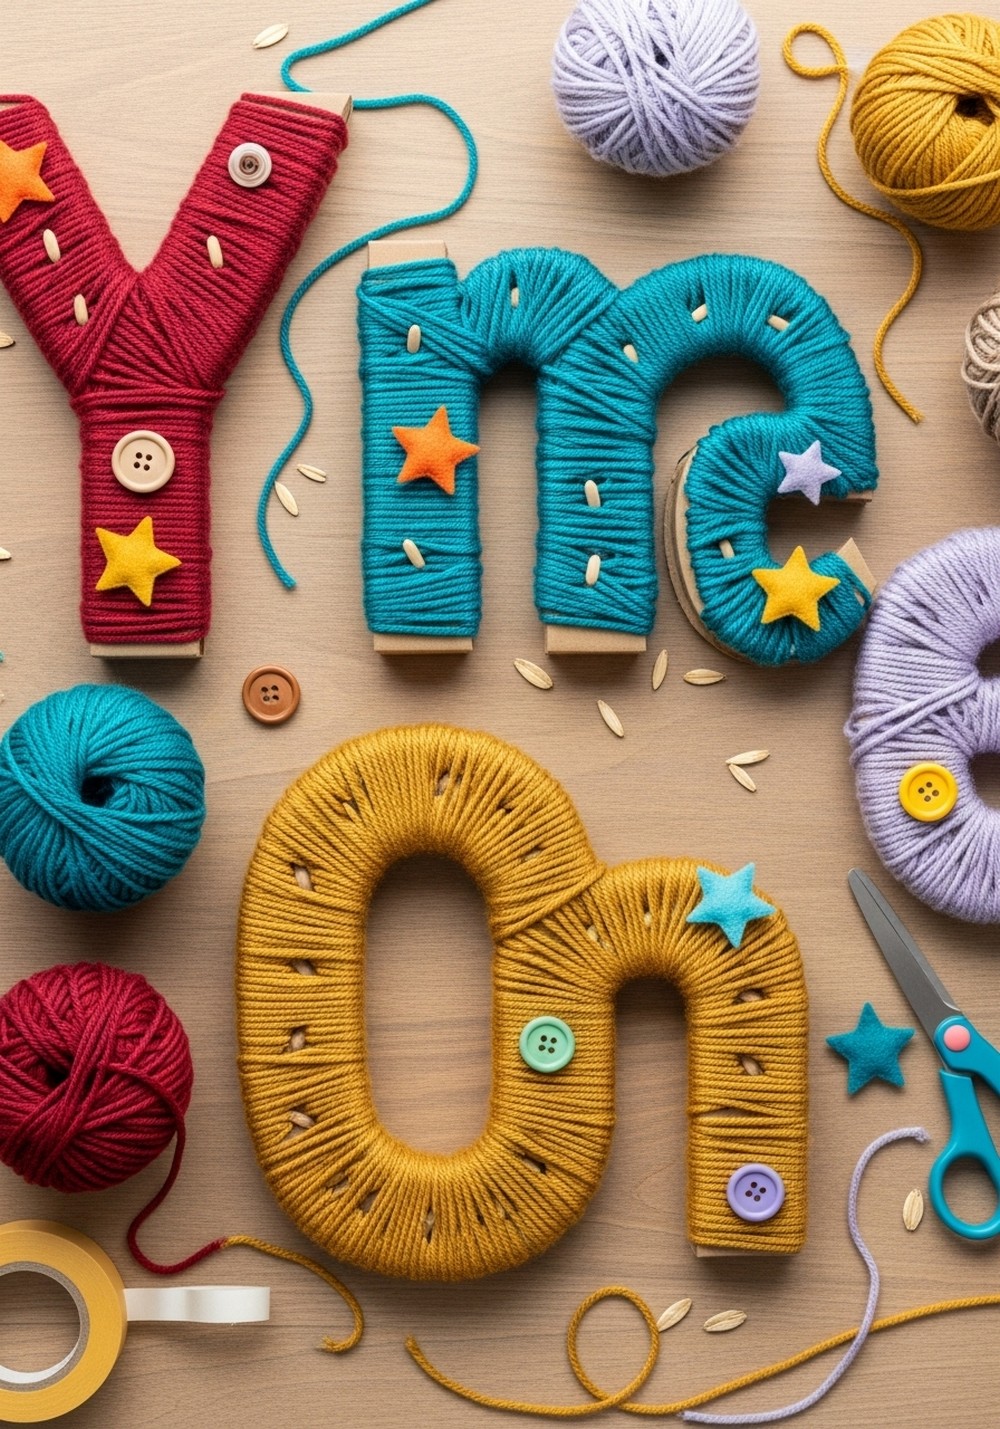
Trace and cut large cardboard letters for names or favorite words. Tape one end of soft yarn to the back and wrap, wrap, wrap—switching colors for stripes or gradients. Add felt shapes, buttons, or foam stickers as accents. For curvy letters, cut small slits along edges to tuck yarn neatly. This project builds patience, hand strength, and planning while giving a personalized room decoration. Kids can also wrap shapes—stars, hearts, or animals—for a festive display or class gallery wall.
Q-Tip Pointillism Tree
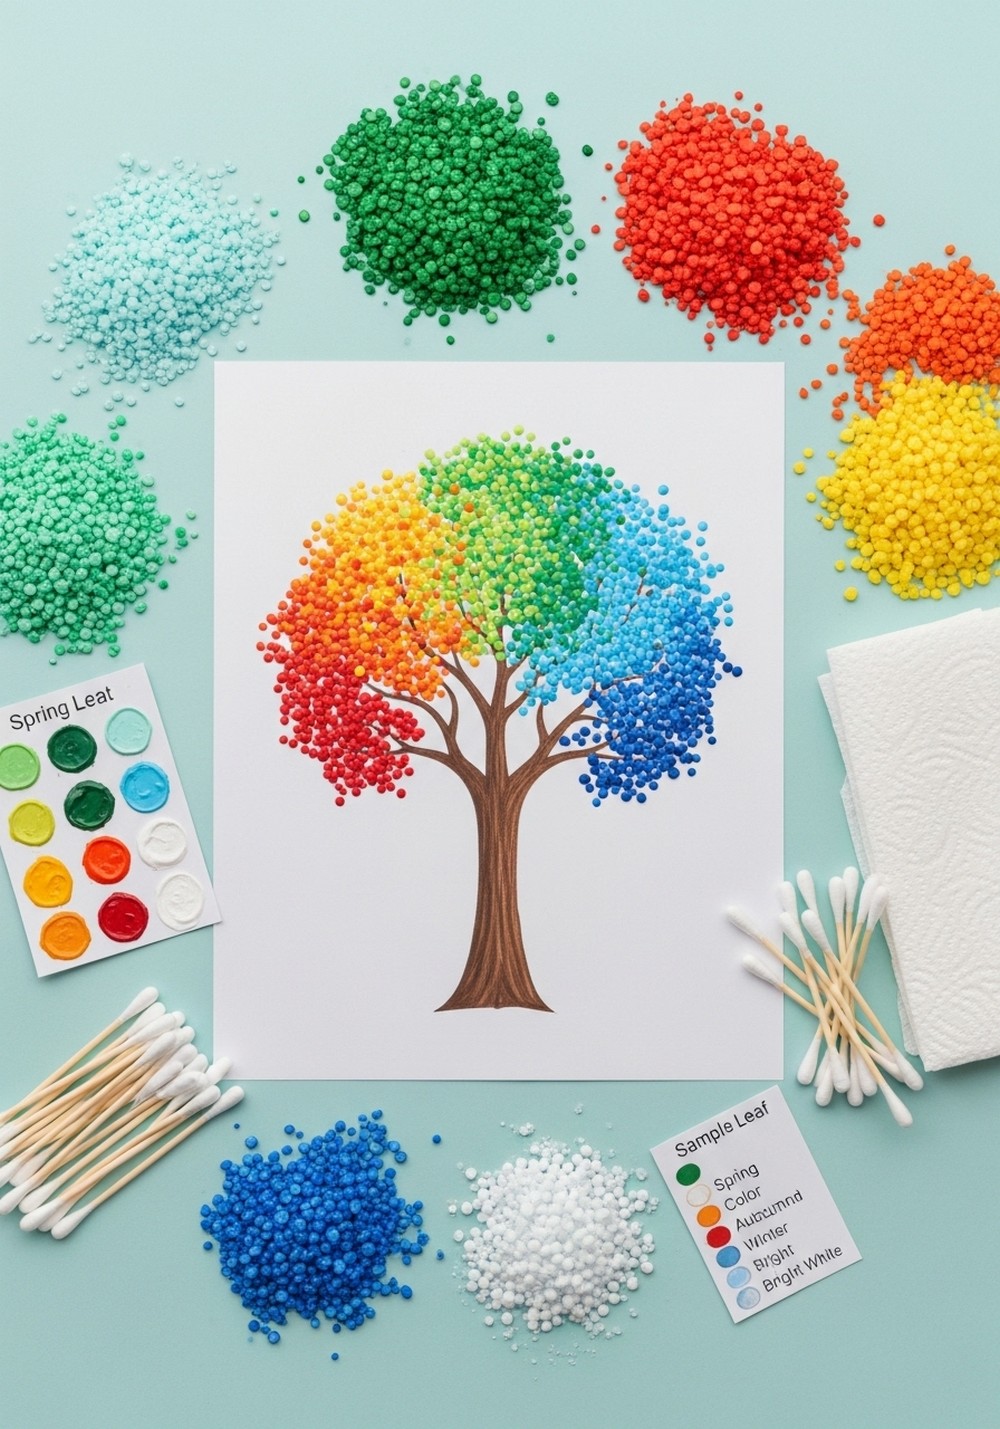
Sketch a simple trunk and branches. Dip cotton swabs into paint and dot leaves around the branches, clustering colors by season: spring brights, summer greens, fall oranges, winter snowy blues. Layer dots for depth and let some float away like petals in the wind. Kids practice spacing, color blending, and rhythm while creating a calm, meditative piece. Add birds, an owl hole, or a swing for storytelling. The dotted method creates lovely textures without tricky brushwork.
Sticker Story Art Scenes

Lay out a big sheet of paper and a mix of stickers—animals, vehicles, letters, shapes. Kids place stickers to build a scene, then draw roads, speech bubbles, mountains, or waves to connect the pieces. Add labels or short captions for literacy practice. Encourage sequencing: beginning, middle, and end. This project blends collage and drawing, supports choice-making, and helps reluctant artists get started quickly. Turn finished scenes into a class book or wall-length mural that evolves over a week.
Tissue Paper “Stained Glass”

Cut black construction paper into a frame with window panes. Tear colored tissue paper into small pieces and glue them to a clear sheet (or wax paper) that sits behind the frame. Overlap bits to mix colors like real stained glass. Tape the finished piece to a window and watch sunlight glow through. This introduces layering, transparency, and warm/cool color relationships. Frames can be themed—hearts, flowers, fish, or abstract designs—so kids can customize with minimal cutting.
Shape Robot Collage
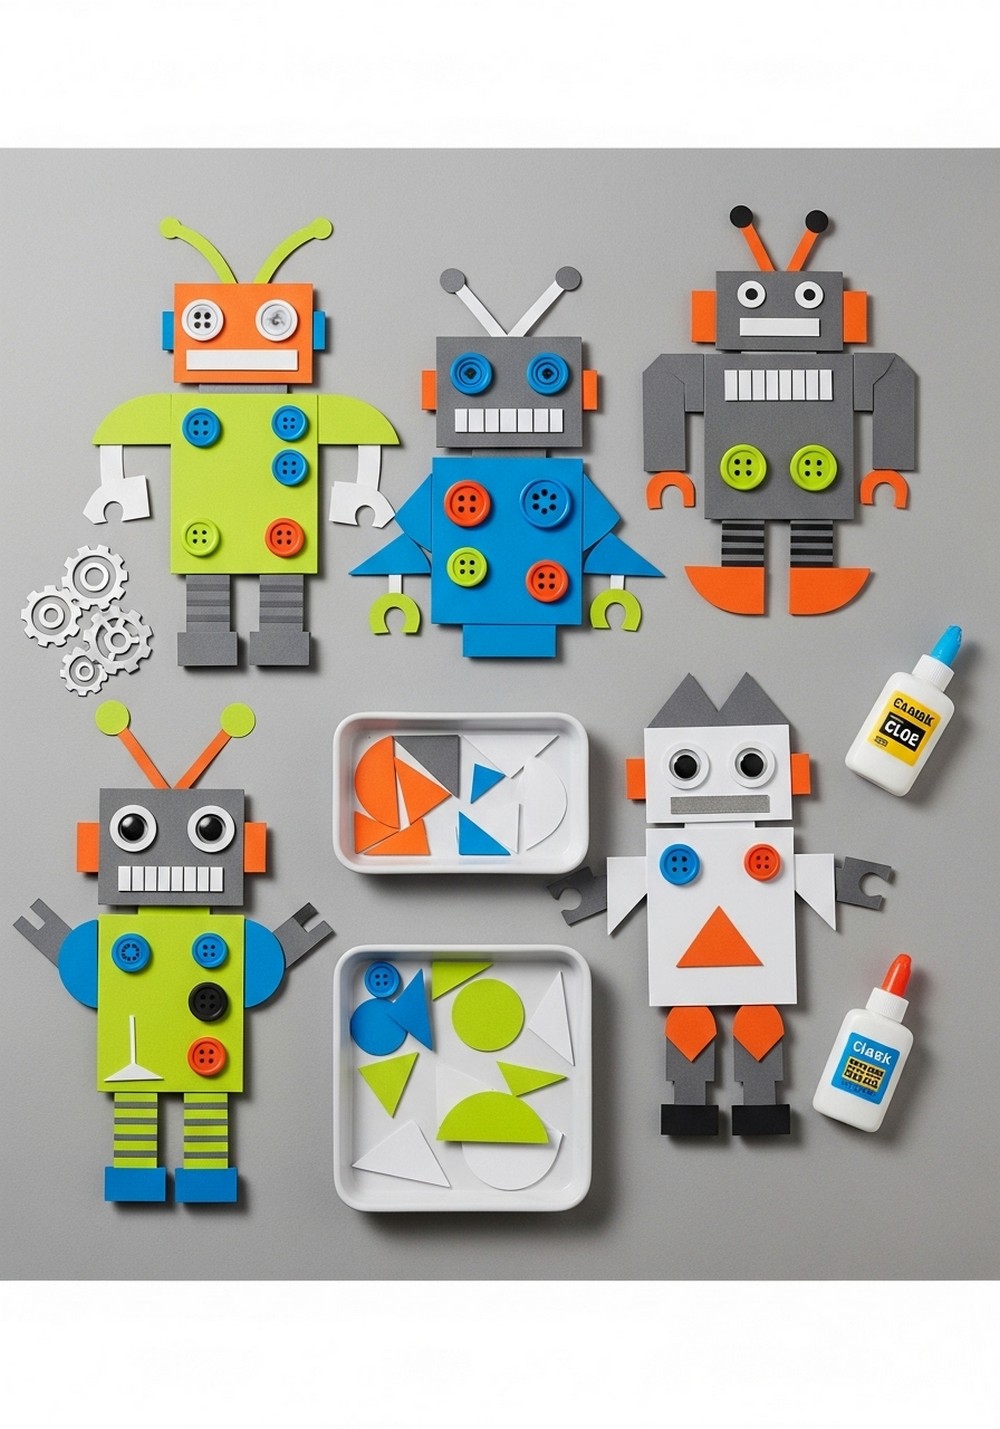
Pre-cut an assortment of shapes from colored paper: rectangles, squares, circles, triangles, and skinny strips. Kids assemble robots on cardstock by stacking shapes for heads, bodies, arms, and legs. Add gears, buttons, and screens with markers or metallic stickers. Discuss symmetry and function—What do those antennae do? What’s the robot’s job? Name it and add a speech bubble. This project reinforces shape recognition, arrangement, and storytelling while offering endless combinations for a whole robot “factory” gallery.
Coffee Filter Butterflies

Flatten a white coffee filter, color with washable markers, then mist lightly with water to blend into soft tie-dye wings. Pinch the center and clip with a clothespin or twist tie for the body. Add pipe-cleaner antennae and tiny eye dots. Kids explore absorption, blending, and symmetry as colors spread. Make a swarm and hang with string for a mobile. It’s quick, magical, and great for celebrating seasons or science themes like life cycles and pollinators.
Cardboard City Builds

Save cereal boxes, tubes, and packing scraps. Cover pieces with colored paper or paint, then stack to form buildings—houses, shops, schools—with windows and doors cutouts. Add roads from strips, bottle-cap trees, and drawn people. Encourage naming streets and placing tiny signs or bus stops. This project blends art and design thinking, introducing scale, stability, and collaboration. Cities can expand over days, inviting new districts, parks, or bridges. It’s perfect for teamwork and imaginative urban storytelling.
Foil-Embossed Drawings
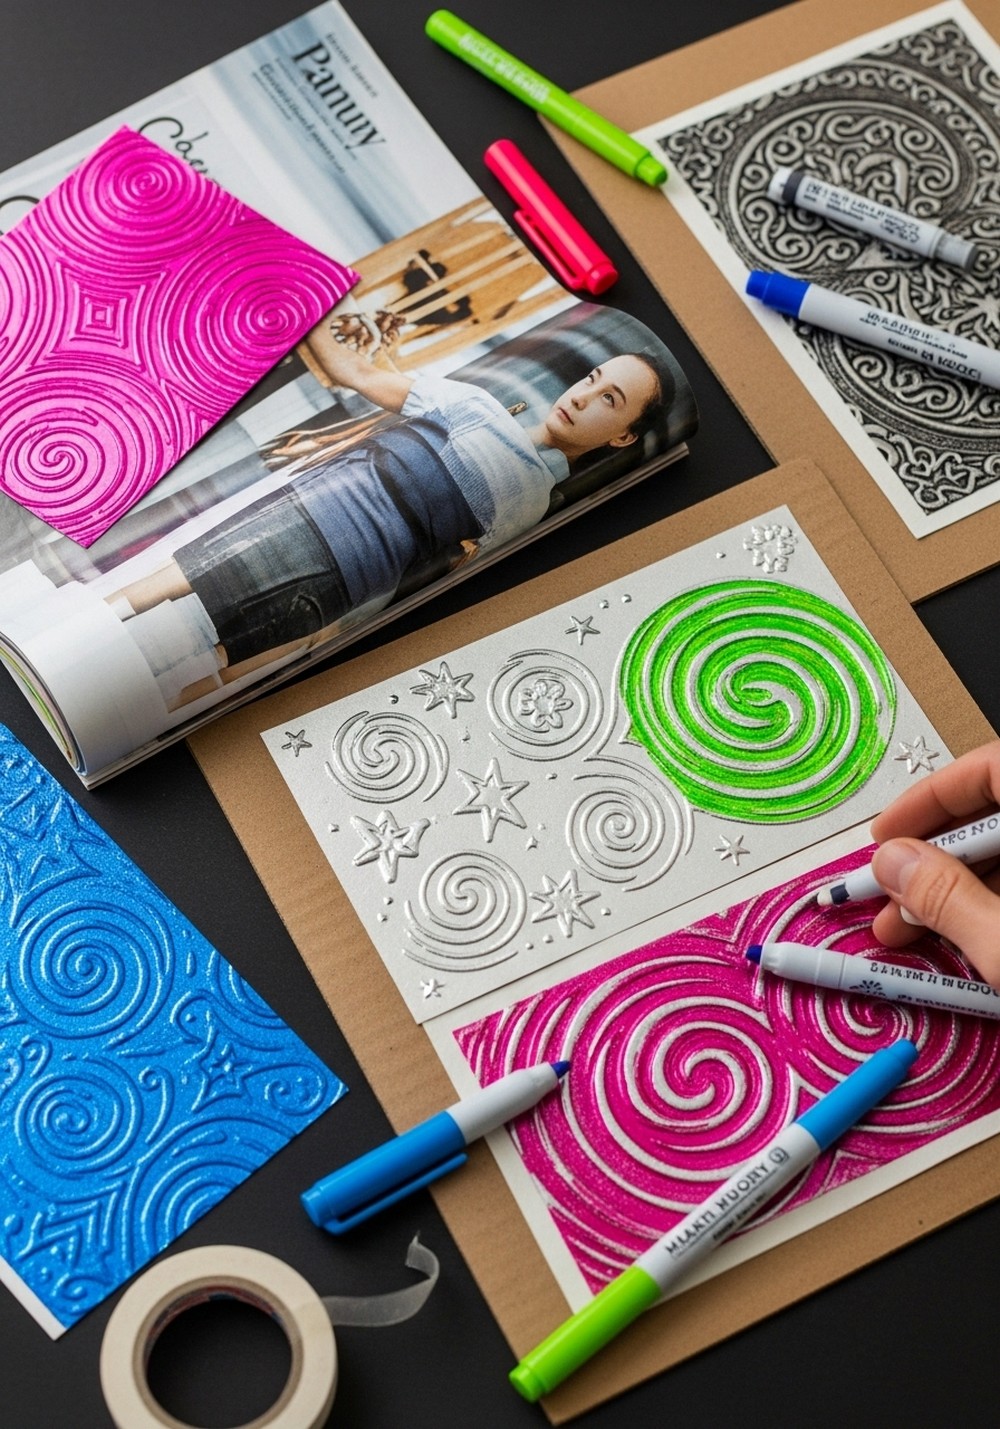
Place heavy-duty foil over a soft magazine. Draw firmly with a dull pencil to engrave lines—swirls, robots, initials, or flowers. Flip the foil to see raised textures. Glue the embossed sheet to cardboard and color sections with permanent markers or paint pens for a stained-metal look. Kids learn about pressure, line quality, and reflective surfaces. The final pieces shimmer beautifully on a wall and feel “fancy” without complicated steps or messy materials.
Marble Roll Painting
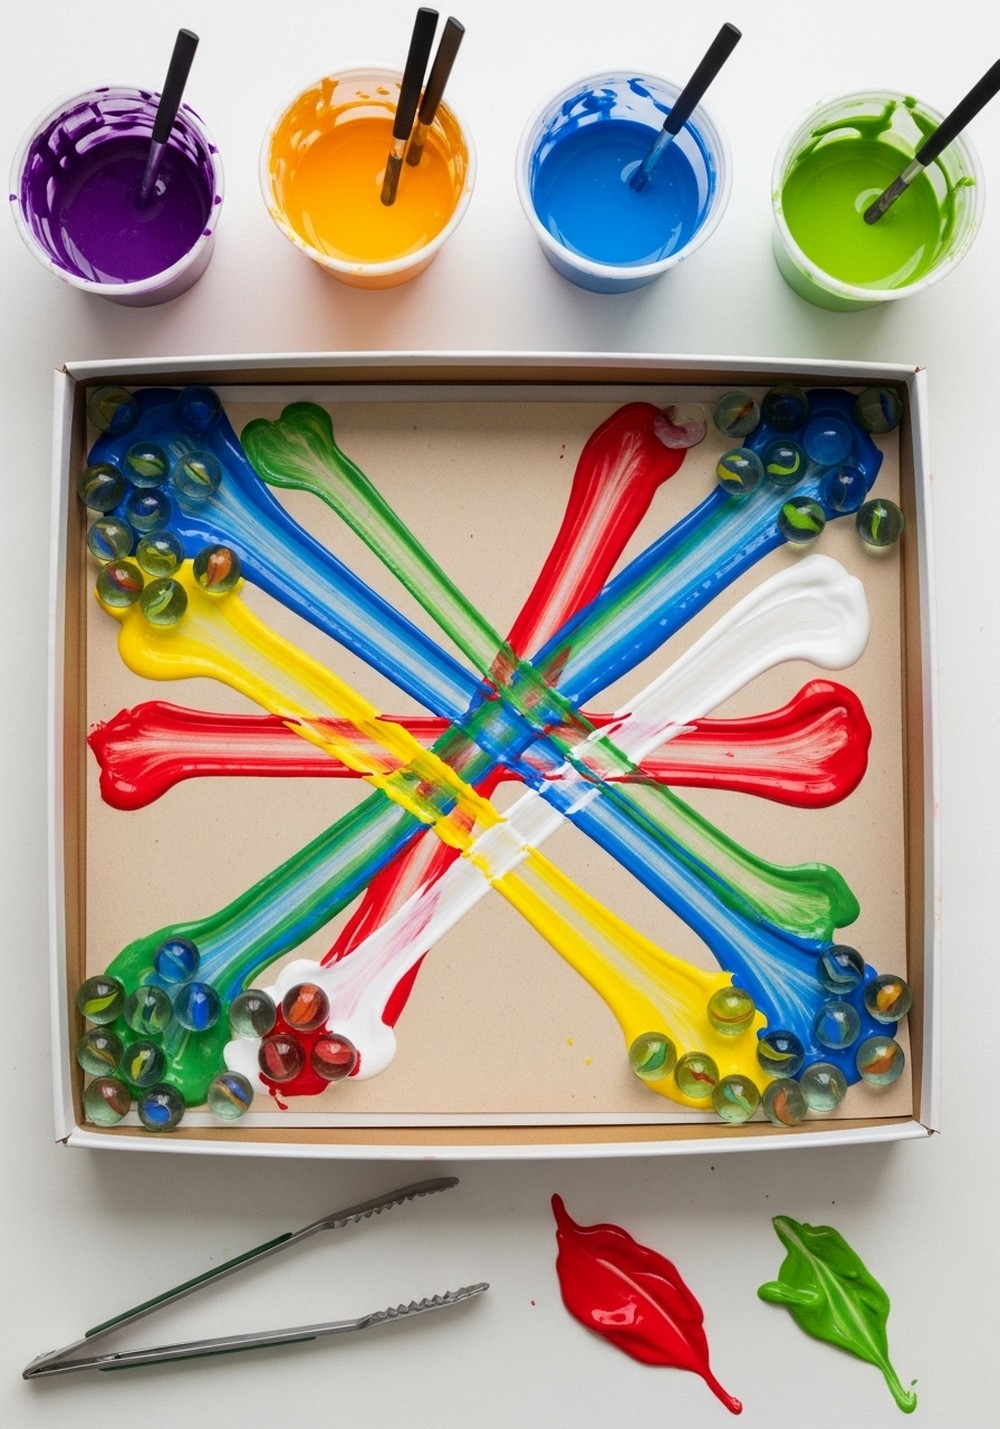
Tape a sheet of paper inside a shallow box lid. Drop in marbles, add small squirts of paint, and tilt the box to roll marbles through the colors, making crisscross trails. Swap colors and repeat. Remove the paper to dry, then cut shapes from the abstract results for cards or collages. This project introduces motion, cause-and-effect, and color layering, with a satisfying reveal at the end. It’s energetic and perfect for kids who like active making.
Handprint Safari Animals
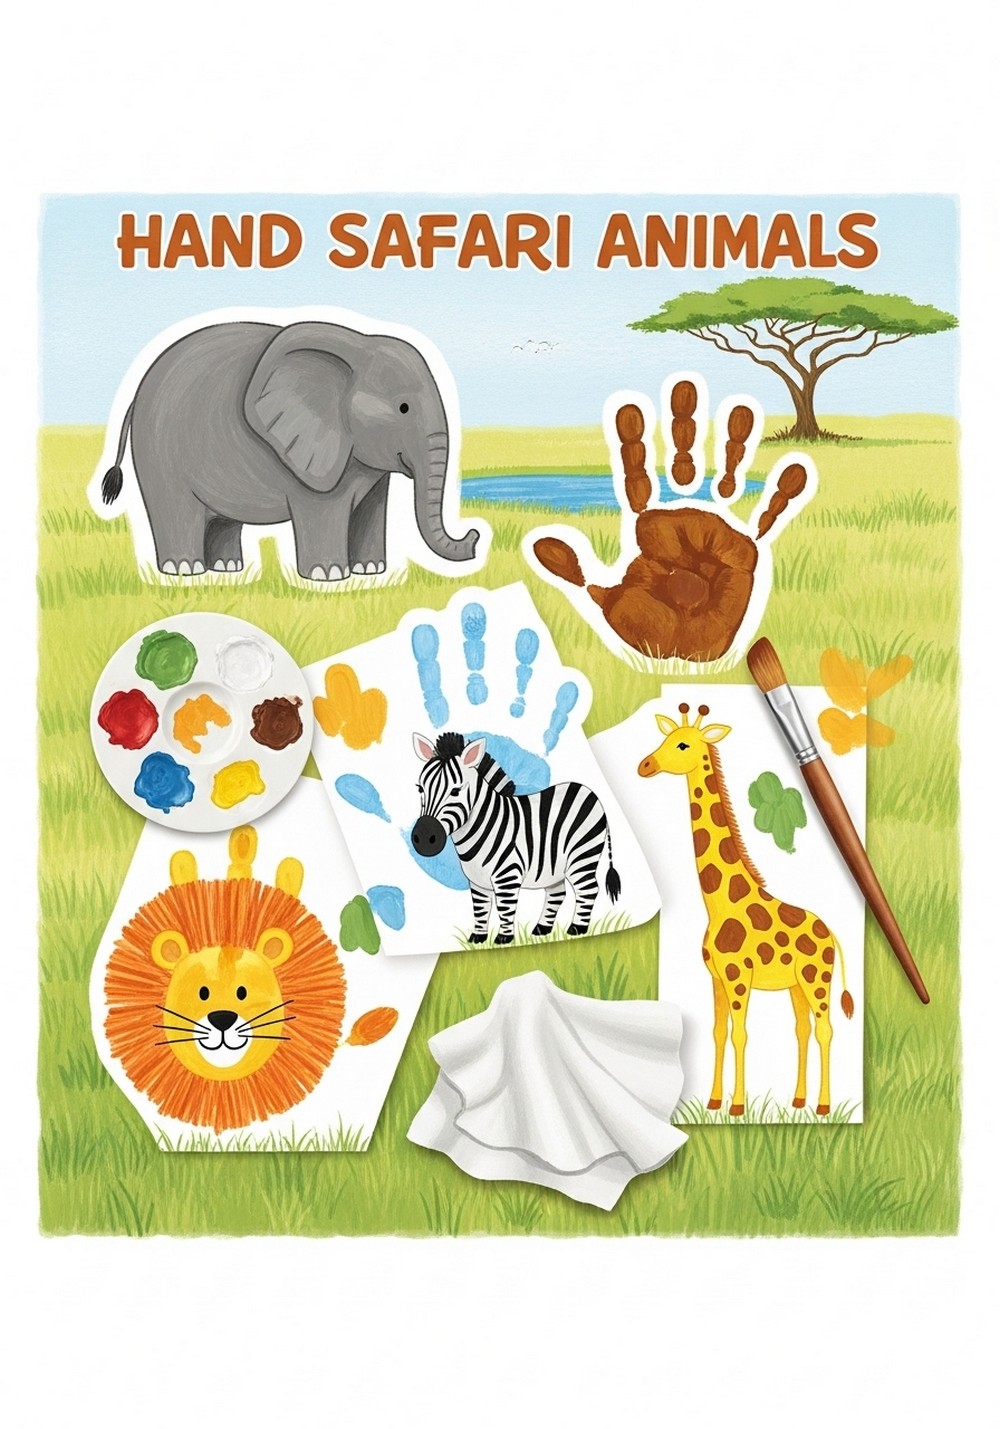
Paint hands with washable paint and press onto paper to create base shapes—lions, elephants, zebras, or giraffes. When dry, add faces, stripes, manes, tusks, and tails with markers. Include simple habitats: grass swishes, a watering hole, or an acacia tree. Handprints make scale personal and memorable, and kids love spotting which fingers became ears or legs. This project blends sensory play with drawing practice and turns keepsake prints into lively animal portraits for gifts or displays.
Leaf and Texture Rubbings
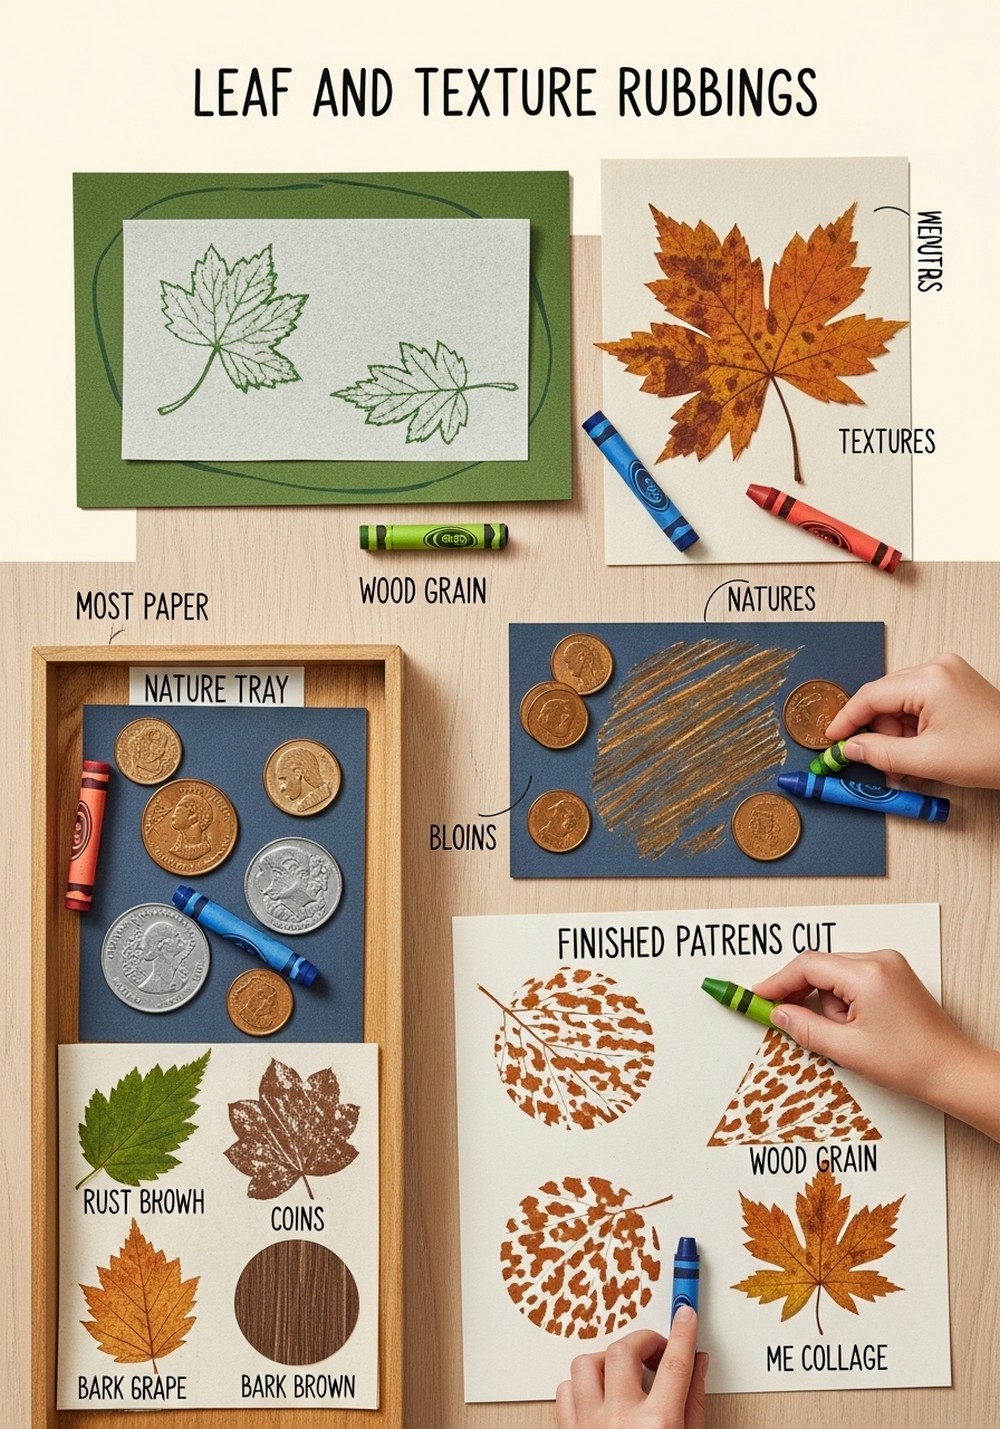
Place a leaf or textured object under thin paper. Rub the side of a crayon (paper peeled) over the surface to reveal patterns—veins, wood grain, coins, mesh. Arrange rubbings into a collage or cut shapes to build landscapes and animals. Discuss textures: smooth, rough, bumpy. Kids explore pressure control and observational skills while discovering hidden designs around them. It’s quiet, focused, and great for science integration or seasonal walks.
Tape-Resist Shape Art
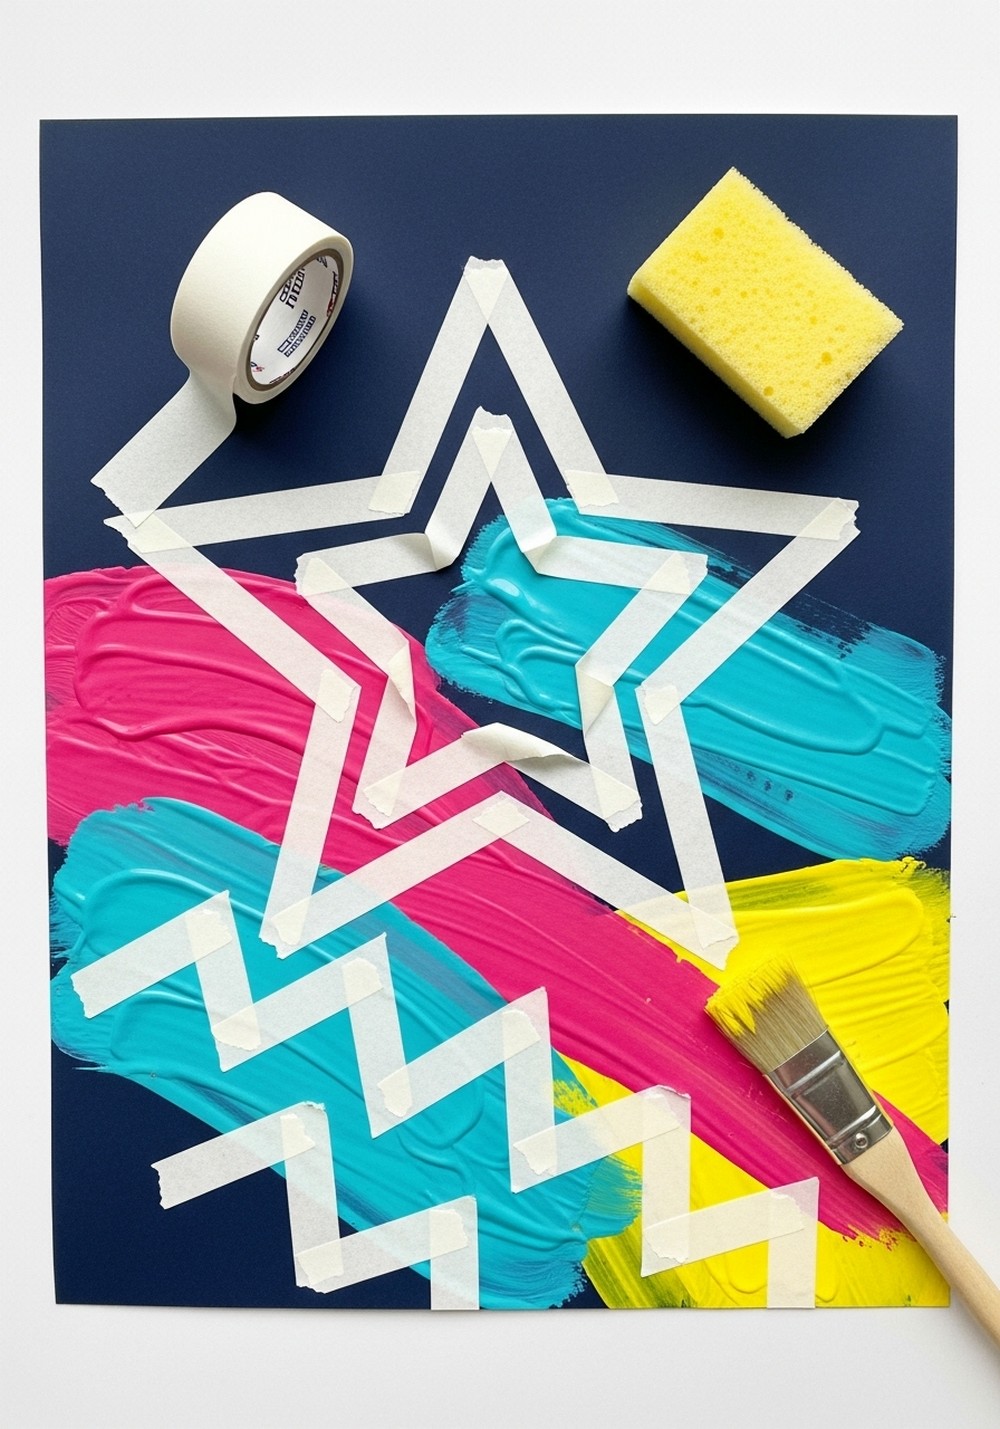
Stick low-tack painter’s tape on paper in lines and shapes—stars, initials, or random angles. Paint over the whole page with broad strokes or sponge dabs. Let dry, then peel the tape to reveal crisp white paths. Add doodles or words inside the opened spaces. This project teaches planning, negative space, and the satisfying “peel moment.” Results look polished with minimal effort, building artistic confidence for beginners and delight for experienced young makers.
Sponge-Stamp Silly Monsters

Cut kitchen sponges into simple shapes—circles, squares, triangles. Dip into paint and stamp monster bodies on paper. When dry, add googly eyes, marker teeth, spots, stripes, shoes, and silly hats. Encourage naming, powers, and favorite snacks. Play with overlapping shapes to create depth and friendships between monsters. Kids practice patterning, composition, and character design. It’s forgiving and giggle-friendly, ideal for parties or fast afternoon projects with big personality.
Paper Roll Explorer Binoculars

Tape or glue two toilet paper rolls side by side. Wrap with colored paper or paint, then add a strap from yarn and decorate with stickers, stars, or a tiny compass drawing. Kids can draw a nature checklist card to tuck inside. Use the binoculars for pretend safaris, birdwatching, or space missions, linking art to imaginative play. This builds fine motor skills and design thinking while recycling everyday materials into props that inspire movement and storytelling.
Chalk Pastel Landscapes

On toned paper, lightly sketch hills, trees, or a sunset. Layer chalk pastel in broad swipes, blending with fingers or tissue for soft edges. Add highlights and shadows for depth, then define key lines with a pastel pencil. Try warm sunsets or cool mountain mornings. Spray with fixative if available (adult step) or slide into a plastic sleeve. Kids learn color gradients, horizon lines, and atmosphere, creating dreamy scenes that feel advanced yet approachable.
Recycled Sculpture Challenge
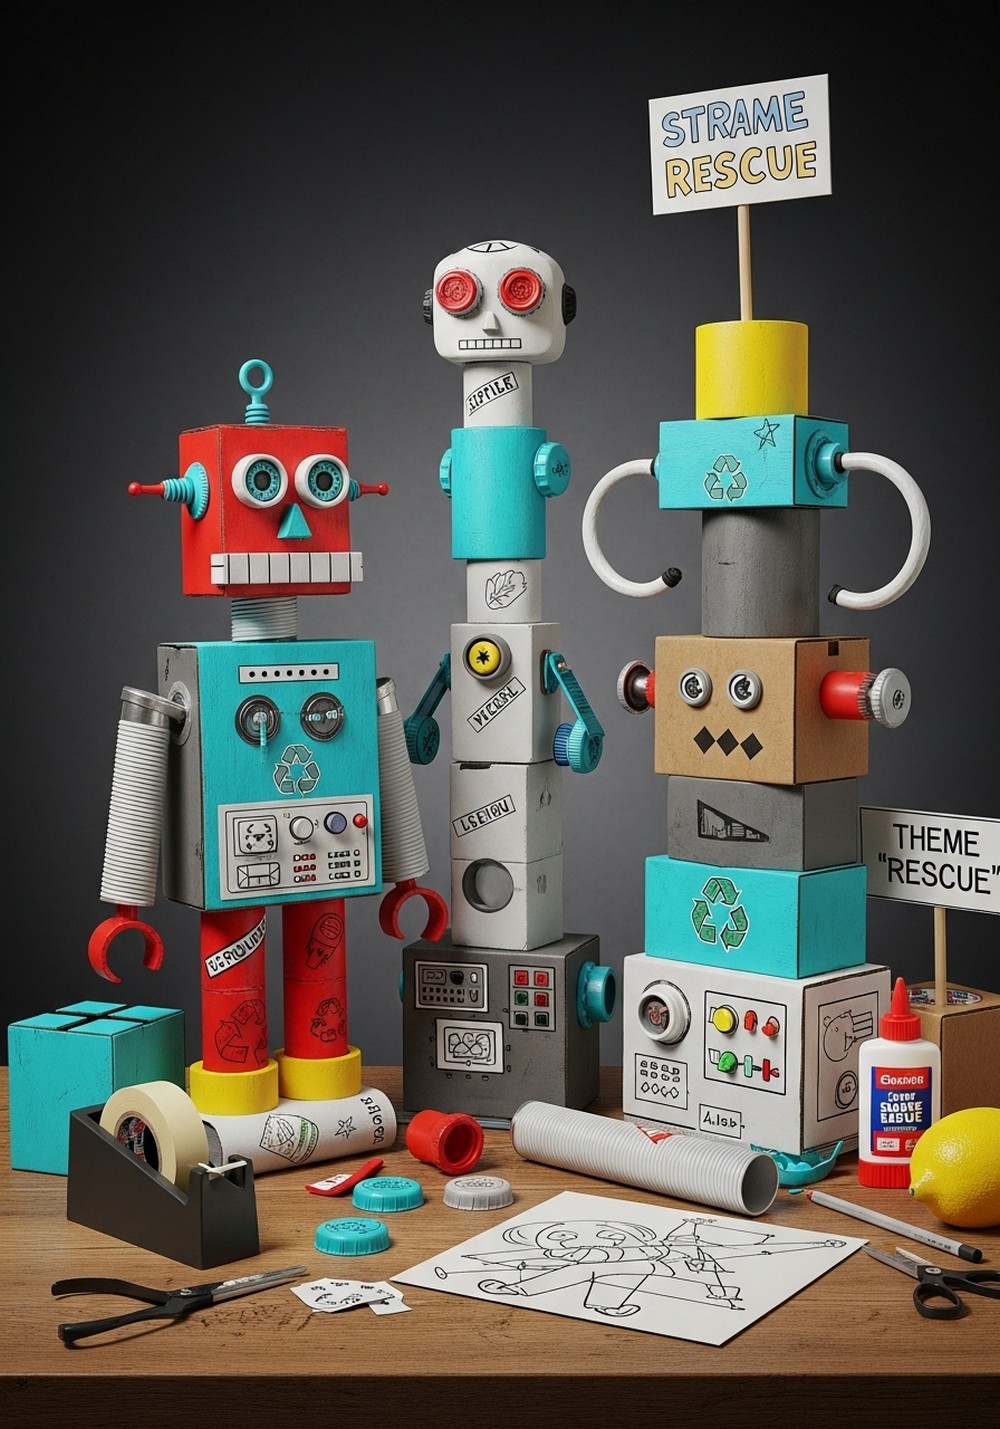
Gather clean recyclables—boxes, tubes, caps, trays—and tape or glue into imaginative forms: robots, animals, vehicles, or abstract towers. Cover with paper or paint for cohesion, then add drawn labels or control panels. Encourage problem-solving: stability, balance, and connections. Set a theme—“space rescue,” “ocean cleanup,” or “mini museum”—and invite short artist statements. This project blends engineering and art, celebrates sustainability, and turns scrap into proud, display-worthy creations that spark conversation and collaboration.
Conclusion
These easy art projects for kids prove creativity thrives with simple materials and playful steps. Mix fast wins—stickers, sponge stamps, salt painting—with longer builds like cardboard cities and recycled sculptures. Encourage choice-making, stories, and joyful messes, then honor each piece with a title and a spot to shine. Keep supplies reachable and clean-up simple, and let process matter more than perfection. With these ideas, every session becomes a bright, confidence-building adventure kids will ask to repeat.