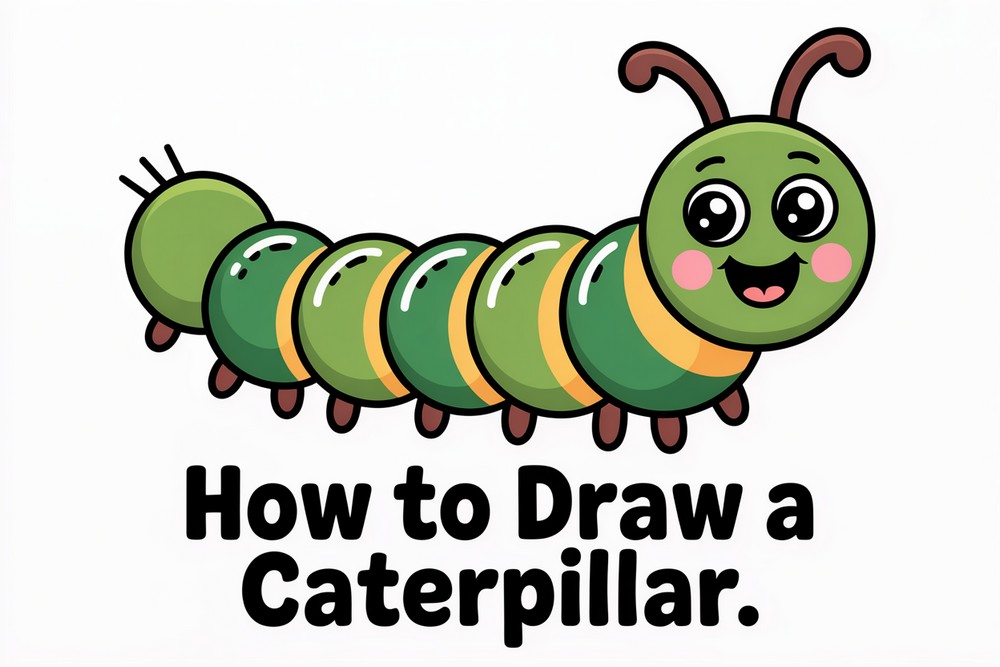
How to Draw a Caterpillar
Caterpillars are perfect for learning how to build a cute character from simple shapes. Today you’ll draw one step by step, using easy circles and gentle curves. We’ll begin with a round head and two playful antennae, add giant sparkly eyes and a smile, then stack plump body segments like beads along a string. Next come tiny legs and simple spots, which make shading and coloring faster. You can use pencil only, or ink your lines and color with markers, crayons, or colored pencils. This friendly design is sized for A4 or letter paper and great for classrooms, sketchbooks, or rainy-day fun. Take it slow, keep your strokes light, and enjoy the shapes. By the end, you’ll have a bright, happy caterpillar ready for stickers, frames, or sharing with friends.
Supplies for This Drawing
- HB pencil for sketching; 2B pencil for darker lines
- Fineliners: 0.3 mm and 0.5 mm black
- Kneaded eraser and plastic block eraser
- A4 (8.3×11.7 in) or US Letter, 160–200 gsm paper
- Compass or circle template (optional)
- Alcohol markers or colored pencils: yellow, green, red, blue, olive, orange, pink, purple, brown
- Sharpener and small ruler
Prepare the Materials
- Clear your workspace and set bright, even lighting.
- Tape paper to the desk or board to prevent slipping.
- Sharpen pencils and test pens on scrap.
- Arrange colors in drawing order.
- Place the reference images to your left or right.
- Keep tissues/cotton swabs for quick cleanups.
Special Features of This Drawing
- Built from repeating circles for easy proportioning
- Big “chibi” eyes with highlights for instant cuteness
- Overlapping segments create depth and motion
- Decorative center spots add style and shading targets
- Simple leg shapes that read clearly at small sizes
- Bold outlines that suit markers or crayons
Tutor’s Suggestions
- Sketch lightly first; press harder only to finalize.
- Use overlaps to suggest depth between segments.
- Keep line weight consistent; thicken only outer contours.
- Color one segment at a time to avoid bleed.
- Lift mistakes with a kneaded eraser, not rubbing.
- Step back often to check spacing.
- Take short breaks to keep lines steady.
Uses
- Classroom drawing warm-ups or art centers
- Coloring page for younger artists
- Cute poster or wall print for a kid’s room
- Greeting card or sticker design
- Social post or profile banner
- Sketchbook practice for confident curved lines
Level of Difficulty
Beginner-friendly — simple repeating shapes, clear overlaps, and bold outlines.
Head and Antennae

Lightly draw a medium circle for the head, about a walnut size. From its top, curve two lines upward like long question marks. End each line with a small circle; these are the antenna tips. Keep everything soft and rounded. Leave space to the right for the body. Trace over with a darker line once the proportions feel friendly. Add gentle thickness.
Face Details
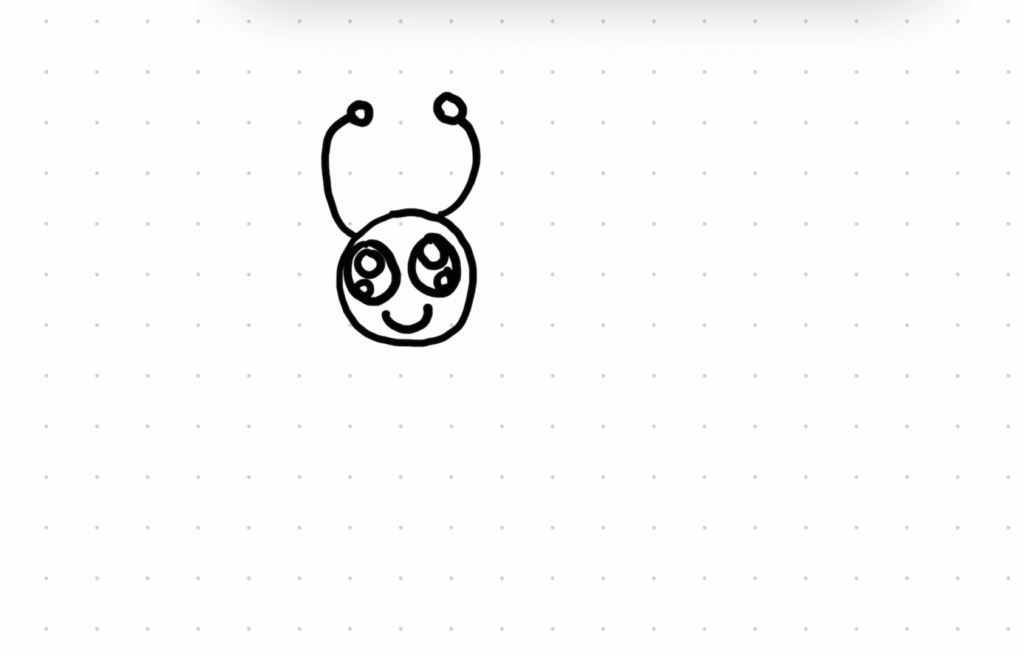
Inside the head, place two big ovals that touch the top edge a little; these are huge eyes. Add smaller circles inside for highlights and a crescent pupil around them. Under the eyes, draw a soft smile. Outline the head again to clean the shape. Keep lines smooth and bold so the face reads clearly and cute. Add tiny cheek arcs too.
Build the Body

Start the body by tucking a small circle under the head on the right, overlapping slightly to form the neck. Continue adding four or five plump circles in a gentle curve, each overlapping the previous like stacked beads. Finish with a smaller rounded end for the tail. Keep sizes similar so the rhythm looks bouncy and consistent across the body. Avoid points.
Add Little Legs
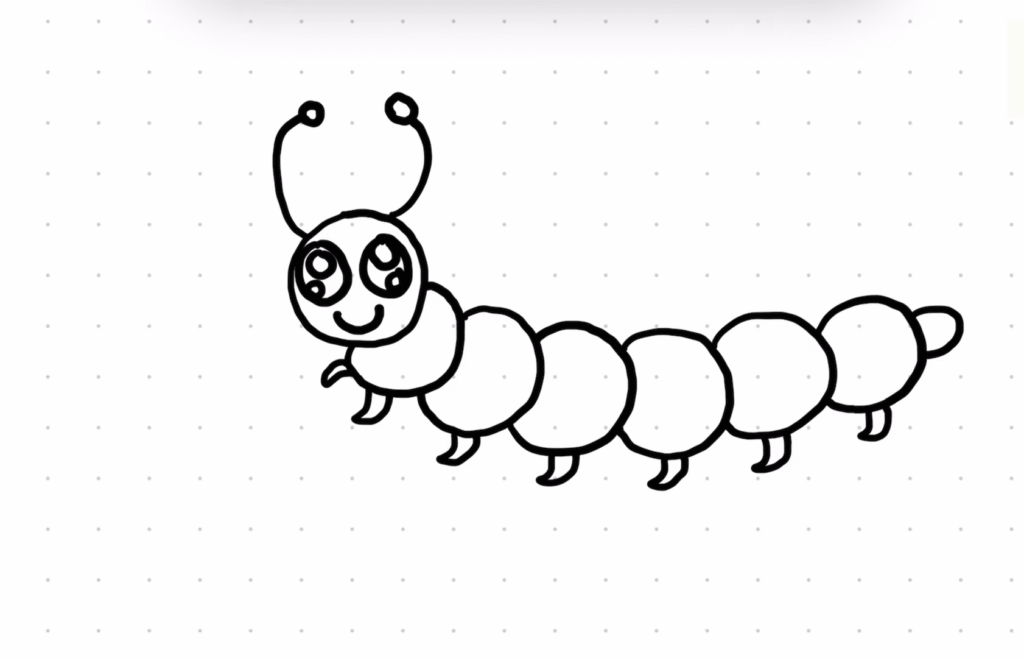
Add legs by sketching short curved strokes under each middle segment, shaped like tiny bananas. The front pair can show small arms: one tucked behind, one reaching forward. Keep the legs evenly spaced so the caterpillar feels balanced. Thicken the lines slightly to match the body outline. Leave clear gaps between leg tips and the ground for a light, walking pose. Nicely.
Spots and Cleanup
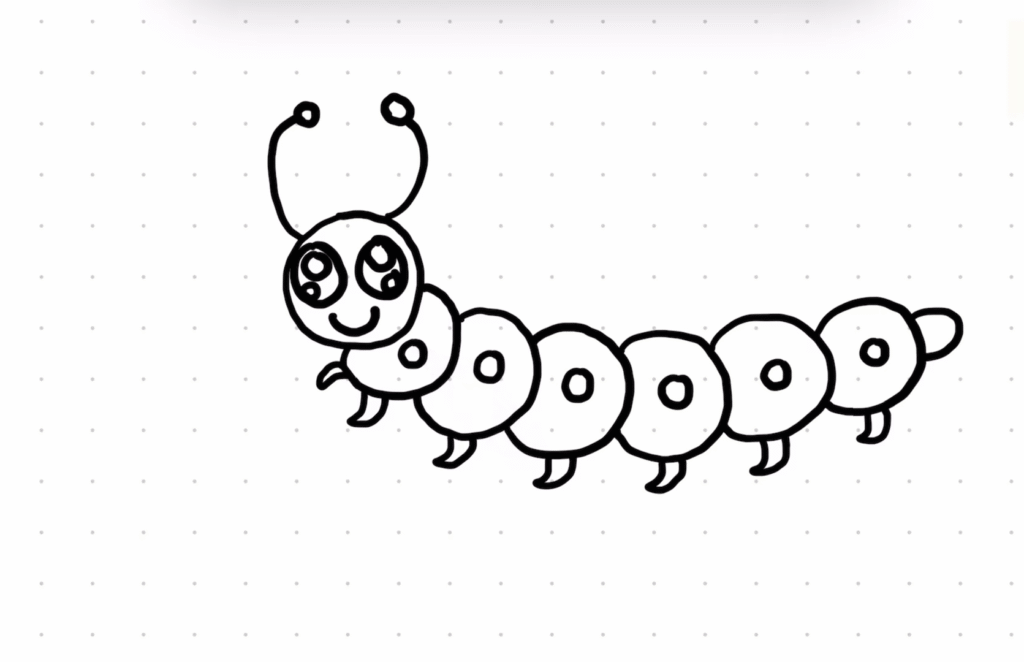
Inside each body circle, draw a smaller circle to suggest decorative spots and a sense of volume. Vary the sizes a little so they look playful, not stamped. Keep them centered and avoid touching the outlines. Erase any leftover construction lines, then slowly retrace your best contours with a steady pen. Your caterpillar should now look clean, cute, and ready for color.
Color the Head
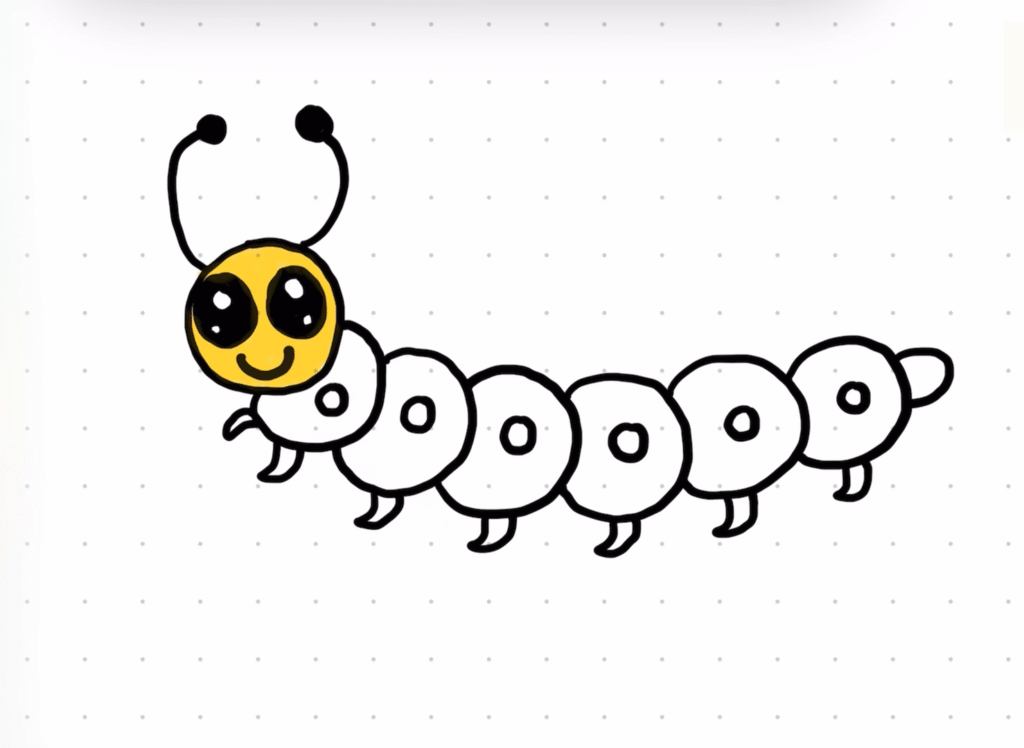
Begin coloring with the head. Fill it with a cheerful yellow, leaving the highlight circles inside the eyes white. Darken the antenna tips and pupils. Add a soft orange edge under the head to suggest shadow on the first segment. If you’re using markers, color in small circular motions to avoid streaks. Let each area dry before touching nearby lines. Work patiently.
Rainbow Segments

Color the body segments in a rainbow sequence: green, red, blue, olive, orange, pink, and a purple tail. Keep colors flat and bright, then add a slightly darker ring around each inner spot. Maintain white highlights where the legs would shine. If colors bleed, slow down and work one circle at a time. Re-ink outlines after coloring for a crisp finish. Gently.
Final Touches
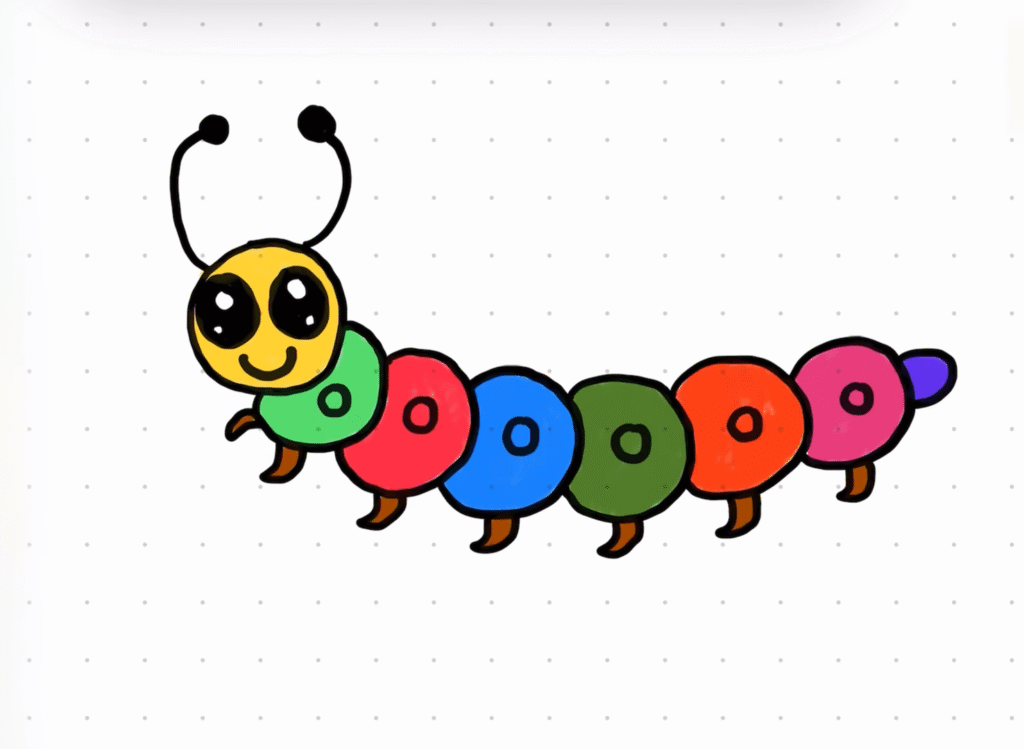
Finish by coloring the legs a warm brown and adding a tiny shadow beneath each one to ground the character. Deepen the smile and eye edges with a confident line. If needed, brighten highlights with a white pen. Step back, check spacing, and adjust any wobbly circles. Your friendly rainbow caterpillar is complete and ready for a sticker or signature. Nicely done.
Conclusion
Great drawings come from simple steps done carefully. This caterpillar uses circles, overlaps, and confident outlines to teach control without pressure. Try another version facing left, or make extra segments for a longer body. Swap the rainbow for earthy greens. Add leaves, flowers, or a twig to suggest scale. Most of all, relax, practice, and enjoy the process. Keep exploring.
A Bonus Tip
Place a faint guideline through the centers of the segments to keep the body curve smooth and lively.
FAQs
Q: How long will this take?
A: Most beginners finish in 25–45 minutes, depending on coloring time.
Q: What paper size works best?
A: A4 or US Letter is perfect; heavier paper (160–200 gsm) handles markers well.
Q: My circles look uneven. How can I fix them?
A: Redraw with a compass or trace bottle caps, then re-ink confidently.
Q: Should I shade before or after coloring?
A: For markers, add simple shadows after flat color with a slightly darker tone.
Q: Can I use crayons instead of markers?
A: Absolutely. Layer lightly, then burnish with a colorless blender or a matching crayon.
Q: How do I keep proportions cute?
A: Keep the head slightly larger than a single segment, and space legs evenly underneath.