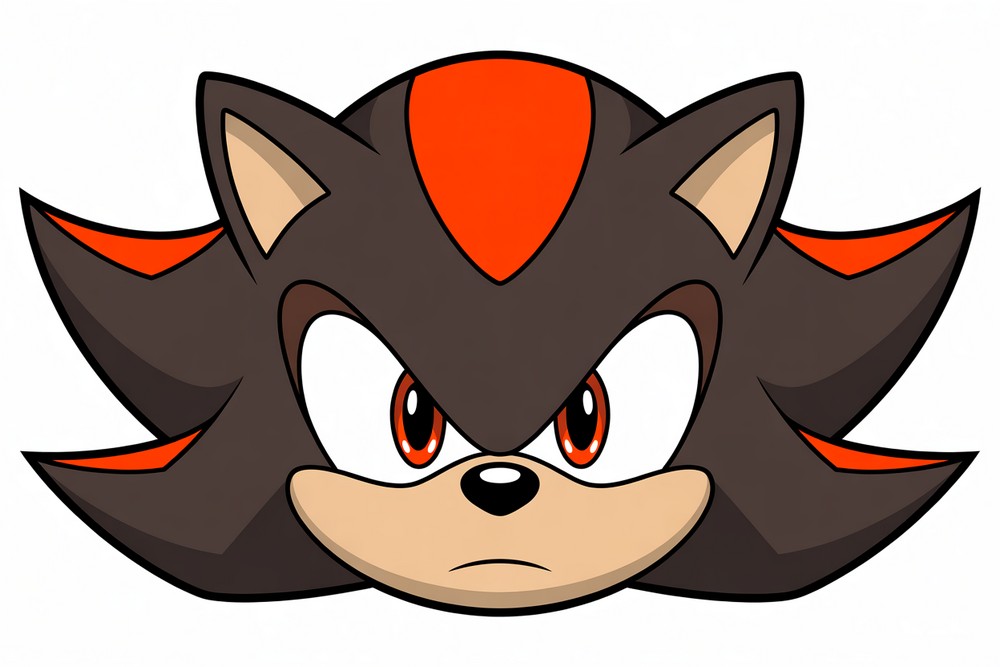
How to Draw Shadow the Hedgehog
Shadow the Hedgehog looks intense, but this head-only tutorial keeps things simple. Working from big shapes to small details, you’ll sketch the muzzle, nose, and eye ridge, then map his sweeping quills. After we lock the outline, we’ll add ears, refine the forehead patch, and place the eyes. Finally, you’ll ink strong lines and fill the dark areas before adding Shadow’s signature red and beige colors. Draw lightly first, erase as needed, and keep checking balance left to right. You won’t need fancy gear—patience, smooth strokes, and a steady hand. This guide uses easy curves and repeatable spikes so beginners can follow, while fans can push cleaner symmetry and bolder fills. If you prefer pencil only, stop before coloring; for marker users, work from light to dark and keep a spare sheet under your hand to prevent smudges. Take your time, compare angles, and enjoy each stage. By the end, you’ll have a crisp Shadow portrait ready for your sketchbook, poster, or fan-mail art. Add highlights last with an eraser or a white gel pen.
Supplies for This Drawing
- Pencils: HB (layout), 2B (darker lines)
- Erasers: kneaded eraser, vinyl block eraser
- Paper: A4 (8.3×11.7 in), 160–200 gsm smooth drawing paper
- Inking: black fineliner (0.3–0.5) or brush pen; black alcohol marker
- Color: red marker/pencil, warm beige/tan marker/pencil, cool gray pencil (optional)
- White gel pen (optional highlights)
- Sharpener with fresh blade
- Ruler (for margins) and scrap paper to guard against smudges
Prepare the Materials
- Clear your workspace and set bright, even lighting.
- Tape the paper edges for clean borders if desired.
- Sharpen pencils; test pressure on scrap.
- Place reference images within easy view.
- Keep tissue under your drawing hand to avoid smudging.
- Uncap markers only when you’re ready to use them.
Special Features of This Drawing
- Iconic backward-flowing quills arranged for symmetry.
- Heavy eye ridge and frown for attitude.
- Bold, graphic blacks contrasted with crisp white areas.
- Minimal color palette: black, red, and beige.
- Clean, tapered spikes that sell speed and motion.
- Simple muzzle form that anchors the face.
Tutor’s Suggestions
- Sketch lightly, then commit with confident ink.
- Keep spike tips sharp by pulling outward, not pushing.
- Build blacks in two smooth passes to avoid streaks.
- Compare left and right angles constantly for symmetry.
- Use a kneaded eraser to lift, not scrub.
- Let ink dry before coloring; protect with a scrap sheet.
- Re-edge borders last for a polished finish.
Uses
- Classroom character study or warm-up
- Fan art for portfolios or gifts
- Poster or wall print for a game room
- Coloring page for younger artists
- Social post demonstrating inking technique
- Marker practice focused on even fills
- Sticker or badge design mock-up
Level of Difficulty
Beginner-friendly — simple shapes with a focus on clean, bold fills and symmetry.
Muzzle and Nose
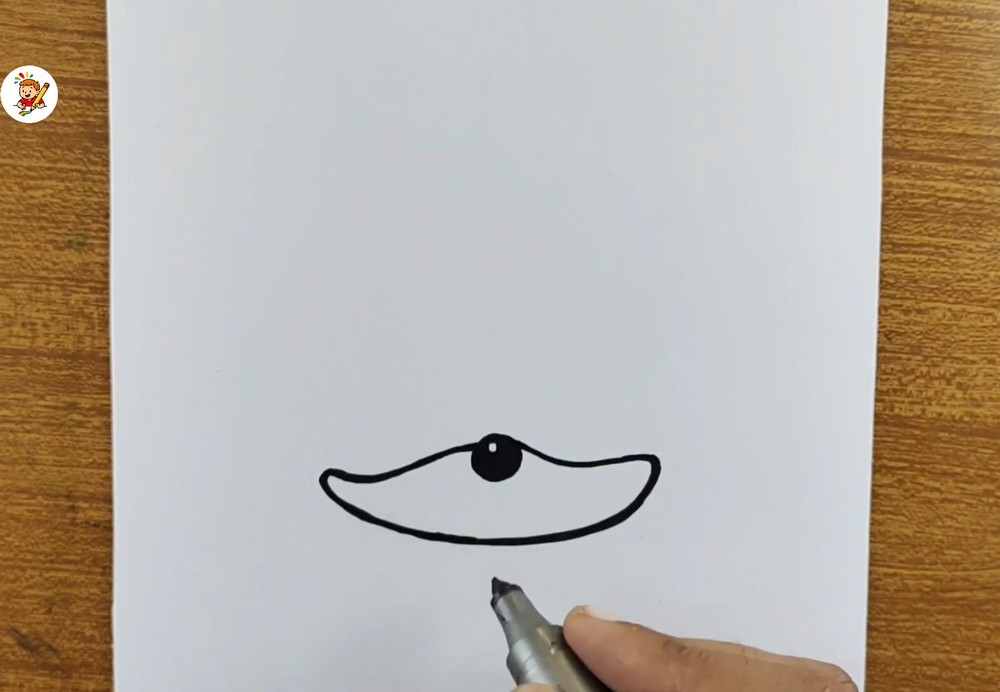
Draw the muzzle first. Place a long, slightly curved bean shape across the page’s center, wider than it is tall. Add a small oval nose sitting on the top edge, a little right of center, and fill it black, leaving a tiny highlight. Thicken the muzzle outline to match Shadow’s bold style. Underneath, add a soft curve for the lower lip. Keep lines smooth and light for now; we’ll refine them later when we ink everything cleanly. Maintain gentle symmetry.
Eye Ridge and Mouth
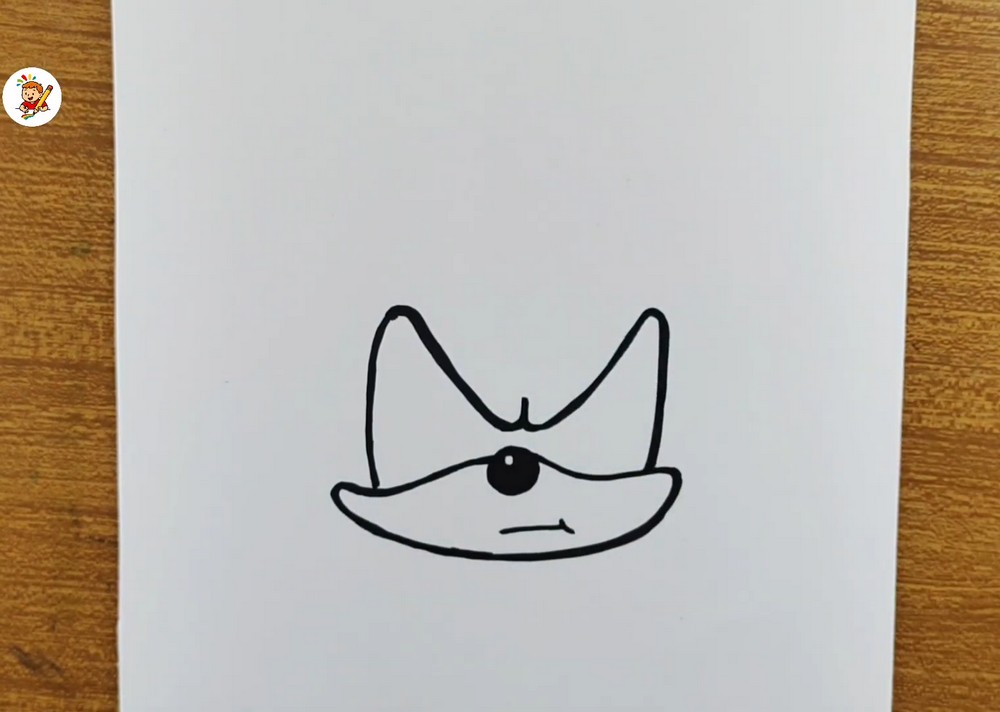
Build the eye ridge. From each side of the muzzle, rise with tall, pointed arches that lean inward, forming the frames of Shadow’s eyes. Leave a narrow gap centered above the nose to suggest the crease between brows. Under the right side of the muzzle, add a short flat line for the mouth. Keep the inner edges thick to feel heavy and frowning. Check that both arches are similar heights, and adjust lightly until the expression feels centered and strong.
Quill Guides
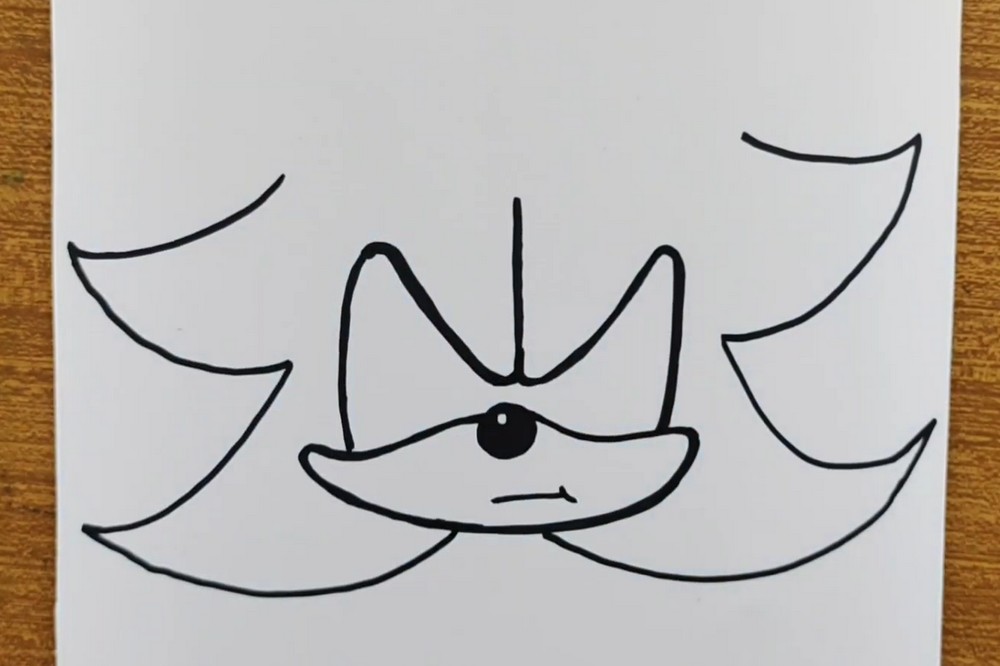
Map the big quills with guide curves. Draw three long, sweeping spikes on each side, starting near the eye arches and fanning outward. Use broad, S-shaped arcs that taper to points, staying consistent left and right. Add a short center line above the brow crease to mark the forehead patch’s bottom. Keep these outer spikes slightly lower than the center one we’ll build next. Everything should feel like hair flowing backward around the face, framing the muzzle and eyes dramatically.
Full Silhouette
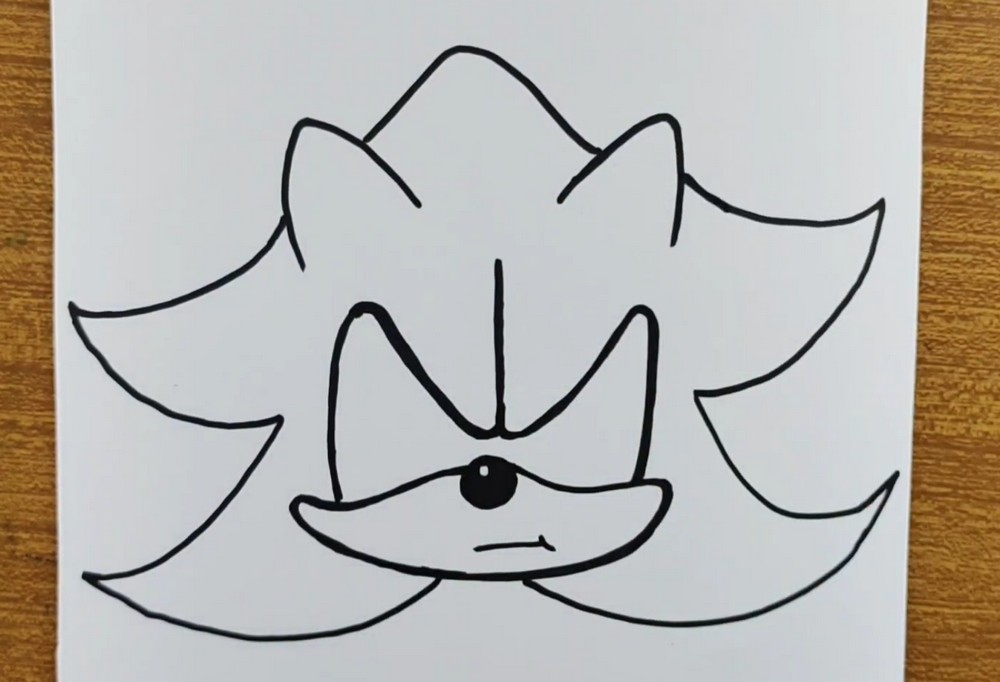
Connect the quills into a solid silhouette. Round off the top by adding a central spike that peaks high, then flows down into the side spikes you sketched. Close any gaps so the outer shape reads as one continuous outline. Keep the tips sharp and the arcs smooth, with extra thickness where shadows would fall. Ensure the cheeks swoop outward before curving back to the lower quills. Stand back and check balance; mirror any uneven angles with small corrections. Symmetry.
Ears and Forehead Patch

Add the ears and forehead patch. Place two triangular ears tucked inside the upper quills, leaning outward slightly. Draw smaller triangle inserts to show the inner ear shapes. Above the brow crease, sketch an oval or teardrop patch centered on the top spike; this will become the red stripe later. Redraw overlapping lines where needed so the ears sit cleanly in front of nearby quills. Keep curves decisive, and maintain the strong centerline dividing the forehead area for later shading.
Eyes and Inking Start
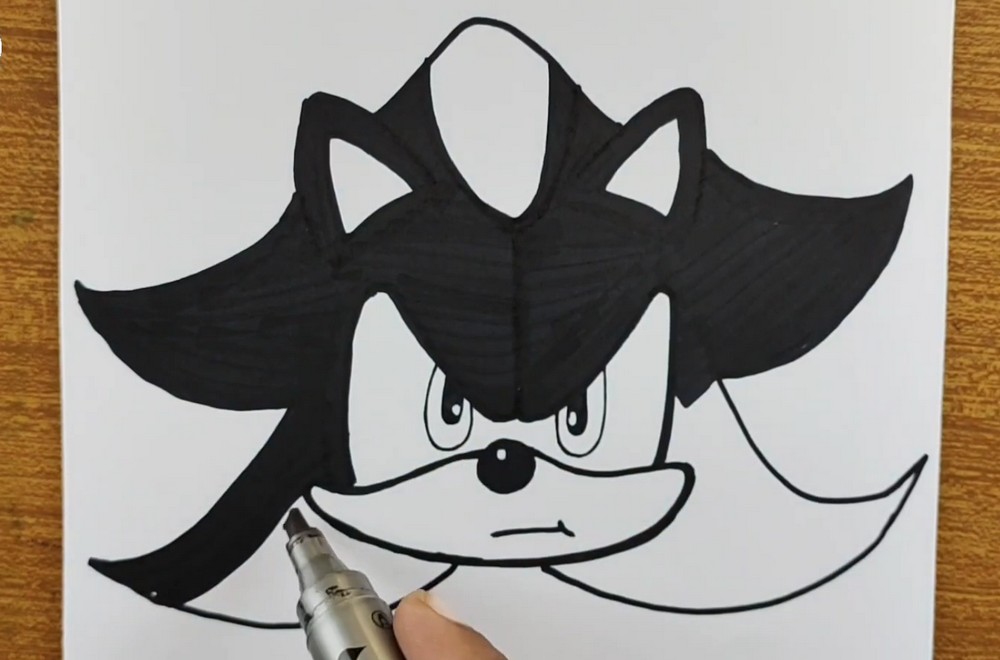
Place the eyes and start inking. Inside each arch, draw tall almond shapes with flat bottoms. Add thin ovals for irises with small highlights, then a tiny oval nose on the muzzle’s bridge if you haven’t already. With a black fineliner or marker, carefully trace the final outline of the quills, ears, muzzle, and eyes. Keep your pen moving to avoid wobbles. Start filling the top central quills with solid black, leaving the forehead patch and inner ears white. Cleanly.
Fill the Blacks
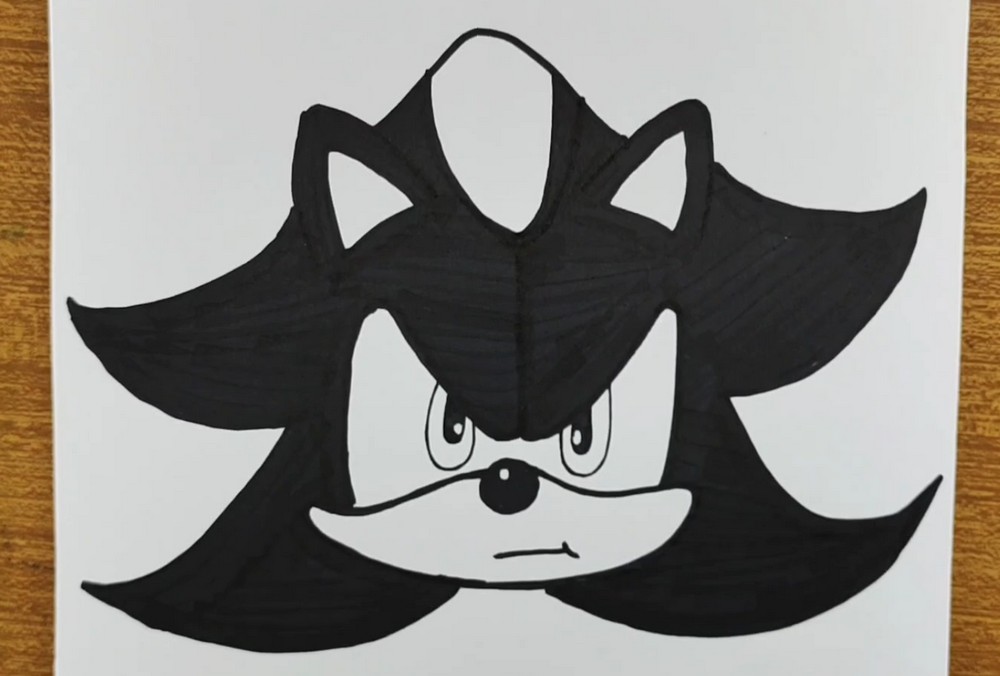
Block in the large black areas. Fill all quills around the head with solid black, working in consistent strokes so the color looks even. Keep the forehead patch, inner ears, eyes, and muzzle unfilled. Strengthen the outer contour to a confident thickness. If marker strokes streak, add a second pass in the same direction. Leave the bottom quills’ edges crisp and pointed. Let wet ink dry before resting your hand near those zones to prevent smudges on the clean face.
Add Color and Polish
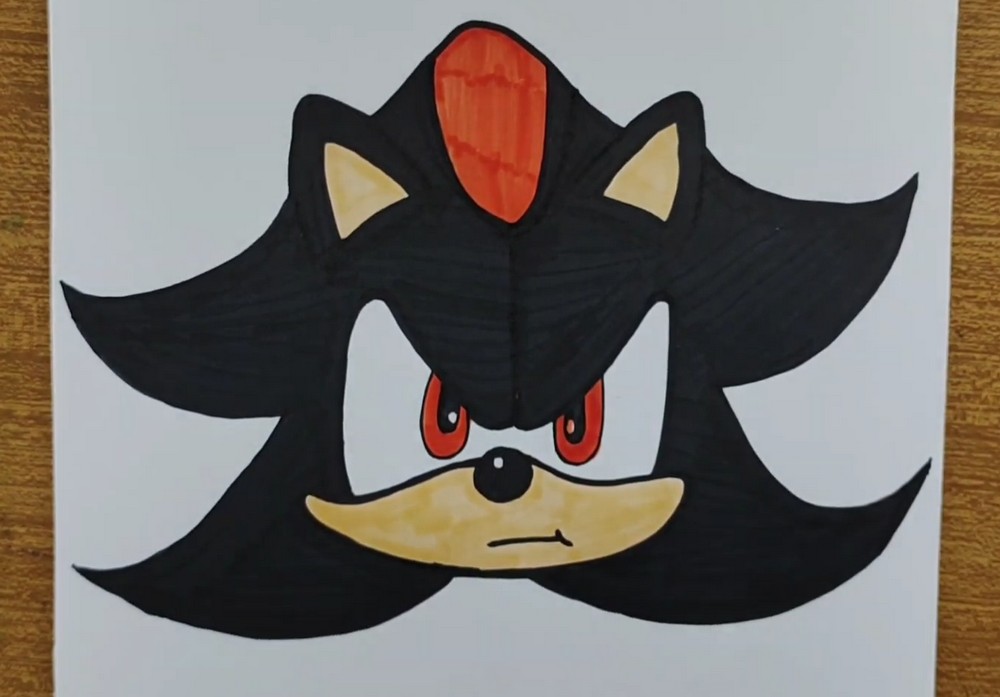
Add Shadow’s colors and polish. Color the forehead patch bright red, then add red ovals inside the eyes around the pupils. Fill the inner ears and muzzle with a warm beige or light tan. Deepen the nose with a darker pass, leaving a tiny highlight. If needed, re-edge the black quills to keep borders sharp. Erase any leftover pencil guides. Optional: a faint cool gray along white areas adds dimension without overpowering the bold, graphic look that defines Shadow. Perfect.
Conclusion
Clean lines and strong shapes make Shadow instantly recognizable. If something feels off, it’s usually symmetry: compare spike angles, eye heights, and muzzle width. Keep fills even, and don’t rush—two smooth passes beat one streaky coat. Once comfortable, push expressions by tilting the eye arches and varying quill curves. You can also add a soft drop shadow under the head for pop. Most of all, practice small, then go big. Enjoy the drawing journey. Always.
A Bonus Tip
Angle the page slightly so your natural stroke follows the quill curves; your spikes will look cleaner and more dynamic.
FAQs
Q: How long will this take?
A: Most artists finish in 35–60 minutes, depending on drying time and how carefully you ink.
Q: What paper size works best?
A: A4 (8.3×11.7 in) is ideal. Heavier paper, 160–200 gsm, handles marker fills without buckling.
Q: My spikes don’t match. What should I fix first?
A: Check the center spike height, then mirror the side spike angles and tip distances from the muzzle.
Q: Should I shade before coloring?
A: For markers, lay flat colors first, then add subtle gray along white areas. Pencil users can shade before or after.
Q: Can I draw this only in pencil?
A: Yes. Keep lines clean, darken the blacks with layered pencil, and leave the red areas as labeled outlines.


