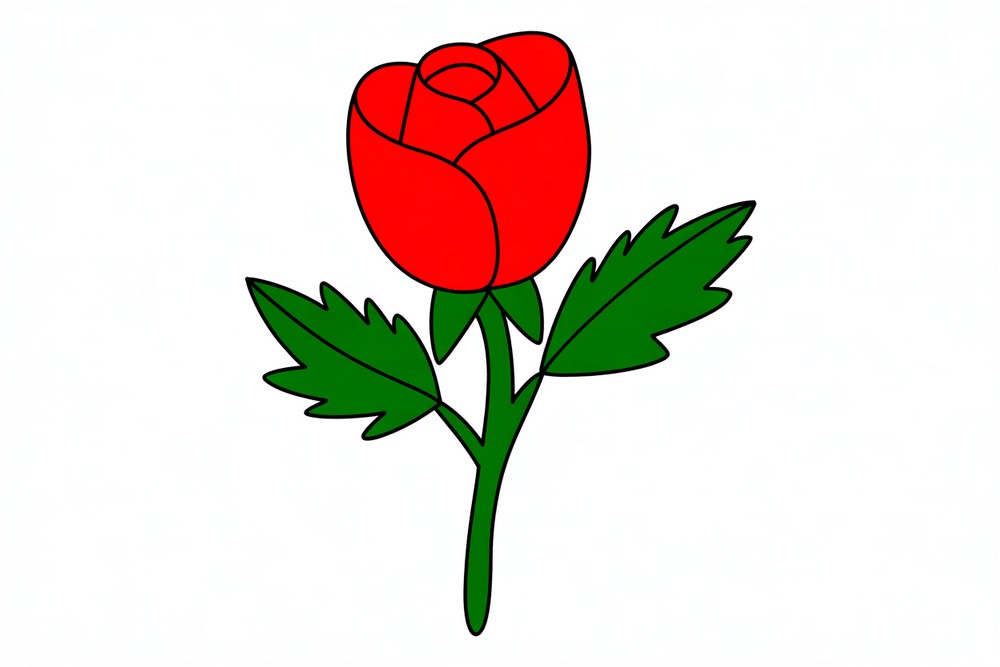
How to Draw and Color a Beautiful Red Rose
Roses look complicated, but this step-by-step makes a neat red rose easy. We’ll start with a simple U-shape, add three petals, then build the calyx, stem, and leaves. Finally, we’ll color the bloom rich red and finish the greens. You can follow with pencil and fineliner, or draw directly with a pen like in the photos. I recommend sketching lightly first, then inking. Use A4 paper (8.3×11.7 in) or similar, smooth 120–160 gsm so markers don’t bleed through. Colored pencils, crayons, or brush markers all work. Keep your lines clean and curves relaxed; roses look best when the shapes feel soft. Each image shows a small, clear move so beginners can succeed and experienced artists can stylize. Look for symmetry without making it stiff, and let one petal overlap another. When we color, add a darker red in the creases and a lighter center for roundness. Ready to draw a beautiful rose anyone will recognize and love? Grab your tools, take it slow, and enjoy watching your rose blossom line by line on the page.
Supplies for This Drawing
- HB or 2H pencil for sketching; 2B pencil for darker lines
- Fineliner 0.3–0.5 mm black (optional for inking)
- Erasers: kneaded (soft lifts) and white vinyl (clean edges)
- Paper: A4 (8.3×11.7 in) smooth 120–160 gsm
- Coloring: red markers or pencils (light/mid/dark), greens (light/dark)
- Sharpener and small scrap paper for tests
- Ruler (optional) to keep the stem straight
- Protective sheet under your page to prevent bleed
Prepare the Materials
- Clear your desk and set bright, even lighting.
- Tape the paper edges to a board for a flat surface.
- Sharpen pencils; test markers on scrap.
- Place the step images where you can see them.
- Keep erasers and tissues within easy reach.
- Warm up with a few curved practice lines.
Special Features of This Drawing
- Classic rosebud built from three simple, overlapping petals
- Pointed calyx that tucks the bloom onto the stem
- Straight stem with small side branch for balance
- Serrated leaves with clear midribs and notches
- Clean line art that suits coloring with any medium
- Easy shading recipe: darker edges, lighter center on petals
Tutor’s Suggestions
- Sketch lightly; refine the silhouette before committing to ink.
- Vary line weight: thicker on outer edges, lighter on inner folds.
- Keep curves continuous—avoid choppy, short marks.
- Build color in thin layers to prevent streaks.
- Leave tiny highlights along petal tops for gloss.
- Step back often to compare left/right balance.
- If proportions drift, re-establish the U-shape cup, then rebuild petals.
Uses
- Classroom warm-up or art club project
- DIY greeting card or Valentine’s tag
- Coloring page for kids or adults
- Small framed wall print
- Practice piece for line control and layering
- Simple fan art or social post illustration
Level of Difficulty
Beginner-friendly — big, curvy shapes and straightforward coloring.
Cup Outline
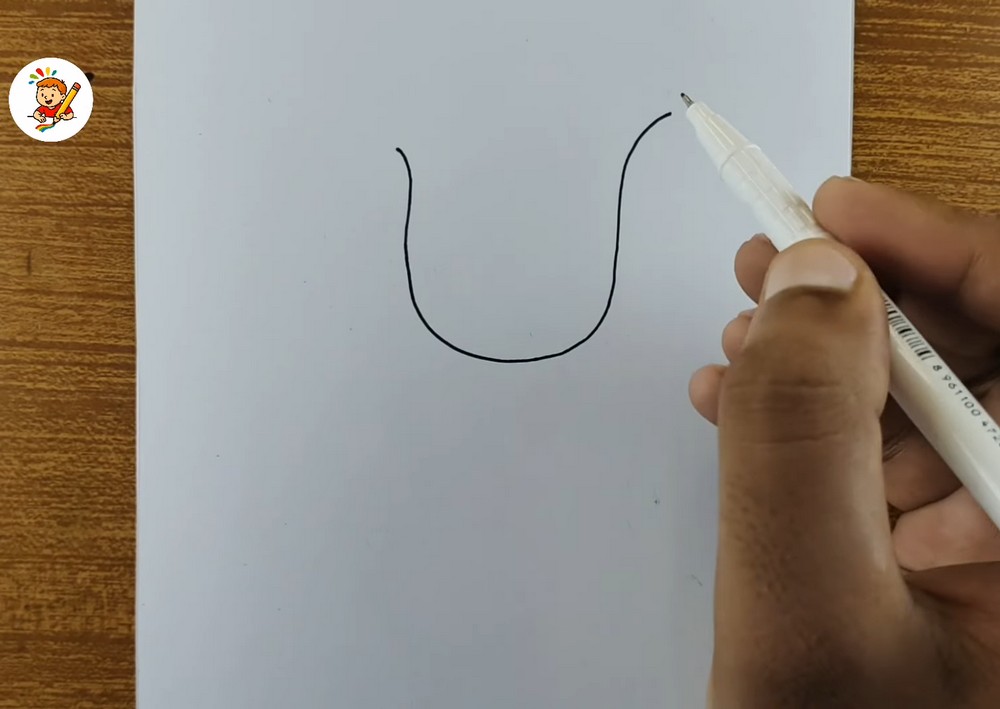
Start in the middle of the page. Draw a wide U-shaped cup with gently inward sides and a rounded base. Keep the opening at the top. This will be the rose bud. Use light pressure if sketching in pencil so you can adjust the curve easily. Aim for about 7–9 cm (3–3.5 in) tall. Make both sides similar, but not perfectly mirrored; a little variation keeps the flower natural. Leave generous space above for petals and below for the stem.
Side Petals

From the left rim, sweep a petal upward and inward, then curve it back down into the cup. Repeat on the right, mirroring the motion so petals lean toward the center. Add a soft S-curve inside the cup to suggest a folded inner petal. Keep lines smooth and slightly tapered where they meet the base. Maintain an open gap at the top to receive the next petal. Check that outer petals rise above the rim and overlap the cup nicely.
Top Petals
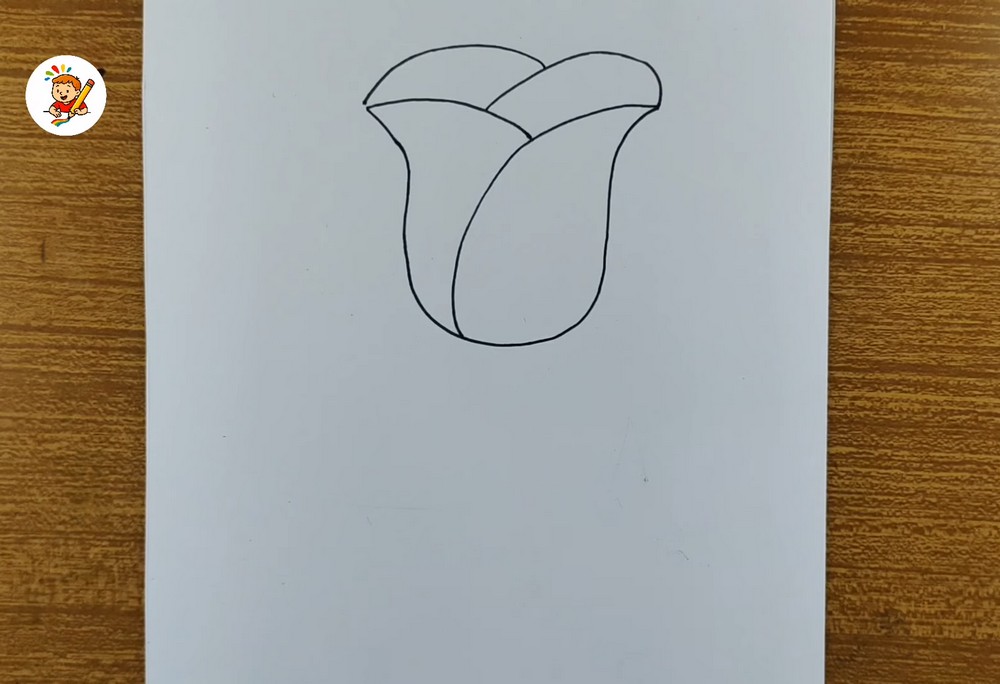
Now close the bloom. Draw a curved cap across the top, starting above the left petal and sweeping to the right. Add a second curved petal overlapping from the right side so the two meet near center, forming a gentle seam. Keep both shapes slightly domed to suggest puffed petals. Check negative spaces: three big petal groups should read clearly. Adjust edges with corrections if needed. Keep the bud oval and plump under the cap, with lines ready for inking.
Calyx and Stem

Under the bud, draw the calyx: a small ring of pointed sepals. Start with a shallow arc hugging the base, then add five short, triangular tips radiating outward. From the center, pull a straight, slender stem downward using two parallel lines that narrow slightly at the bottom. Add a short side branch on the right for a future leaf. Keep everything centered so the bloom feels balanced. Don’t add thorns yet; we’ll keep the stem clean in this simple version.
Leaves Outline

Now draw two leaves. On the left branch, outline a broad almond shape with a slightly scooped base. Add serrated edges using short, zigzag bites around the rim. Mirror this on the right branch, smaller to show perspective. Place a central vein in each leaf and a thin notch where it meets the branch. Keep the leaf tips pointing out to widen the composition. If any points look too sharp, round them a touch so they feel lively, not rigid.
Color the Bloom
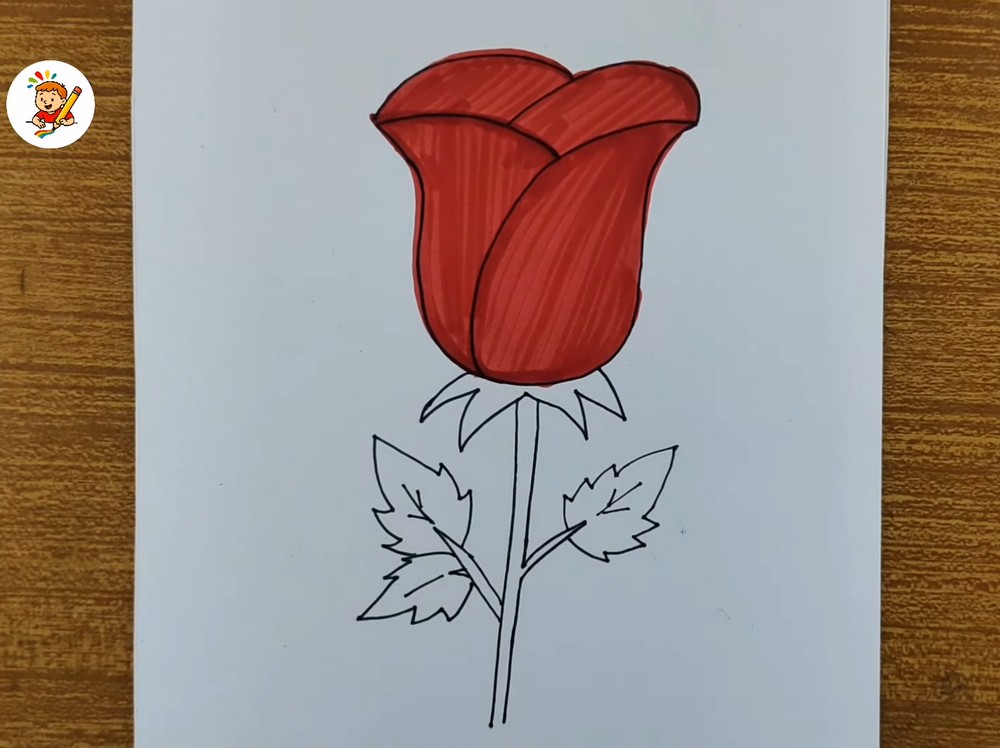
Time to color the petals. Fill the entire bud with a mid red. Use long strokes that follow the petal curves so the direction adds form. Deepen the edges and the crease lines with a darker red, leaving a slightly lighter oval near the front for shine. If using markers, layer gently to avoid streaks. With pencils, press harder at the edges and lighter toward the center. Keep the calyx and leaves uncolored for now; we’ll handle the greens next.
Greens on Calyx and Stem

Switch to green. Fill the calyx with a medium green, leaving a hairline highlight along the top curves. Color the stem from bloom to base in smooth, vertical strokes so it reads straight. Add a darker green to the left side for a shadow, and a lighter touch on the right for shine. Keep edges crisp where the stem passes behind leaf branches. If you like, darken the junction under the bud to seat the flower on its stem securely.
Finish the Leaves

Color both leaves with a mid green, following their length with your strokes. Leave tiny highlights along some serrated edges. Deepen the base near the branch and the veins with a darker green for dimension. Add a few short flicks from the center vein outward to suggest texture. If you want more contrast, glaze another layer at the leaf tips. Erase any stray pencil, tidy the outline, and step back. Your elegant red rose is complete and ready to show.
Conclusion
Drawing a rose becomes easy when you build it from curves and finish with simple shading. Keep your strokes relaxed, let petals overlap naturally, and save small edges for last. If you colored with markers, store a blank sheet under your page to prevent bleed next time. Try other color schemes—pink, yellow, or white with gray shadows. Add a background wash or a stem in a vase. Practice once more, and your confidence will bloom.
A Bonus Tip
Place the top seam slightly off-center; that asymmetry makes the rose feel natural and lively.
FAQs
Q: How long will this take?
A: Most people finish in 25–45 minutes, depending on coloring layers.
Q: What paper size works best?
A: A4 (8.3×11.7 in) is perfect; heavier 160 gsm paper reduces marker bleed.
Q: My cup looks uneven—how do I fix it?
A: Lightly redraw the U-shape with a pencil, then trace the best curve and erase the rest.
Q: Should I shade before or after inking?
A: Ink first, let it dry completely, then color to keep lines crisp.
Q: Markers or colored pencils?
A: Both work. Markers lay smooth color fast; pencils give soft gradients and easy corrections.
Q: How do I color the leaves?
A: Base with mid green, darken near the vein and base, and leave tiny edge highlights.