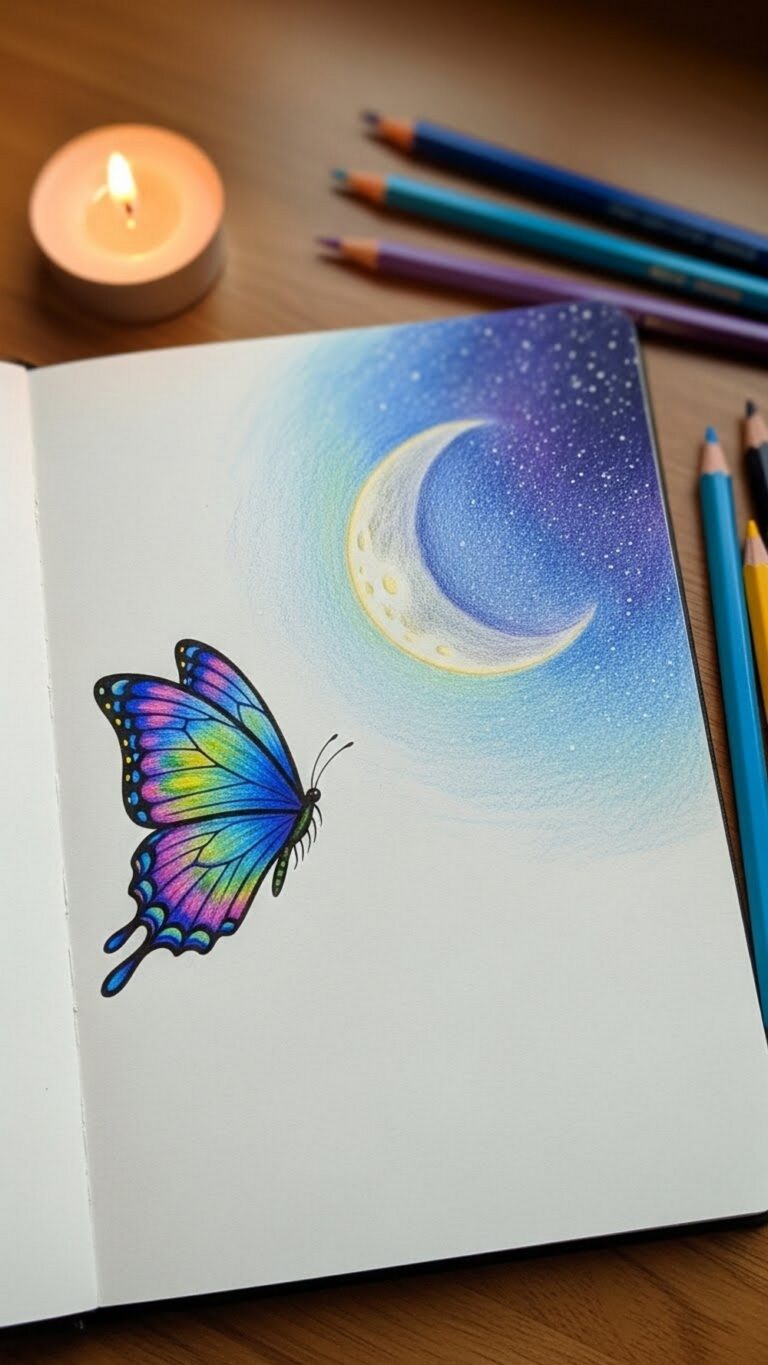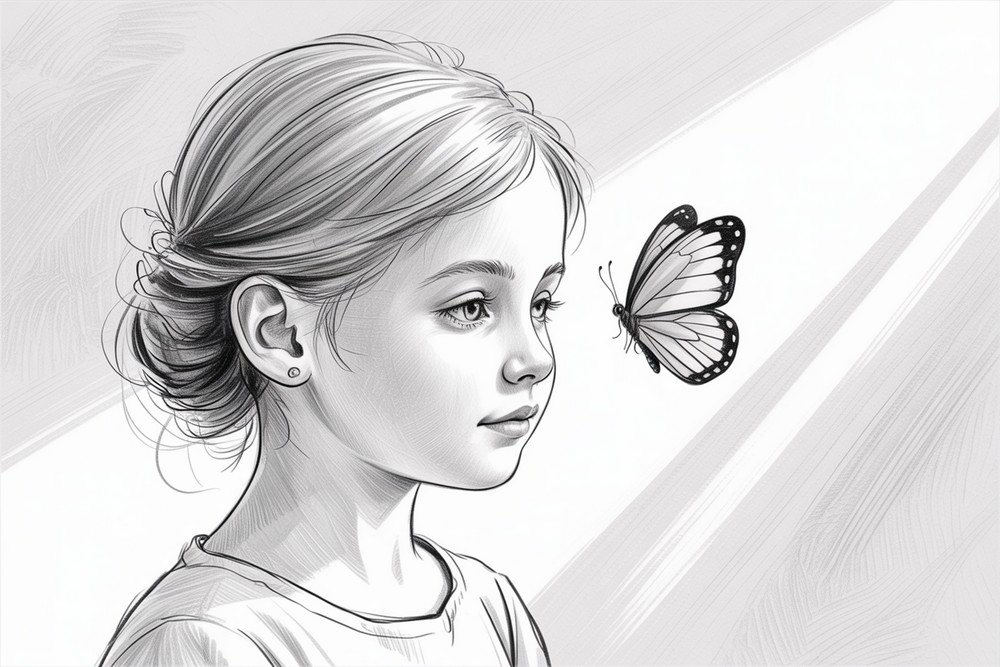
Cute Girl and Butterfly Drawing
In this tutorial, you’ll draw a gentle side profile of a girl watching a butterfly. Begin with a few light guide curves for the forehead and hair, then shape the nose and chin. We’ll place a stylized eye, add lashes and a clean eyebrow, and build the lips with two graceful arcs. Next, sketch a tiny earring and a soft neck. Finish by drawing a simple butterfly opposite her gaze, then shade everything carefully. You’ll practice smooth line control, tidy proportions, and soft graphite blending. Keep strokes light early, then darken confident edges last. This makes a lovely practice page and an easy gift. Use an HB for building lines, switch to 2B–4B for darker accents, and blend with tissue or a stump. Tape paper edges for a clean border.
Supplies for This Drawing
- A4 (8.3×11.7 in) 180–220 gsm drawing paper, taped edges
- HB mechanical or wooden pencil for construction
- 2B and 4B graphite pencils for shading and accents
- Kneaded eraser and vinyl eraser
- Blending stump or tissue
- Ruler for the border line
- Sharpener, soft brush for crumbs
- Optional: black fineliner for crisp eyelashes
Prepare the Materials
- Clear the workspace and set comfortable lighting.
- Tape paper edges to your desk for a clean border.
- Sharpen HB, 2B, and 4B; knead the eraser.
- Place the reference images nearby.
- Test pressure and blending on scrap paper.
- Keep tissues and stump within reach.
Special Features of This Drawing
- Elegant side profile with simple, readable proportions
- Expressive eye and eyebrow shapes
- Soft, gradual nose and chin transitions
- Hair rendered with directional strokes and layered values
- Butterfly contrast adds balance and story
- Clean border gives a polished, framed look
Tutor’s Suggestions
- Sketch lightly first; darken only at the end.
- Use long arm movements for smooth curves.
- Compare angles: forehead, nose bridge, lips.
- Build shading slowly; avoid shiny graphite by layering.
- Keep eyelashes grouped, not evenly spaced.
- Leave highlights; don’t outline every form.
- Step back often to judge symmetry.
Uses
- Classroom portrait practice
- Portfolio warm-up sheet
- Minimalist wall print
- Greeting card or bookmark art
- Social post or reel demonstration
- Gift sketch personalized with initials
- Coloring base for colored pencil or watercolor
Level of Difficulty
Beginner-friendly — clear shapes, gentle shading, and minimal anatomy.
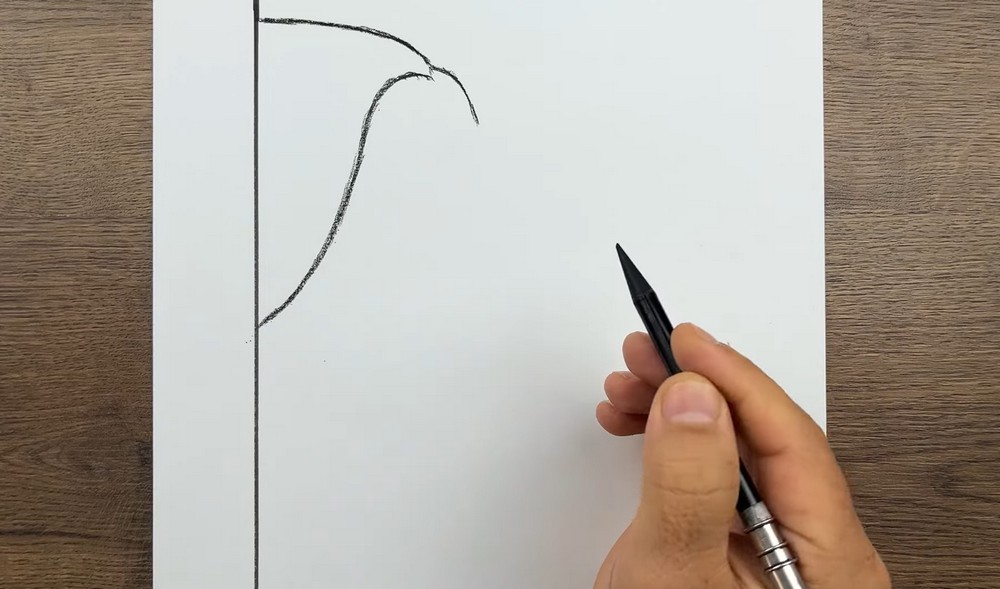
Border and Hair Guide

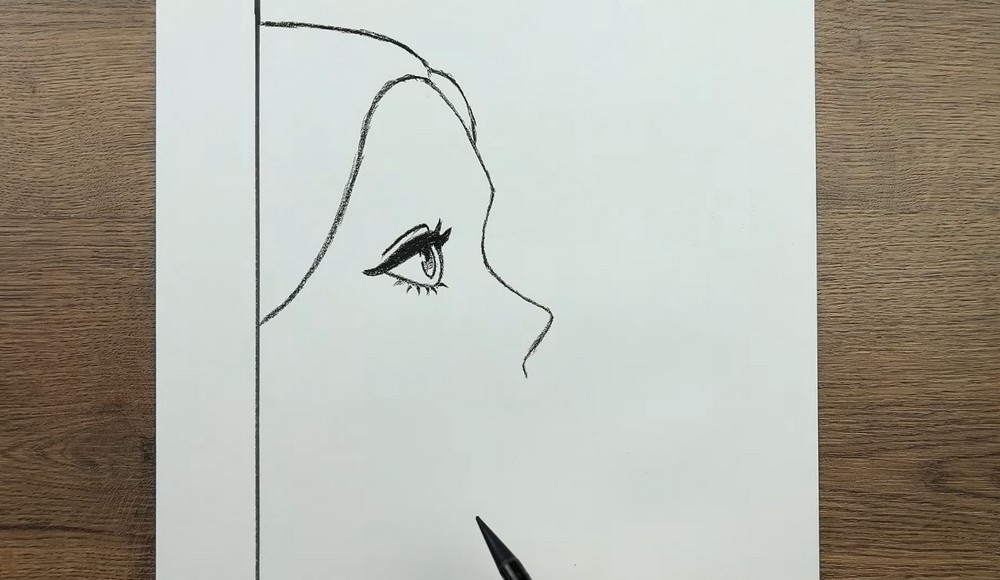
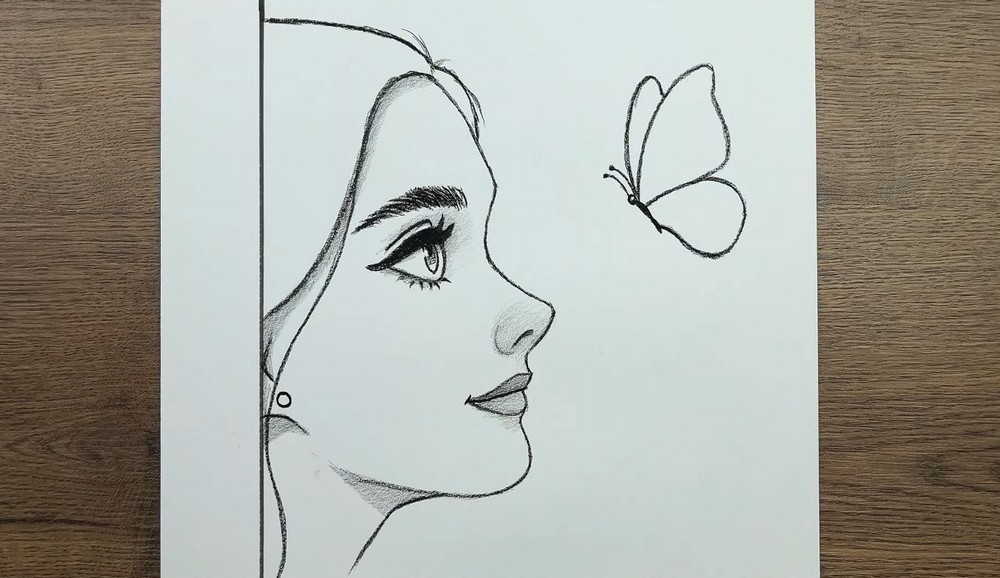
Lightly draw a vertical border along the left edge to frame the portrait. From the top near the border, lay a shallow arc that sweeps right, curving slightly downward—this marks the top hairline and forehead direction. Keep the stroke faint and steady. Use your wrist, not fingers, so the curve reads fluid. We’re simply mapping the flow, not committing yet. Stay relaxed.
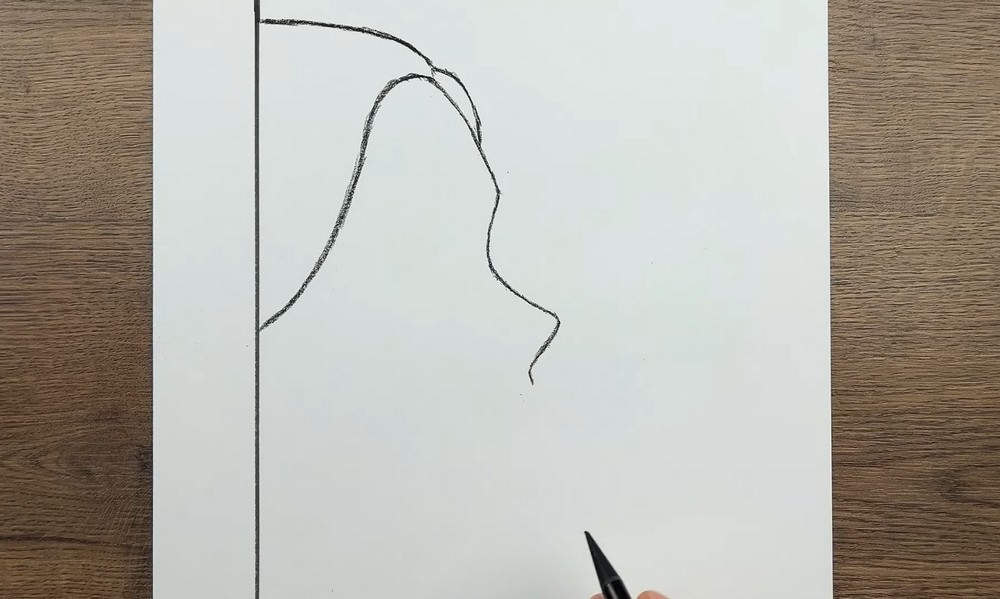
Cheek and Neck Sweep
From the forehead curve, continue a long S-curve downward to suggest the hairline and cheek contour. Let it tuck inward where the cheek turns, then sweep toward the border to indicate the neck base. Think in rhythms: one broad arc, one subtle inward bend. Keep the line light and textured so adjustments remain easy. Avoid sharp corners; aim for smooth, graceful movement.
Nose Bridge and Lip Hint
Add a second inner arc to show the hair parting, starting near the forehead and echoing the first curve. Then sketch the bridge of the nose as an angled line, breaking at the ball of the nose. Let the line dip and pull back to hint at the upper lip. Work with short strokes so the silhouette stays elegant and balanced.Eyebrow and Nose Details:
Eye and Lashes
Place the eye between forehead and nose. Draw an angled upper lid with a wing, then a shorter lower lid. Add the iris touching the upper lid and a small pupil. Shade the top of the iris darker for a natural shadow. Thicken the upper lash line and flick several lashes downward. Sketch a tear duct and a highlight within the eye.
Eyebrow and Nose Details
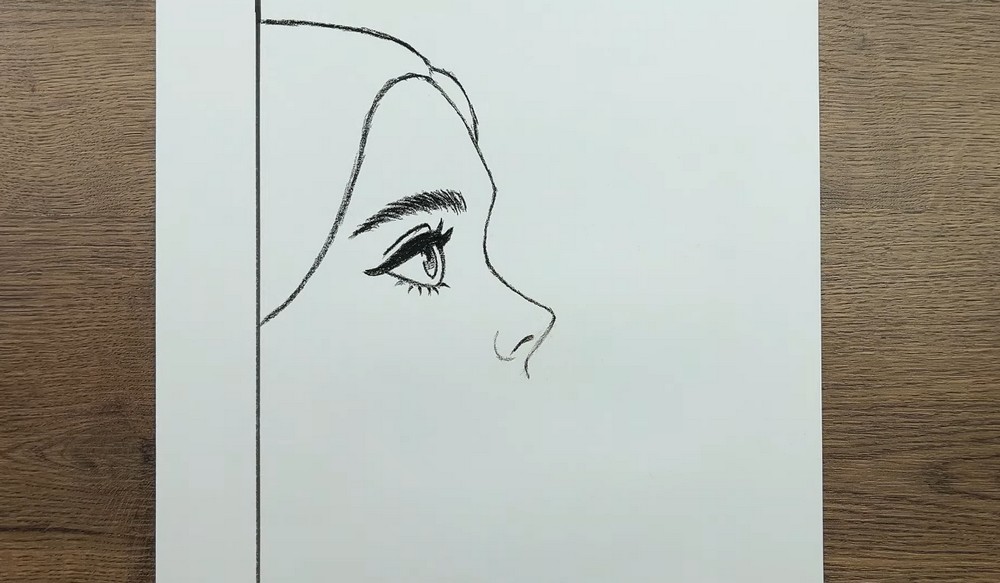
Sketch the eyebrow following the forehead curve, tapering toward the nose. Use short strokes to mimic hair, thicker near the center, lighter at the tail. Refine the nose: pull a curve for the tip, then add a short line for the nostril and a faint bridge crease. Check spacing—eye, nose tip, and lips should stair-step diagonally for a graceful profile rhythm.
Lips, Chin, and Neck
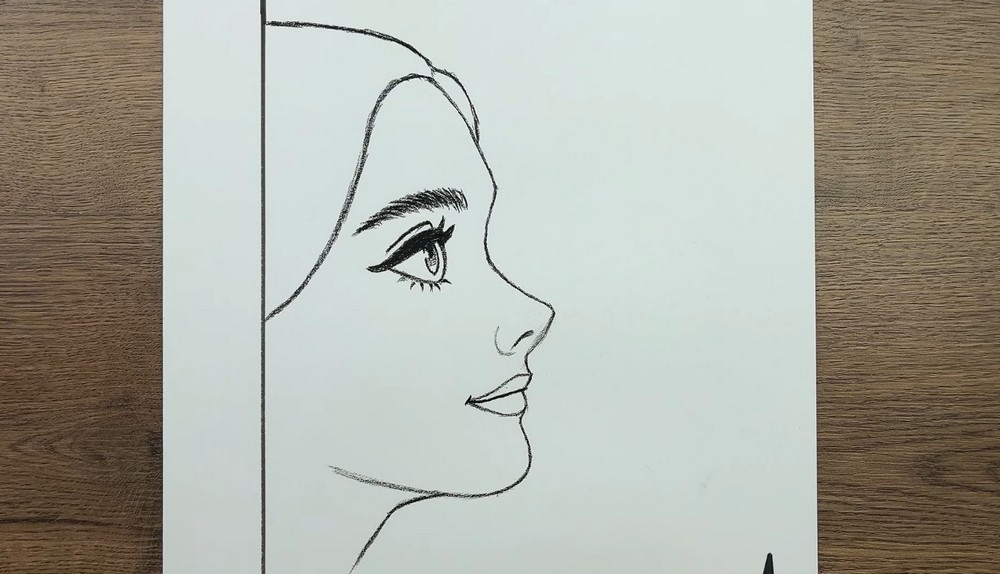
Build the lips with two smooth arcs: an upper bow that meets the nose curve, and a fuller lower lip beneath. Keep the corners soft and upturned for a calm smile. Define the chin with a rounded line, then continue into the jaw and neck as a flowing sweep. Place a shadow under the lower lip to give volume without heavy outlines.
Ear and Butterfly Outline
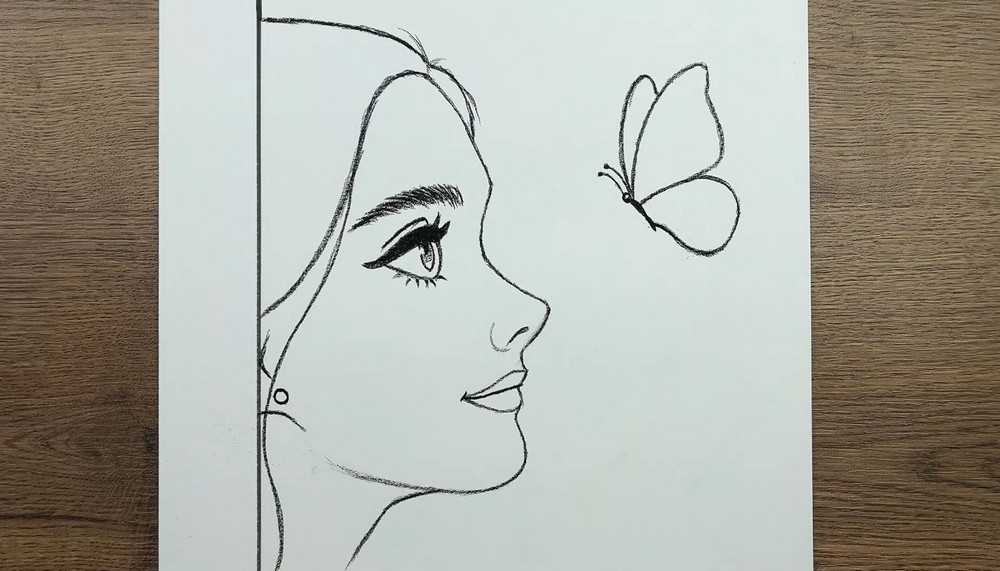
Tuck the ear behind the cheek line and add a circle for a stud. Suggest hair roots near the part with a few tapered strokes. Opposite her gaze, outline a butterfly: tiny head, oval body, and two pairs of wings—upper wings larger, lower wings rounder. Use light, curves so the butterfly feels airy. Add antennae and keep spacing balanced from the face.
Soft Facial Shading
Start shading. Using HB, softly tone the underside of the chin and neck, then blend for a smooth transition. Darken the eye socket slightly and add a light plane change along the bridge of the nose, leaving a highlight on top. Deepen the upper lash line and eyebrow base. Keep pressure gentle and build values slowly so forms appear round and natural.
Butterfly Shading
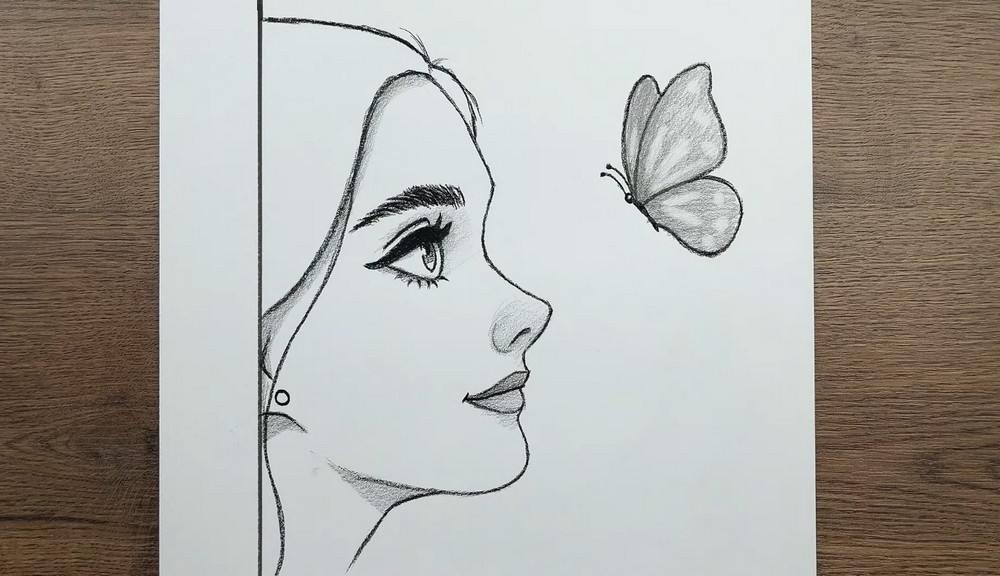
Shade the butterfly. Tone the wing bases darker near the body, then fade outward to lighter edges. Leave a few soft ovals unshaded to suggest light catching the wings. Darken the body and add a tiny cast shadow beneath, keeping lines crisp around the silhouette. Blend gently to keep the wings velvety, but preserve highlights so the insect feels delicate and luminous.
Hair and Final Cleanup
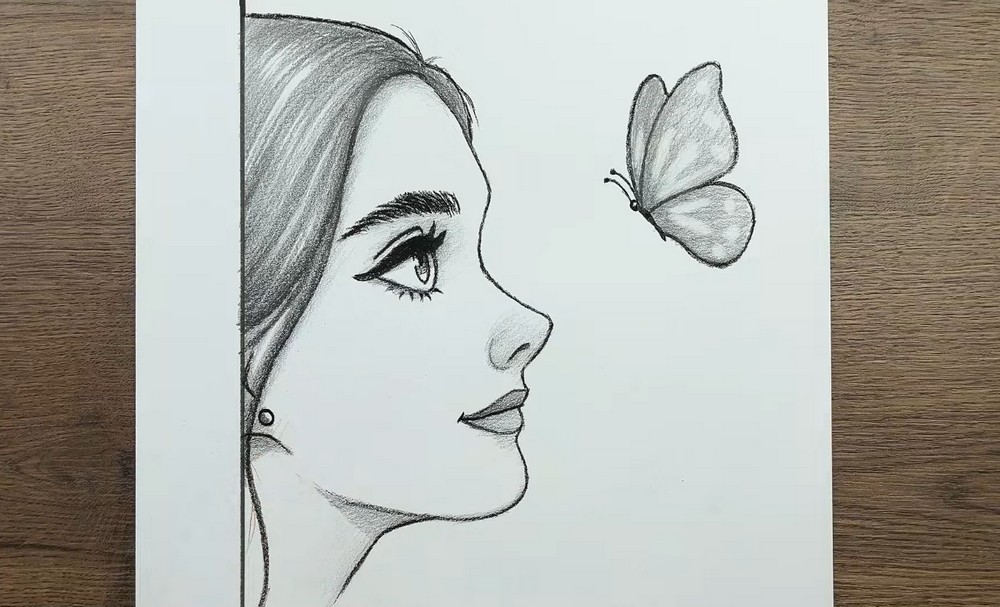
Finish the hair. Using layered strokes, follow the hair flow from part to border, alternating long and short lines. Deepen the shadow mass near the crown and under the part, then soften outward to lighter midtones. Add few loose strands for life. Reinforce key outlines—the eyelash ridge, nostril, lips—and tidy edges. Erase smudges, lift highlights, and step back to balance contrasts. Subtle.
Conclusion
A calm profile and a gentle butterfly make a perfect study for line control and soft shading. You practiced curves, eyelashes, lips, and hair flow without overwhelming details. Keep the drawing monochrome or add color later. Repeat the project with different lip shapes, eyebrow angles, or wing patterns. Small changes teach proportion fast and keep the subject fresh each time.
A Bonus Tip
Angle the paper so the nose points toward the center—this prevents accidental distortion when you lean in to shade.
FAQs
Q: How long will this take?
A: Most beginners finish in 40–60 minutes, depending on shading time.
Q: What paper size works best?
A: A4 (8.3×11.7 in) or Letter is perfect; heavier paper blends better.
Q: My proportions feel off. What should I check?
A: Compare the spacing: eye to nose tip, nose tip to lips, lips to chin. Adjust lightly before darkening.
Q: In what order should I shade?
A: Establish the darkest areas first—lashes, eyebrow base, hair roots—then build midtones and keep highlights clean.
Q: Can I use markers instead of pencils?
A: Yes, ink the lines with a fineliner and shade with warm gray markers, reserving highlights with a white gel pen.
Q: How do I color the butterfly?
A: Layer light colors first, deepen near the body, and keep edges luminous by leaving thin highlights.