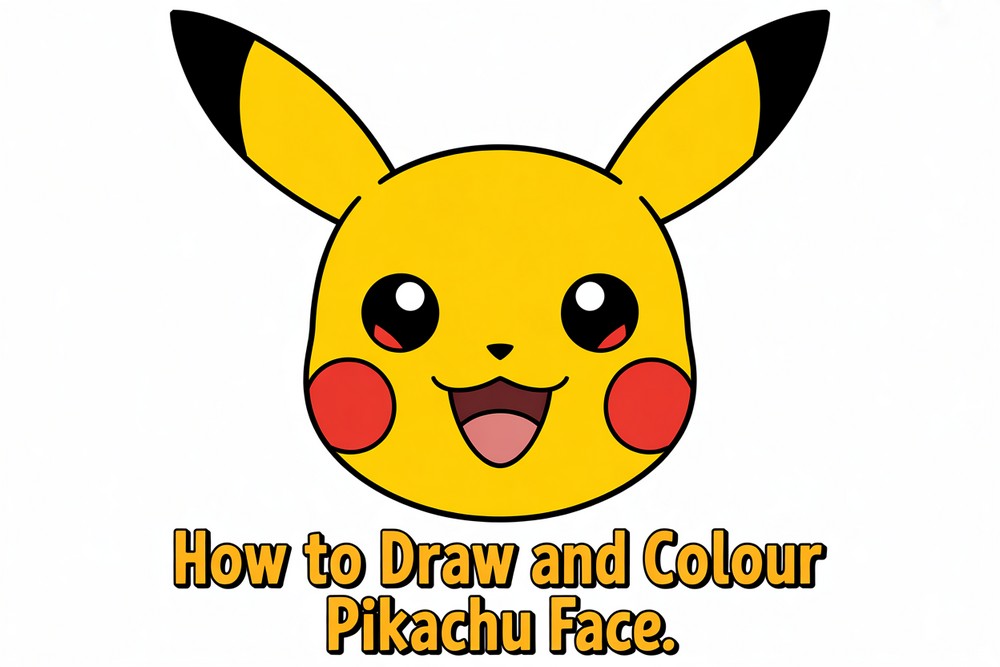
How to Draw and Color Pikachu Face
Let’s draw a cheerful Pikachu face from simple shapes and clean lines. This mini project is perfect for beginners, young artists, or anyone who wants a fast, satisfying win. We’ll sketch lightly with pencil, then ink, and finally add bright marker colour. The eight images show every step, from mouth and nose to ears and cheeks, so you can follow comfortably without guessing. Keep strokes relaxed; nothing needs to be perfect. Focus on symmetry and spacing, especially the eyes and ear angles. You’ll practice curves, small ovals, and a few gentle arcs. When we colour, we’ll layer yellow smoothly and pop those red cheeks. The whole head fits nicely on A4 (8.3×11.7 in) paper. Ready? Grab your tools and let’s begin. Keep your eraser handy for tiny adjustments throughout today.
Supplies for This Drawing
- HB pencil for sketching
- 2B pencil for soft adjustments
- Fineliner: 0.4–0.6 mm, waterproof black
- White A4 (8.3×11.7 in) 180–200 gsm paper
- Alcohol markers or coloured pencils: yellow, red, orange, pink, black
- Kneaded eraser + vinyl eraser
- Sharpener
- Ruler (small) and optional compass for cheeks
Prepare the Materials
- Clear your workspace and set good lighting.
- Tape paper to the table or a board.
- Sharpen pencils; test strokes on scrap.
- Place references within easy view.
- Keep tissue to blot markers.
- Cap markers loosely between steps.
Special Features of This Drawing
- Friendly proportions with large eyes and cheeks
- Distinct ear tips for instant recognition
- Simple mouth construction using two stacked curves
- Strong black outline that suits marker colouring
- Smooth yellow fill requiring even stroke direction
- Small highlights that add sparkle and life
Tutor’s Suggestions
- Sketch lightly first, then commit with ink.
- Mirror-check symmetry by flipping the page against light.
- Build colour in thin layers to avoid streaks.
- Keep edges wet when using markers for smoother blends.
- Retrace outline last to crisp everything up.
- Rest your hand to prevent smudging.
- Compare distances: eye-to-nose, cheek width, ear angles.
Uses
- Classroom drawing practice
- Fan art to trade with friends
- Greeting card front or mini poster
- Social post or profile sticker
- Colouring page for younger artists
- Portfolio warm-up exercise
Level of Difficulty
Beginner-friendly — uses simple curves, clear landmarks, and flat colours.
Sketch the open mouth and lip
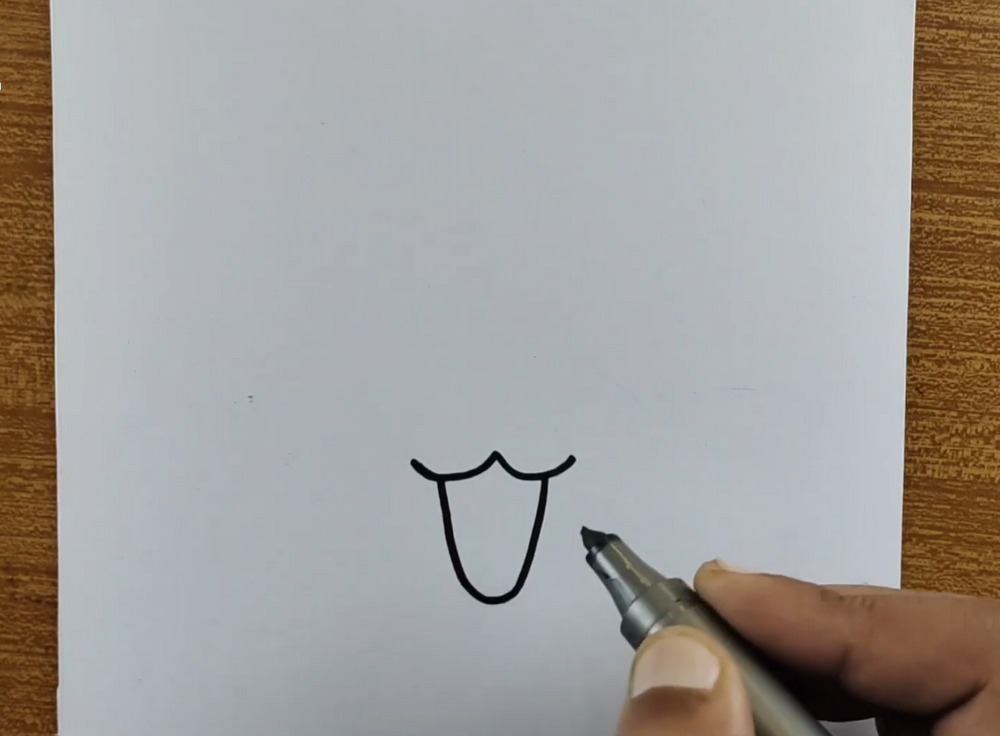
Start near the lower middle of the page. Draw a soft wavy smile line with two tiny bumps in the center. From each end, drop curved lines downward to form the sides of an open mouth, meeting in a rounded U at the bottom. Keep lines light and balanced; this shape anchors facial proportions and helps place everything else for later symmetry.
Add nose and inner lip curve
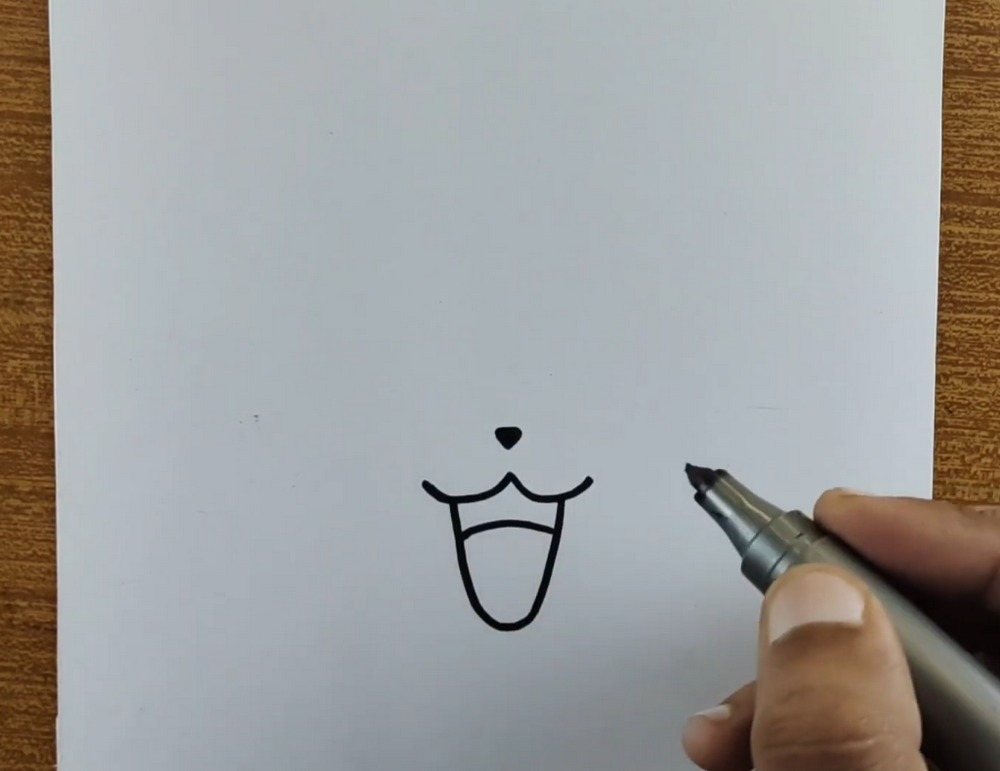
Place a small upside-down triangle above the center of the mouth for the nose. Then draw a shallow arc inside the mouth, connecting the two sides to suggest the upper lip. Keep spacing even: nose not too high, arc not too low. These tiny shapes create Pikachu’s friendly expression, so stay neat and avoid heavy pressure. Light guidelines will help maintain alignment.
Draw big eyes with highlights
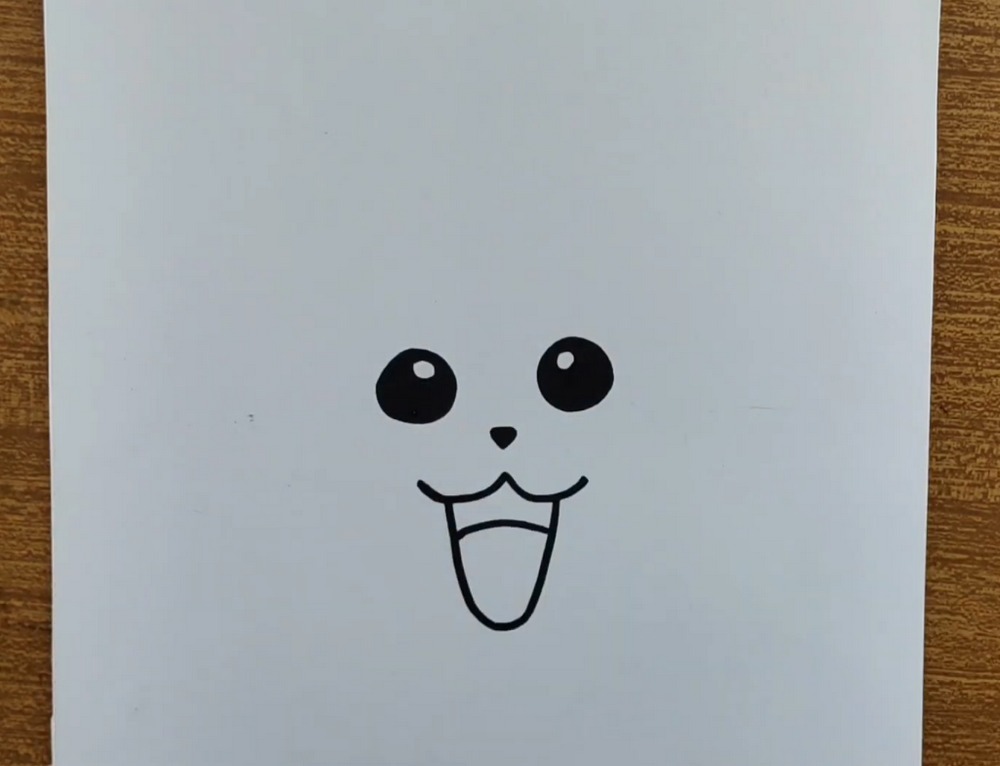
Mark two equal spots level with the nose, leaving comfortable room from edges. Draw large ovals for eyes. Inside each, add a small white highlight circle and fill the rest dark with pen or pencil. Keep both eyes the same size and distance from the center line. Symmetry is key for cuteness, so measure with your pencil or use a simple ruler.
Outline cheeks and round head
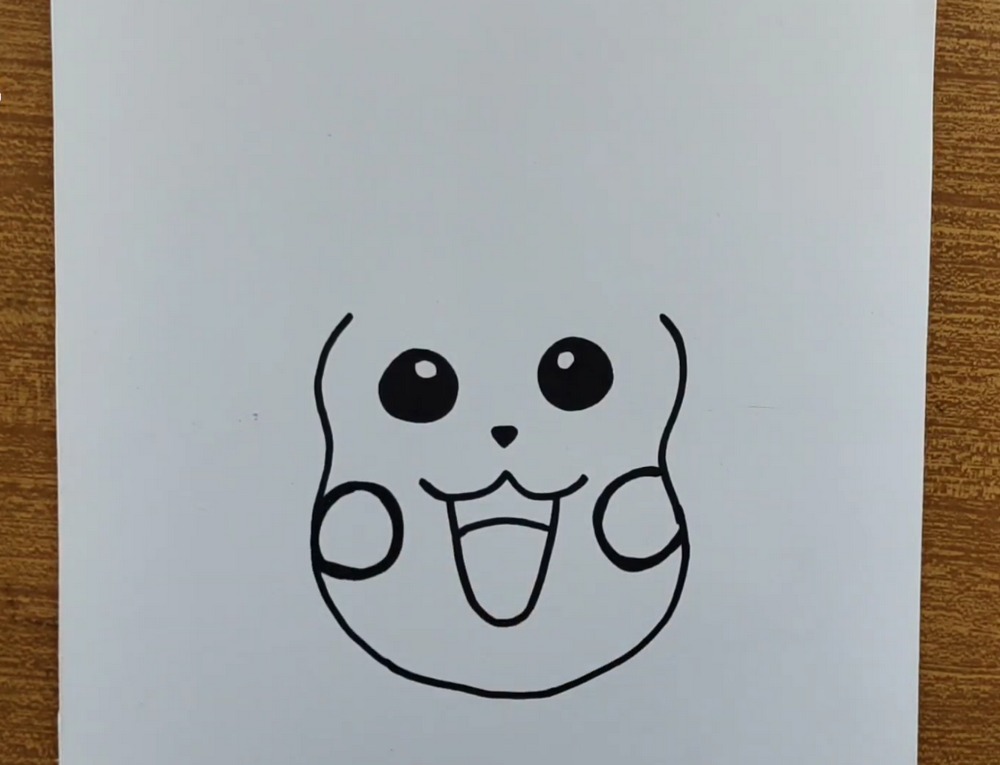
From just outside each eye, sketch a short outward curve, then swing down to create chubby cheek circles. Continue the line under the mouth and back up the other side to complete a rounded head shape. Keep cheeks identical. Avoid sharp corners; Pikachu’s head is soft. Leave space above for ears so the top curve stays low for balance and future details.
Add long ears, tips black
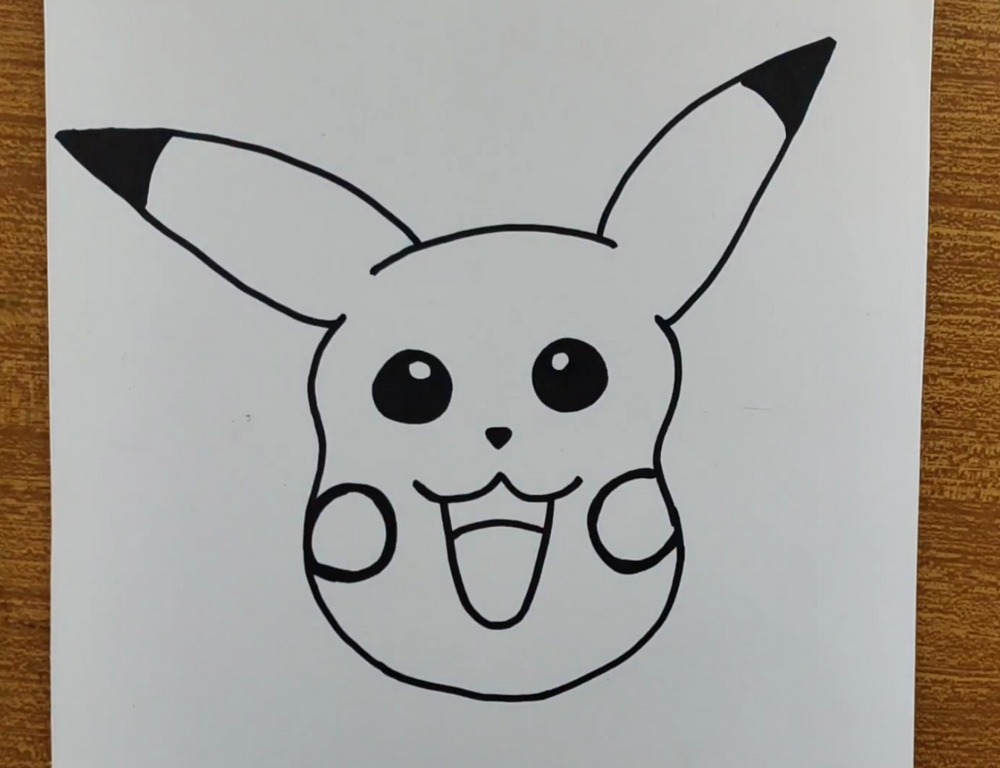
Lift two tall ear shapes from the top of the head, slightly angled outward. Each ear tapers to a soft point. Add a diagonal separation line near each tip, then fill the ends solid black. Ears should feel symmetrical yet lively, not perfectly mirrored. If one looks stiff, adjust the curve until they appear energetic and natural from different viewing angles too.
Colour cheeks bright red
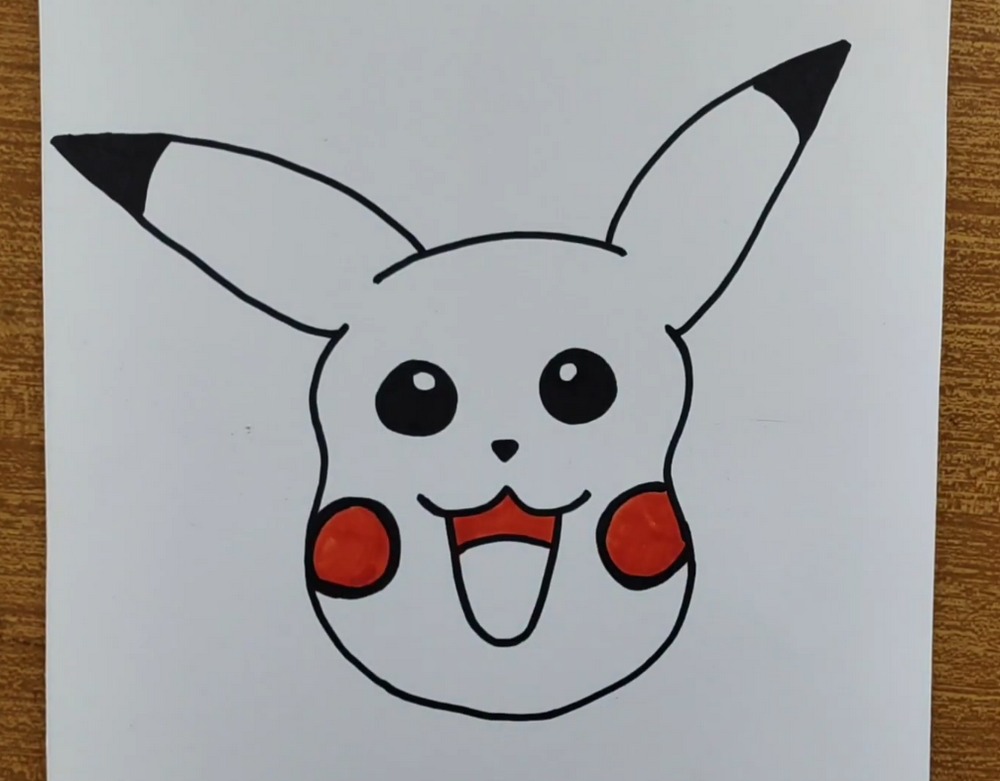
Inside each cheek circle, colour a rich red. Keep edges clean by outlining first, then filling inward using small overlapping strokes. Leave a soft highlight if you like by skipping a tiny oval. The cheeks should sit slightly below the eyes. If marker bleeds, switch to coloured pencil layered lightly for smoother control and crisp boundaries. Work slowly to avoid streaks here.
Shade mouth: tongue and inside

Fill the upper mouth shape with a warm orange or red to suggest the inner mouth. Colour the lower oval tongue a bright pink or magenta. Keep the split between shapes clear so the smile reads cleanly. If needed, retrace outlines with fineliner after colouring. Smooth, even coverage looks best; build layers gradually rather than scrubbing. Let ink dry before layering completely.
Finish: golden fur everywhere
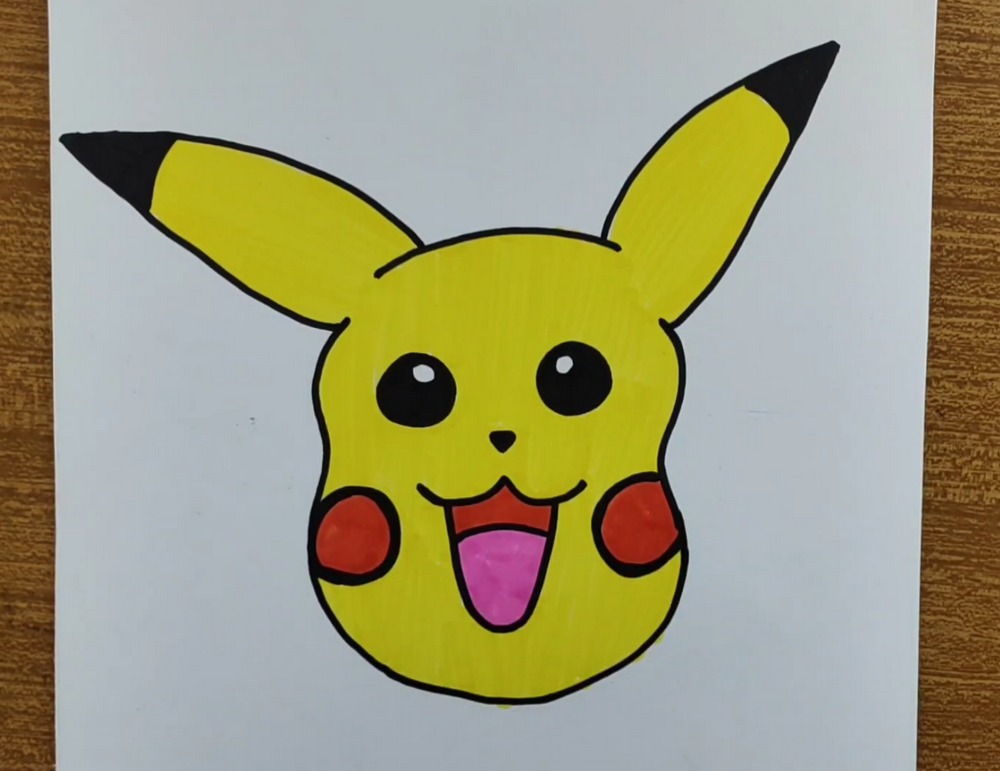
Evenly fill the head and ears with yellow, avoiding the black tips. Work in tidy rows to reduce streaks. Go around eyes, nose, and mouth slowly, protecting highlights. If patches look uneven, let them dry, then add a second coat. A final outline pass sharpens everything. Step back, check symmetry, and celebrate your happy Pikachu! Sign your drawing and date it proudly.
Conclusion
You just built a lively Pikachu face using simple curves, clean outlines, and bold colour. Keep your template for future practice, and try small variations: ear angles, wider smiles, or softer cheek shapes. Repeating this drawing improves line confidence and colour control. When you’re comfortable, add shadows under the chin and ear bases for extra depth. It will look fantastic.
A Bonus Tip
Outline cheeks and mouth after colouring to restore crisp edges and instant pop.
FAQs
Q: How long will this take?
A: Most beginners finish in 25–40 minutes, including colouring.
Q: What paper size works best?
A: A4 (8.3×11.7 in) or US Letter is ideal; heavier paper resists marker bleed.
Q: My eyes don’t match. Help?
A: Lightly mark a center line and measure widths with your pencil before inking.
Q: Should I shade before or after outlining?
A: Sketch first, ink lines, let them dry, then colour. Retrace outlines last.
Q: Markers or coloured pencils?
A: Use markers for bright, flat colour; pencils for controlled edges and gentle blending.
Q: How do I avoid streaks in yellow?
A: Work in small, overlapping rows and maintain a wet edge; add a second coat when dry.