
12 Minimal Line Portrait Sketch Ideas
Minimal Line Portrait Sketches favor clarity, confidence, and rhythm. This guide teaches you to say more with less, using decisive contours, strategic gaps, and value implied by line weight and spacing. You’ll build portraits that read instantly while feeling elegant and human. Each section focuses on one idea to simplify features, balance proportions, and control emphasis without shading. Keep tools simple: a fine liner, pencil, or brush pen, smooth paper, and an eraser for edits. Work slowly, breathe, and let lines earn their place.
Add Quick List
- Decisive contours: simplicity that reads
- Negative space: building structure around the face
- Proportional landmarks with minimal marks
- Lost-and-found lines for subtle realism
- Gesture and rhythm: flow over detail
- Feature suggestion through strategic breaks
- Single-weight elegance: unity without fuss
- Pressure control: depth with minimal tools
- Implied light using line economy
- Silhouette and hair mass as design
- Framing with minimal backgrounds
- Edit passes: restraint and refinement
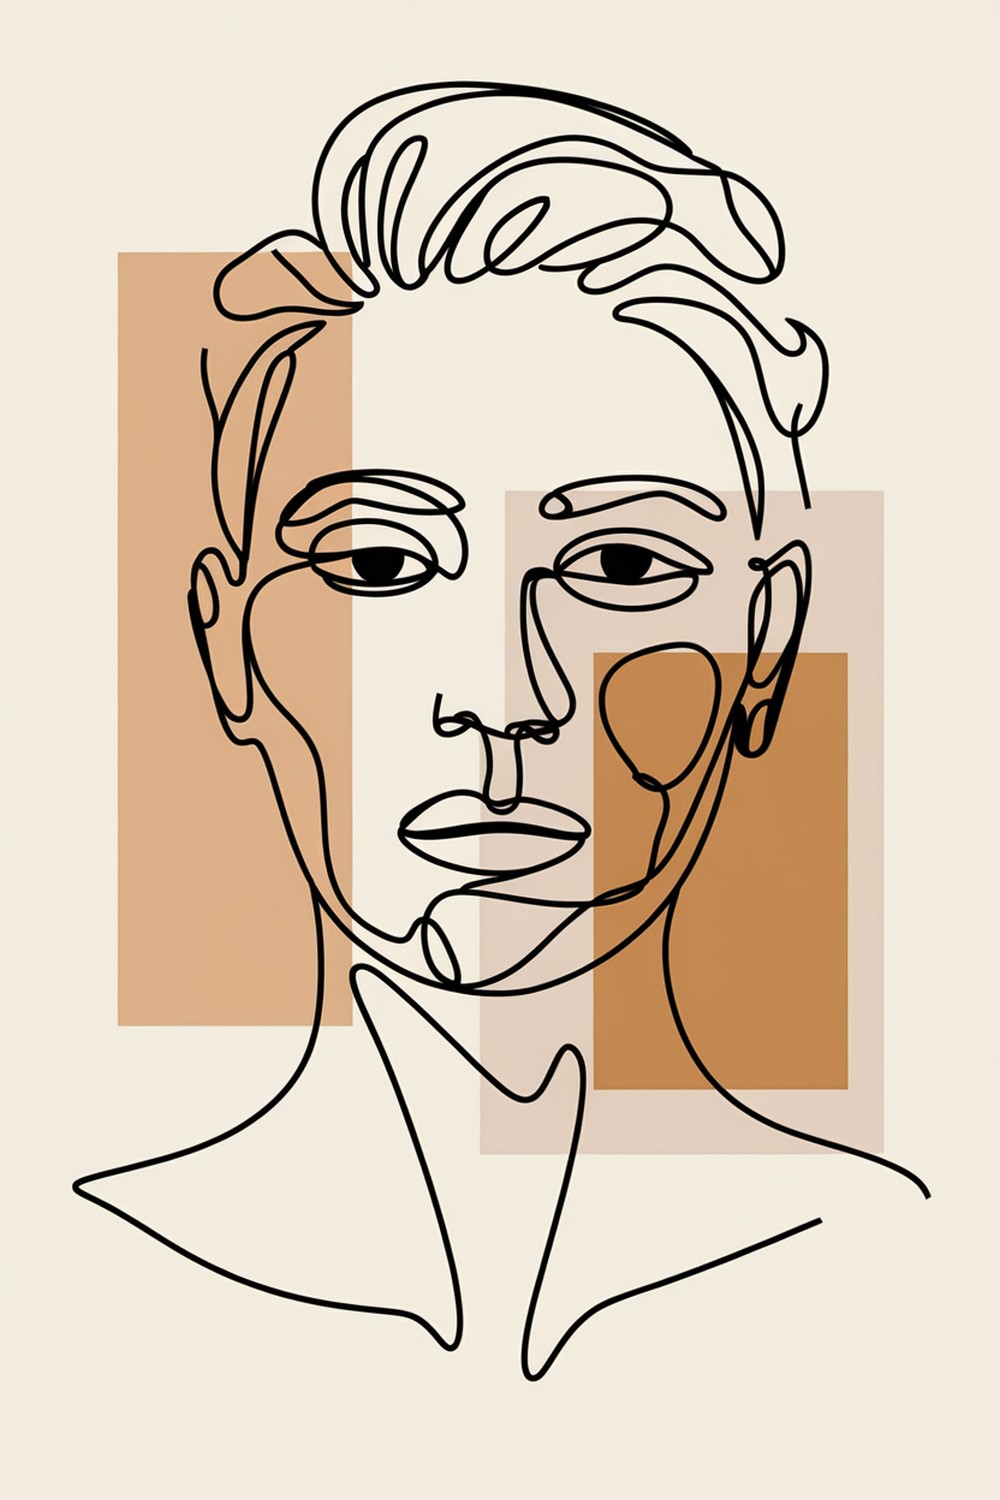
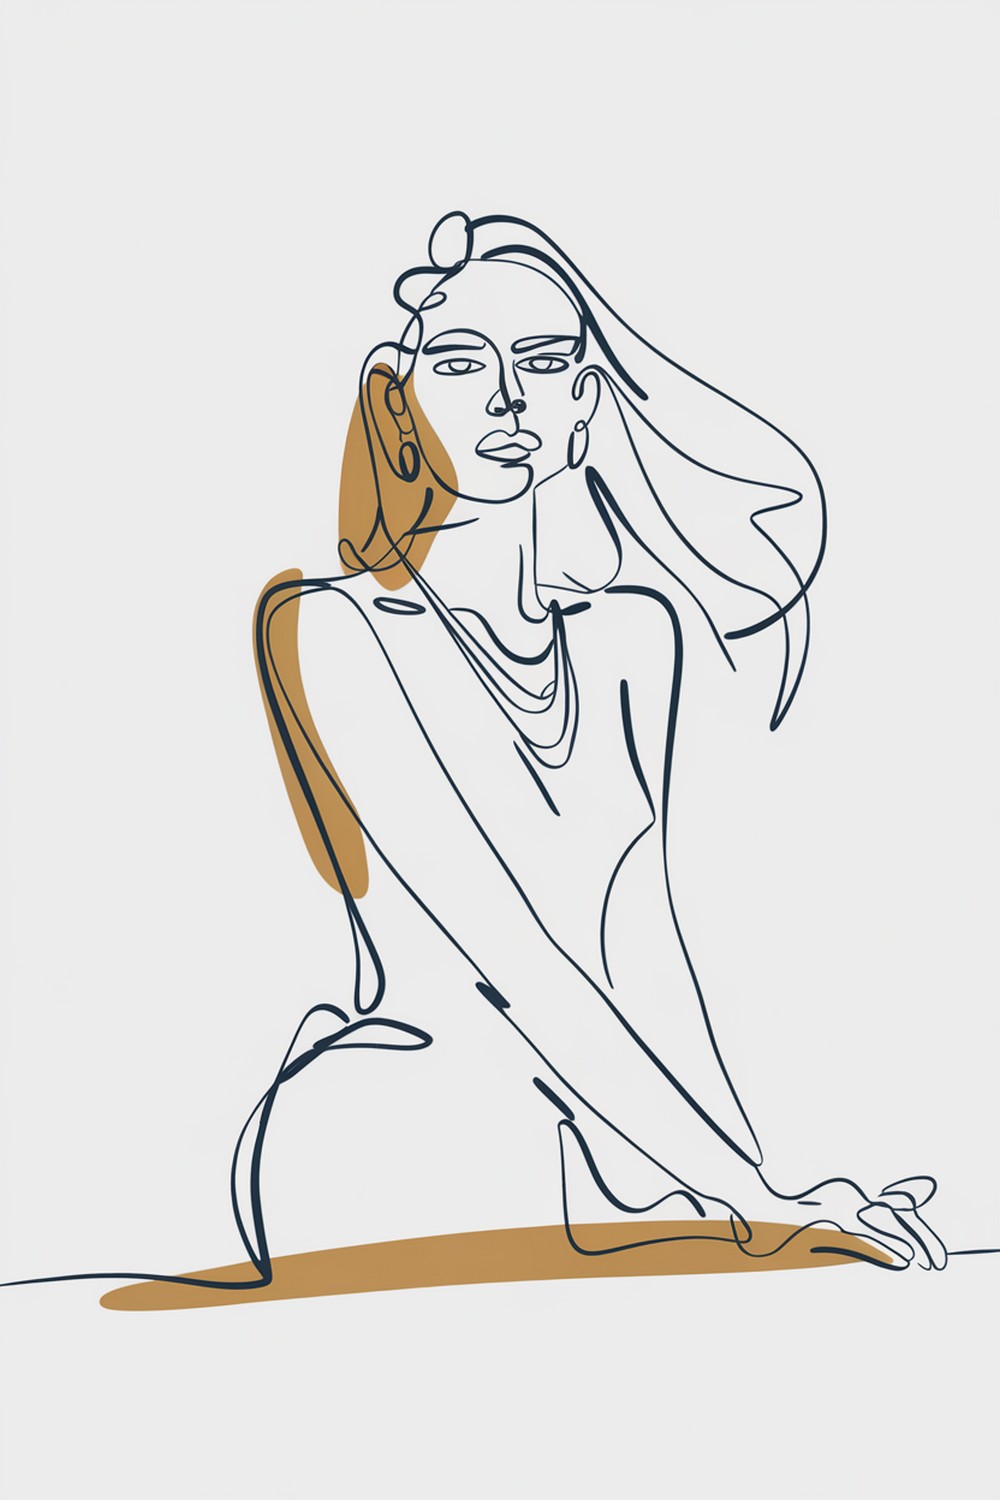
Decisive contours simplicity that reads
Minimal Line Portrait Sketches begin with bold clarity. Commit to continuous outer contours that capture head tilt, jaw sweep, and neck rhythm in a handful of lines. Prioritize large shapes over features, letting a confident curve describe cheek, chin, and brow in one breath. Avoid scratchy corrections; rehearse motion in the air, then draw. Keep corners gentle, using arcs instead of angles. If a line feels hesitant, redraw cleaner rather than piling strokes. Simplicity invites the eye to complete what’s missing.
Negative space building structure around the face
Use surrounding shapes to lock proportions in Minimal Line Portrait Sketches. Observe the triangle between hairline, cheek, and ear; the wedge between jaw and neck; the open shape beside the nose bridge. Draw those negative spaces as precisely as features. When the gaps fit, the portrait reads without decoration. Trim excess with eraser to sharpen silhouettes. Balance filled and empty areas so the head breathes on the page. Let a single background shape lightly kiss the light side for clarity.
Proportional landmarks with minimal marks
Place only the anchors you truly need in Minimal Line Portrait Sketches. A short brow dash, a nostril comma, a mouth corner tick, and a lid angle can map the face convincingly. Think in distances and angles: eye-to-eye spacing, nose base to chin, ear height to brow. Draw tiny, accurate waypoints, not full outlines. Keep the center line faint to guide symmetry, then hide it inside contour choices. The fewer marks you make, the more each one must land perfectly.
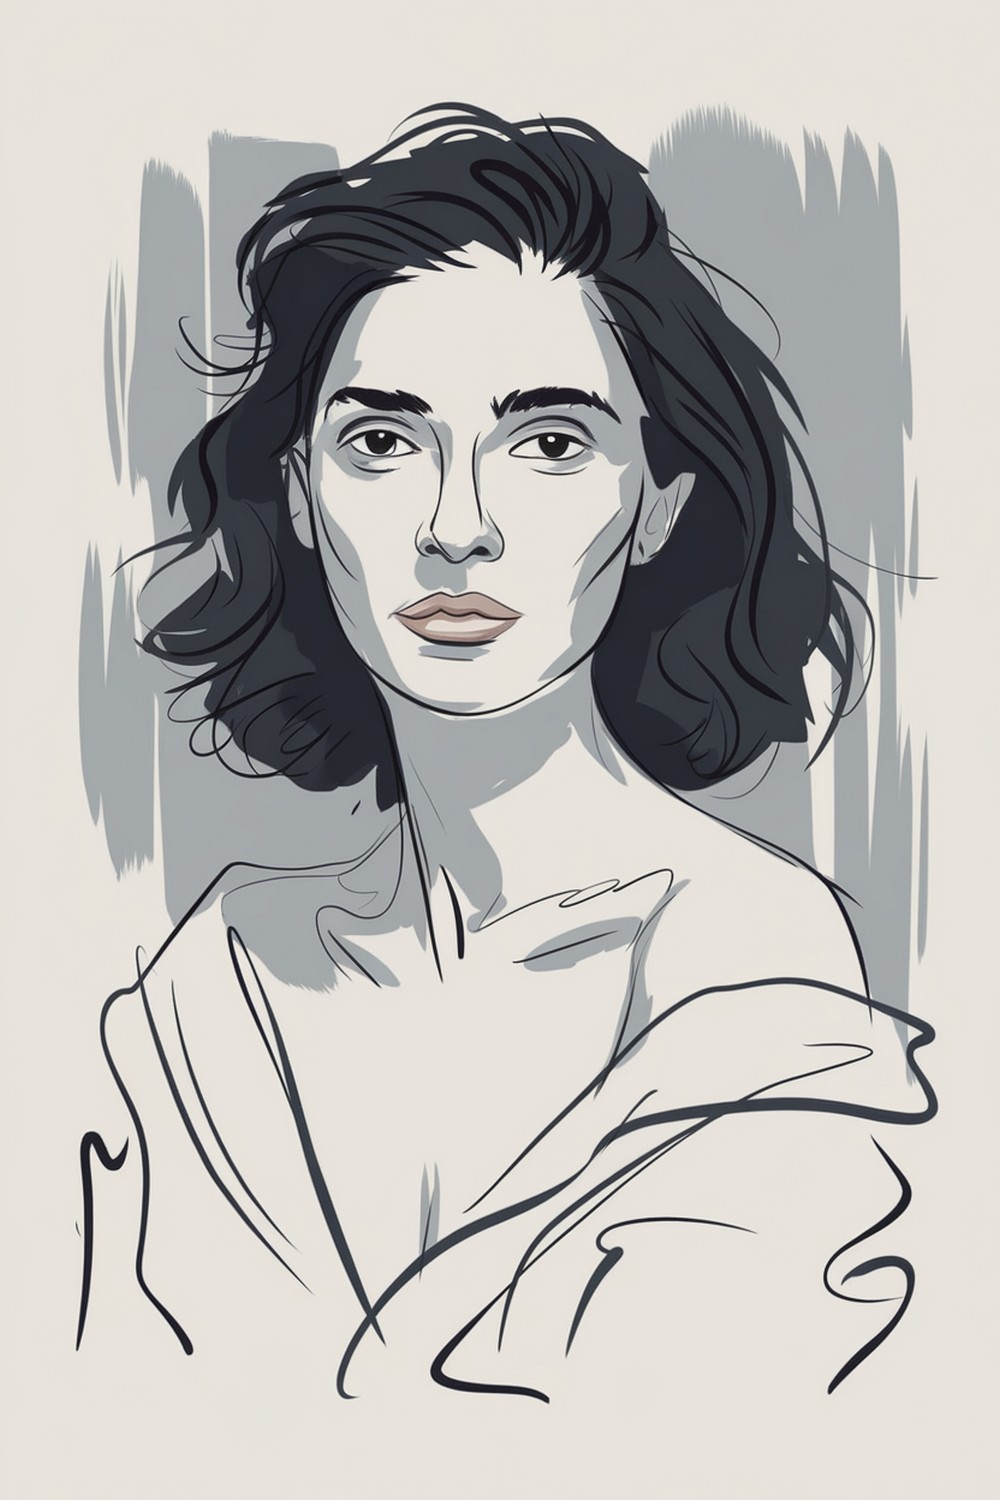
Lost-and-found lines for subtle realism
Real faces don’t have inked borders; Minimal Line Portrait Sketches honor that with edges that appear and vanish. Where values would match—cheek into background, lip edge against skin—let the line fade or break. Reinforce structure only where planes flip: under the jaw, upper lid crease, nostril core. A well-timed gap feels like light. Use longer, softer disappearances rather than staccato interruptions. Vary length and placement so the portrait breathes, directing attention to expressive areas without loud contrast.
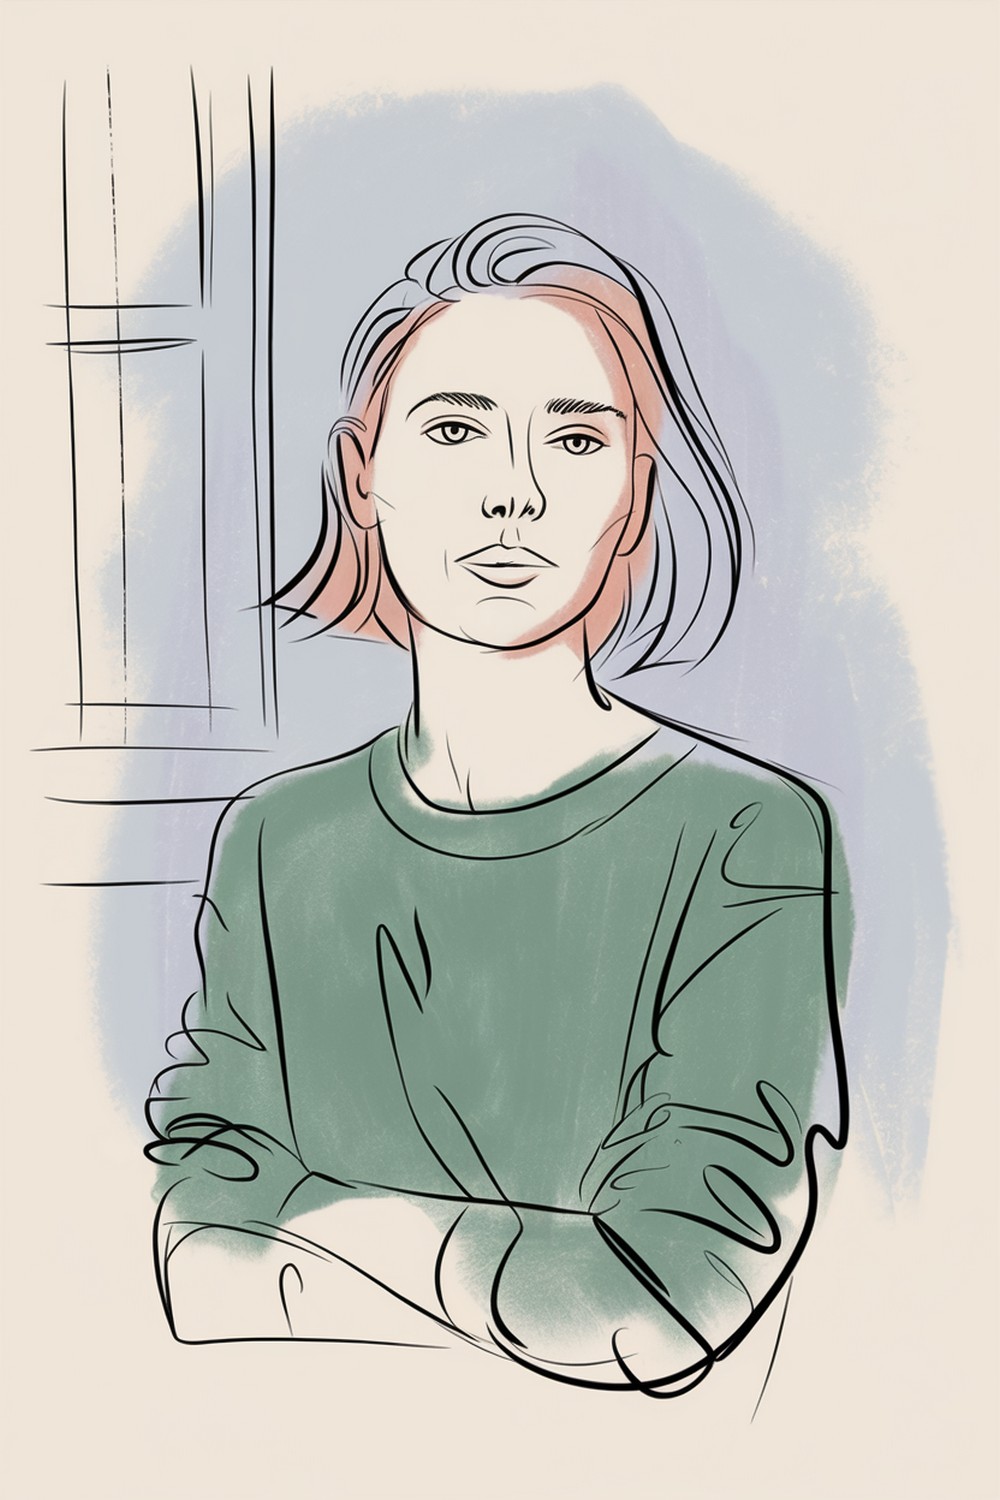
Gesture and rhythm flow over detail
Gesture anchors Minimal Line Portrait Sketches in life. Start with a sweeping axis for skull tilt, then ride that curve through neck, shoulders, and hair mass. Use rhythmic lines connecting brow to nose bridge, cheek to mouth corner, and ear to jaw. Keep your wrist loose and your lines elastic. Suggest posture more than anatomy. When gesture is right, minimal features settle naturally. The viewer reads energy first, detail second, giving the drawing a lively, modern, and human feel.
Feature suggestion through strategic breaks

In Minimal Line Portrait Sketches, hint rather than declare. For eyes, a single upper lid arc plus a pupil accent can carry the gaze. For the nose, imply the ball and one nostril with two short strokes and a tiny bridge notch. For lips, draw the center line and a slight corner lift, leaving most edges open. Reserve continuous lines for crucial turns only. These strategic omissions invite the viewer’s brain to finish the form, adding elegance and intrigue.
Single-weight elegance unity without fuss
Choose one consistent line weight for Minimal Line Portrait Sketches to keep the design unified. Avoid over-modeling with thick-thin theatrics unless it serves a focal point. Let hierarchy come from spacing, length, and clarity instead of heavy outlines. A single, velvety weight makes gaps read as light rather than absence. If you need emphasis, increase line length or continuity at the focal zone—often eyes or mouth—while keeping the rest understated. The result feels cohesive, calm, and intentional.
Pressure control depth with minimal tools
When using pencil or brush pen for Minimal Line Portrait Sketches, pressure becomes your shading. Press slightly at plane flips—upper lid crease, jaw hinge—and relax across gentle turns. Let a tapered stroke swell through the cheek line, then vanish near the light. Keep pressure changes subtle; avoid dramatic calligraphy unless it fits your style. Practice long, tapered strokes to learn where weight helps clarity and where it clutters. Depth emerges from controlled variance, not from added hatching.
Implied light using line economy

Minimal Line Portrait Sketches can show light without shading by where lines exist or disappear. On the light side, break contours and keep features airy. On the shadow side, connect edges longer and slightly firmer. Place a single cast-shadow notch under the nose or chin to lock direction. Use inner contours—like the far cheek edge or hairline—only where they help the light story. Consistent decisions across the portrait make illumination feel real without a single filled tone.
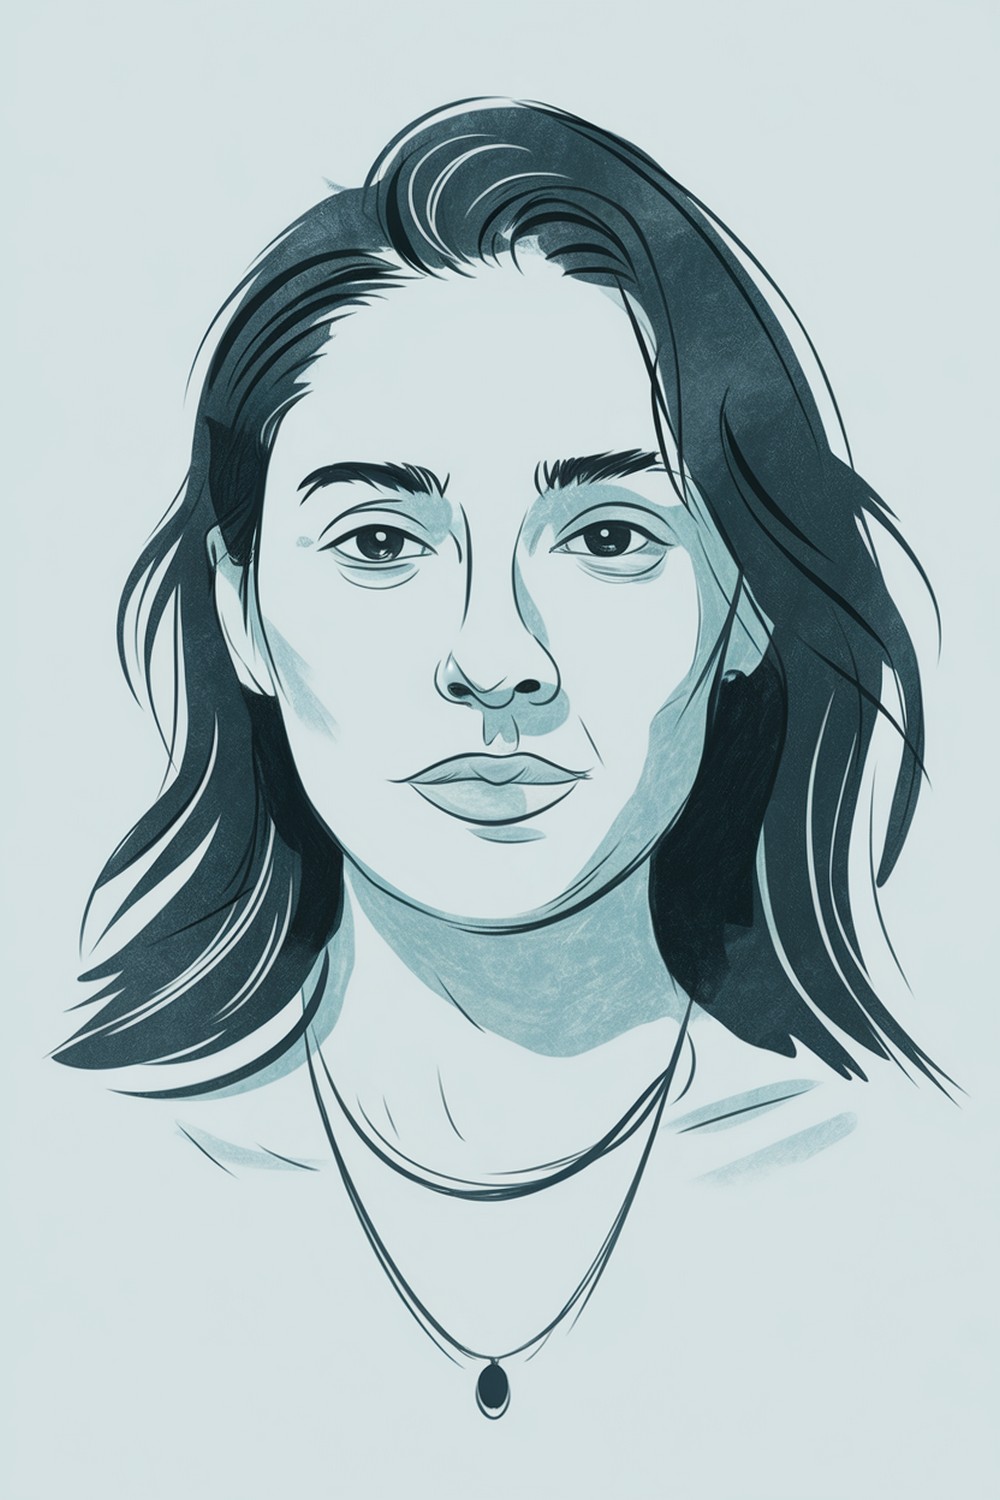
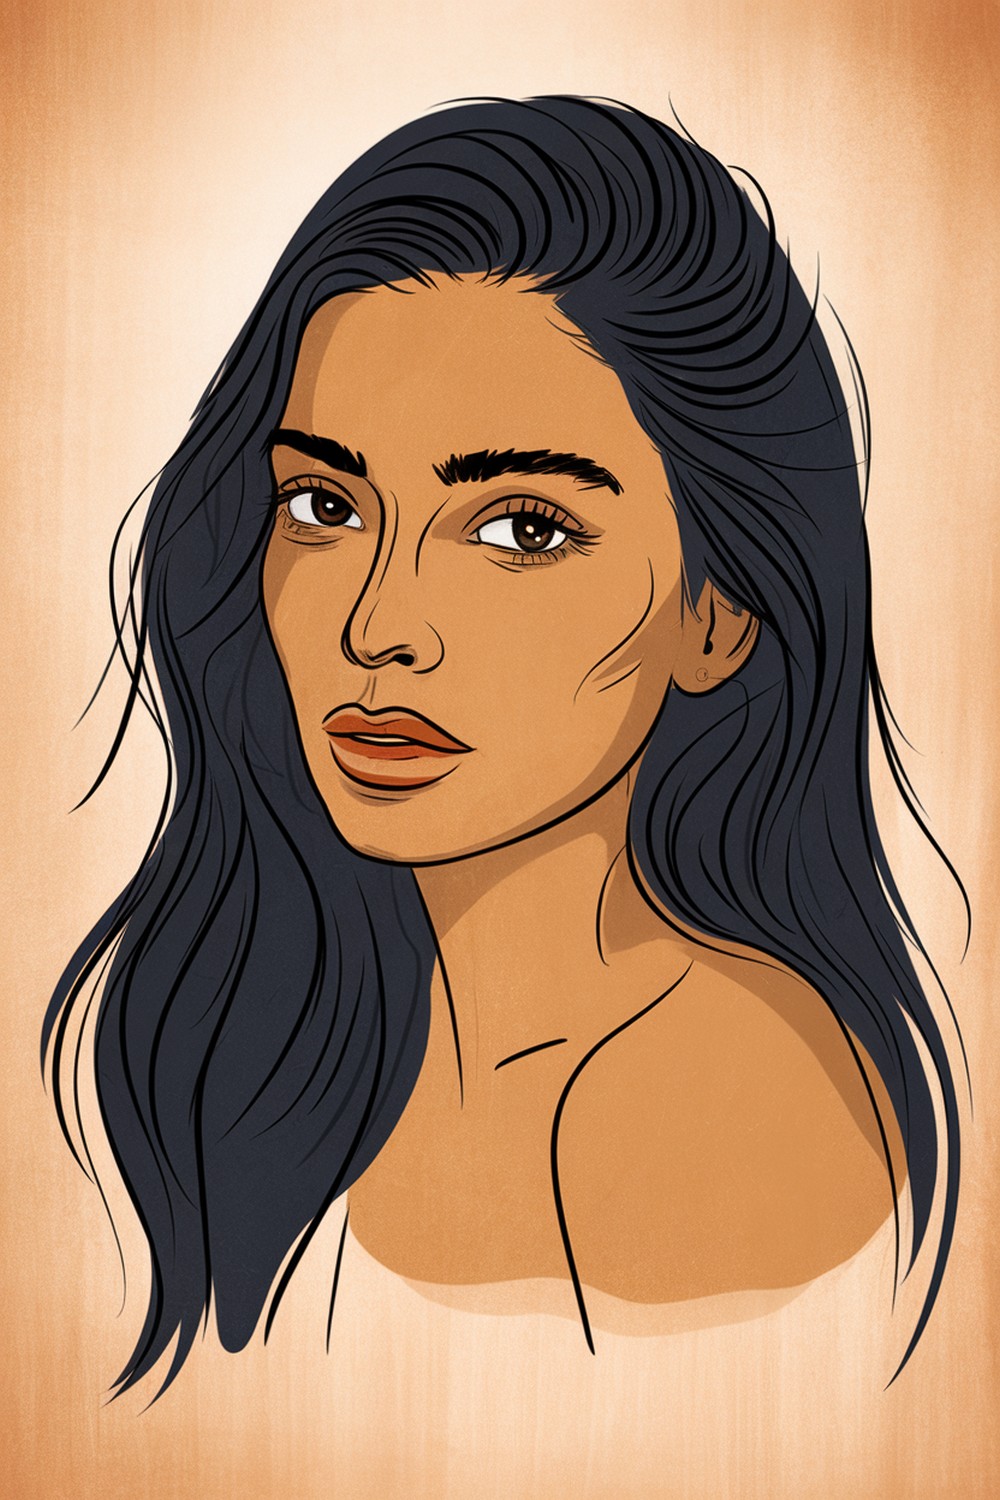
Silhouette and hair mass as design

Treat hair as a clean, graphic silhouette in Minimal Line Portrait Sketches. Block the outer mass with flowing curves and a few internal direction lines, then punctuate with sparing flyaway strokes. Avoid outlining every lock; let the hairline feather into forehead with broken marks. Design the overall head shape for balance—counter a strong jaw with a soft crown curve, or a high bun with a gentle neck sweep. A beautiful silhouette can carry likeness with almost no features.
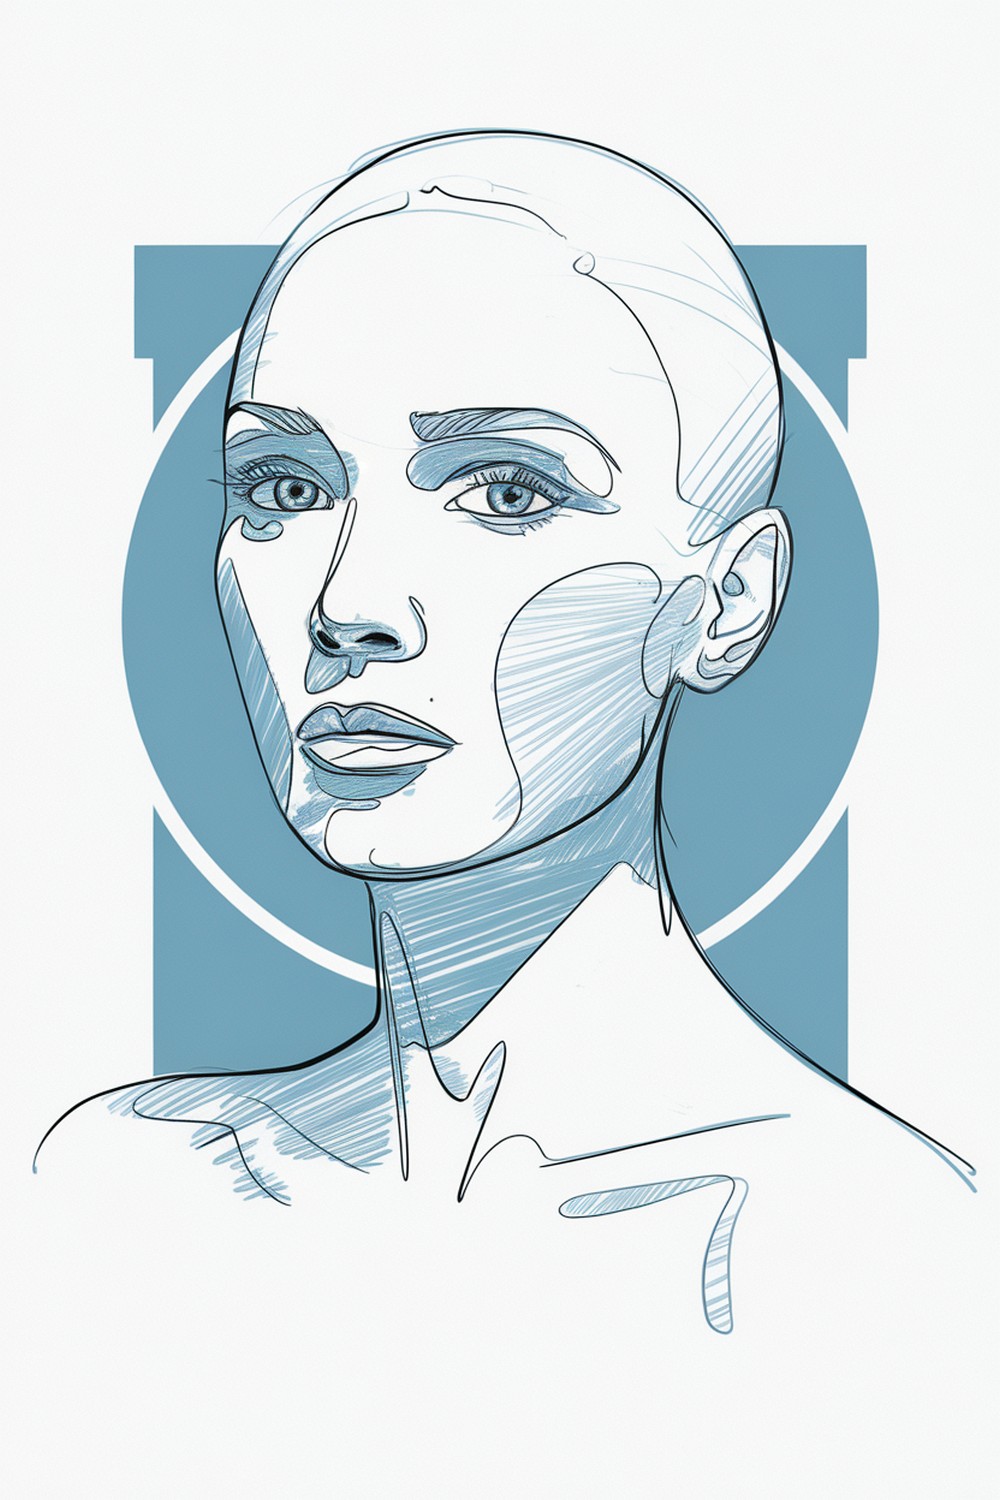
Framing with minimal backgrounds
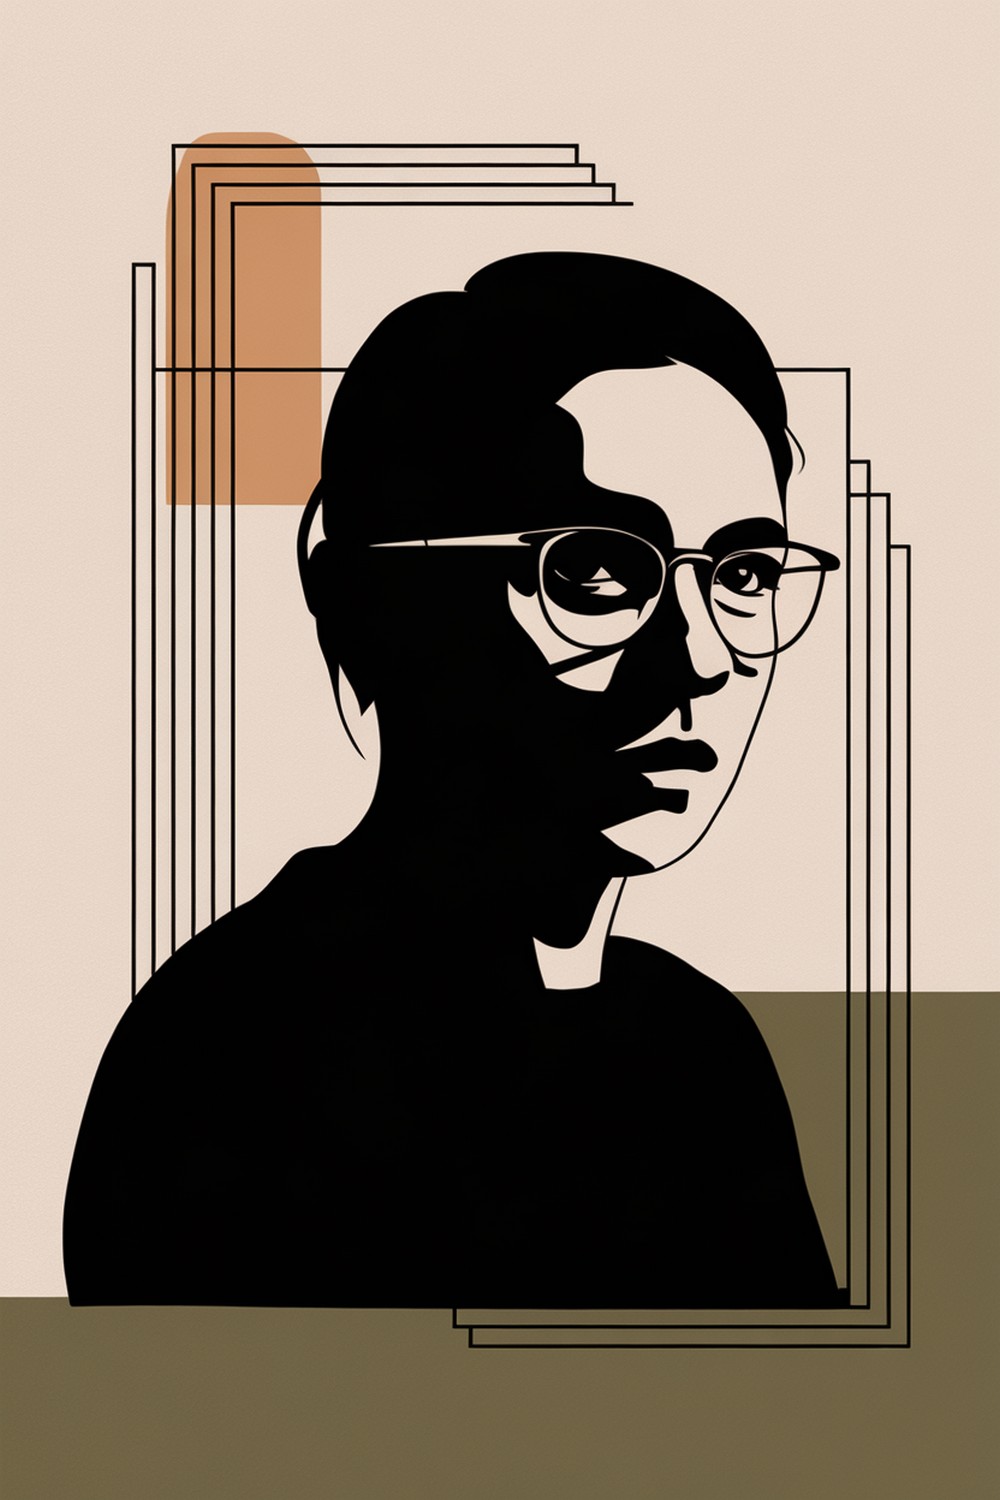
A tiny background cue can make Minimal Line Portrait Sketches pop. Add one or two floating shapes—a soft rectangle behind the light cheek, a circular badge near the shoulder—to frame the head. Keep them simple and quiet, echoing the portrait’s curves. Use negative space to steer the eye toward the face, not away. Consider a single grounding line at the base of the neck. Backgrounds should support silhouette, clarify light, and maintain the drawing’s calm, spacious feel.
Edit passes restraint and refinement
Finish Minimal Line Portrait Sketches with ruthless editing. Remove duplicates, close awkward tangents, and smooth wobbly arcs. If two lines say the same thing, keep the best and erase the other. Nudge proportions with tiny corrections rather than redrawing everything. Reassess focal priority: sharpen a lid angle, soften a jaw, open a lip edge. When the portrait reads instantly from arm’s length, stop. Leaving white space and curated gaps is what gives minimalism its grace and confidence.
Conclusion
Minimal Line Portrait Sketches succeed when each mark is necessary, accurate, and gracefully placed. Start with a clear gesture and decisive outer contours, then position tiny landmarks to suggest features. Use negative space to lock structure, and let lines come and go where light would erase them. Keep a single, consistent weight and apply pressure only at key plane flips. Design hair as a graphic mass, frame sparingly, and edit without mercy. When the likeness clicks quickly, you’re done.


